Archive for the ‘Uncategorized’ Category.

HP Interferometer Notes

I’ve been setting up an interferometer. I purchased the system from siliconsam (of Sam’s lasers) on eBay (this is the auction). He occasionally sells old HP systems on eBay, the advantage is that the laser, optics and receiver come tested.

There is however “some assembly required”. In particular, this kit is based around the µMD1. This is essential a Chipkit DP32 (PIC32 dev board), with some firmware Sam and Jan Beck and a Windows application (written in VB).

The instructions for wiring the Chipkit DP32 are pretty straightforward. The only issue I had was that the diagrams only show the resistor color codes, this is a problem for me as I’m colorblind. However there are 6 of one type and two of the other so it was easy enough to figure out from the parts provided. At some point I’d like to design a custom PCB to avoid all the wirewrapping…

You also have to wire up the optical receiver and laser head cables. Notes on these are below.

10780A Optical Receiver Wiring

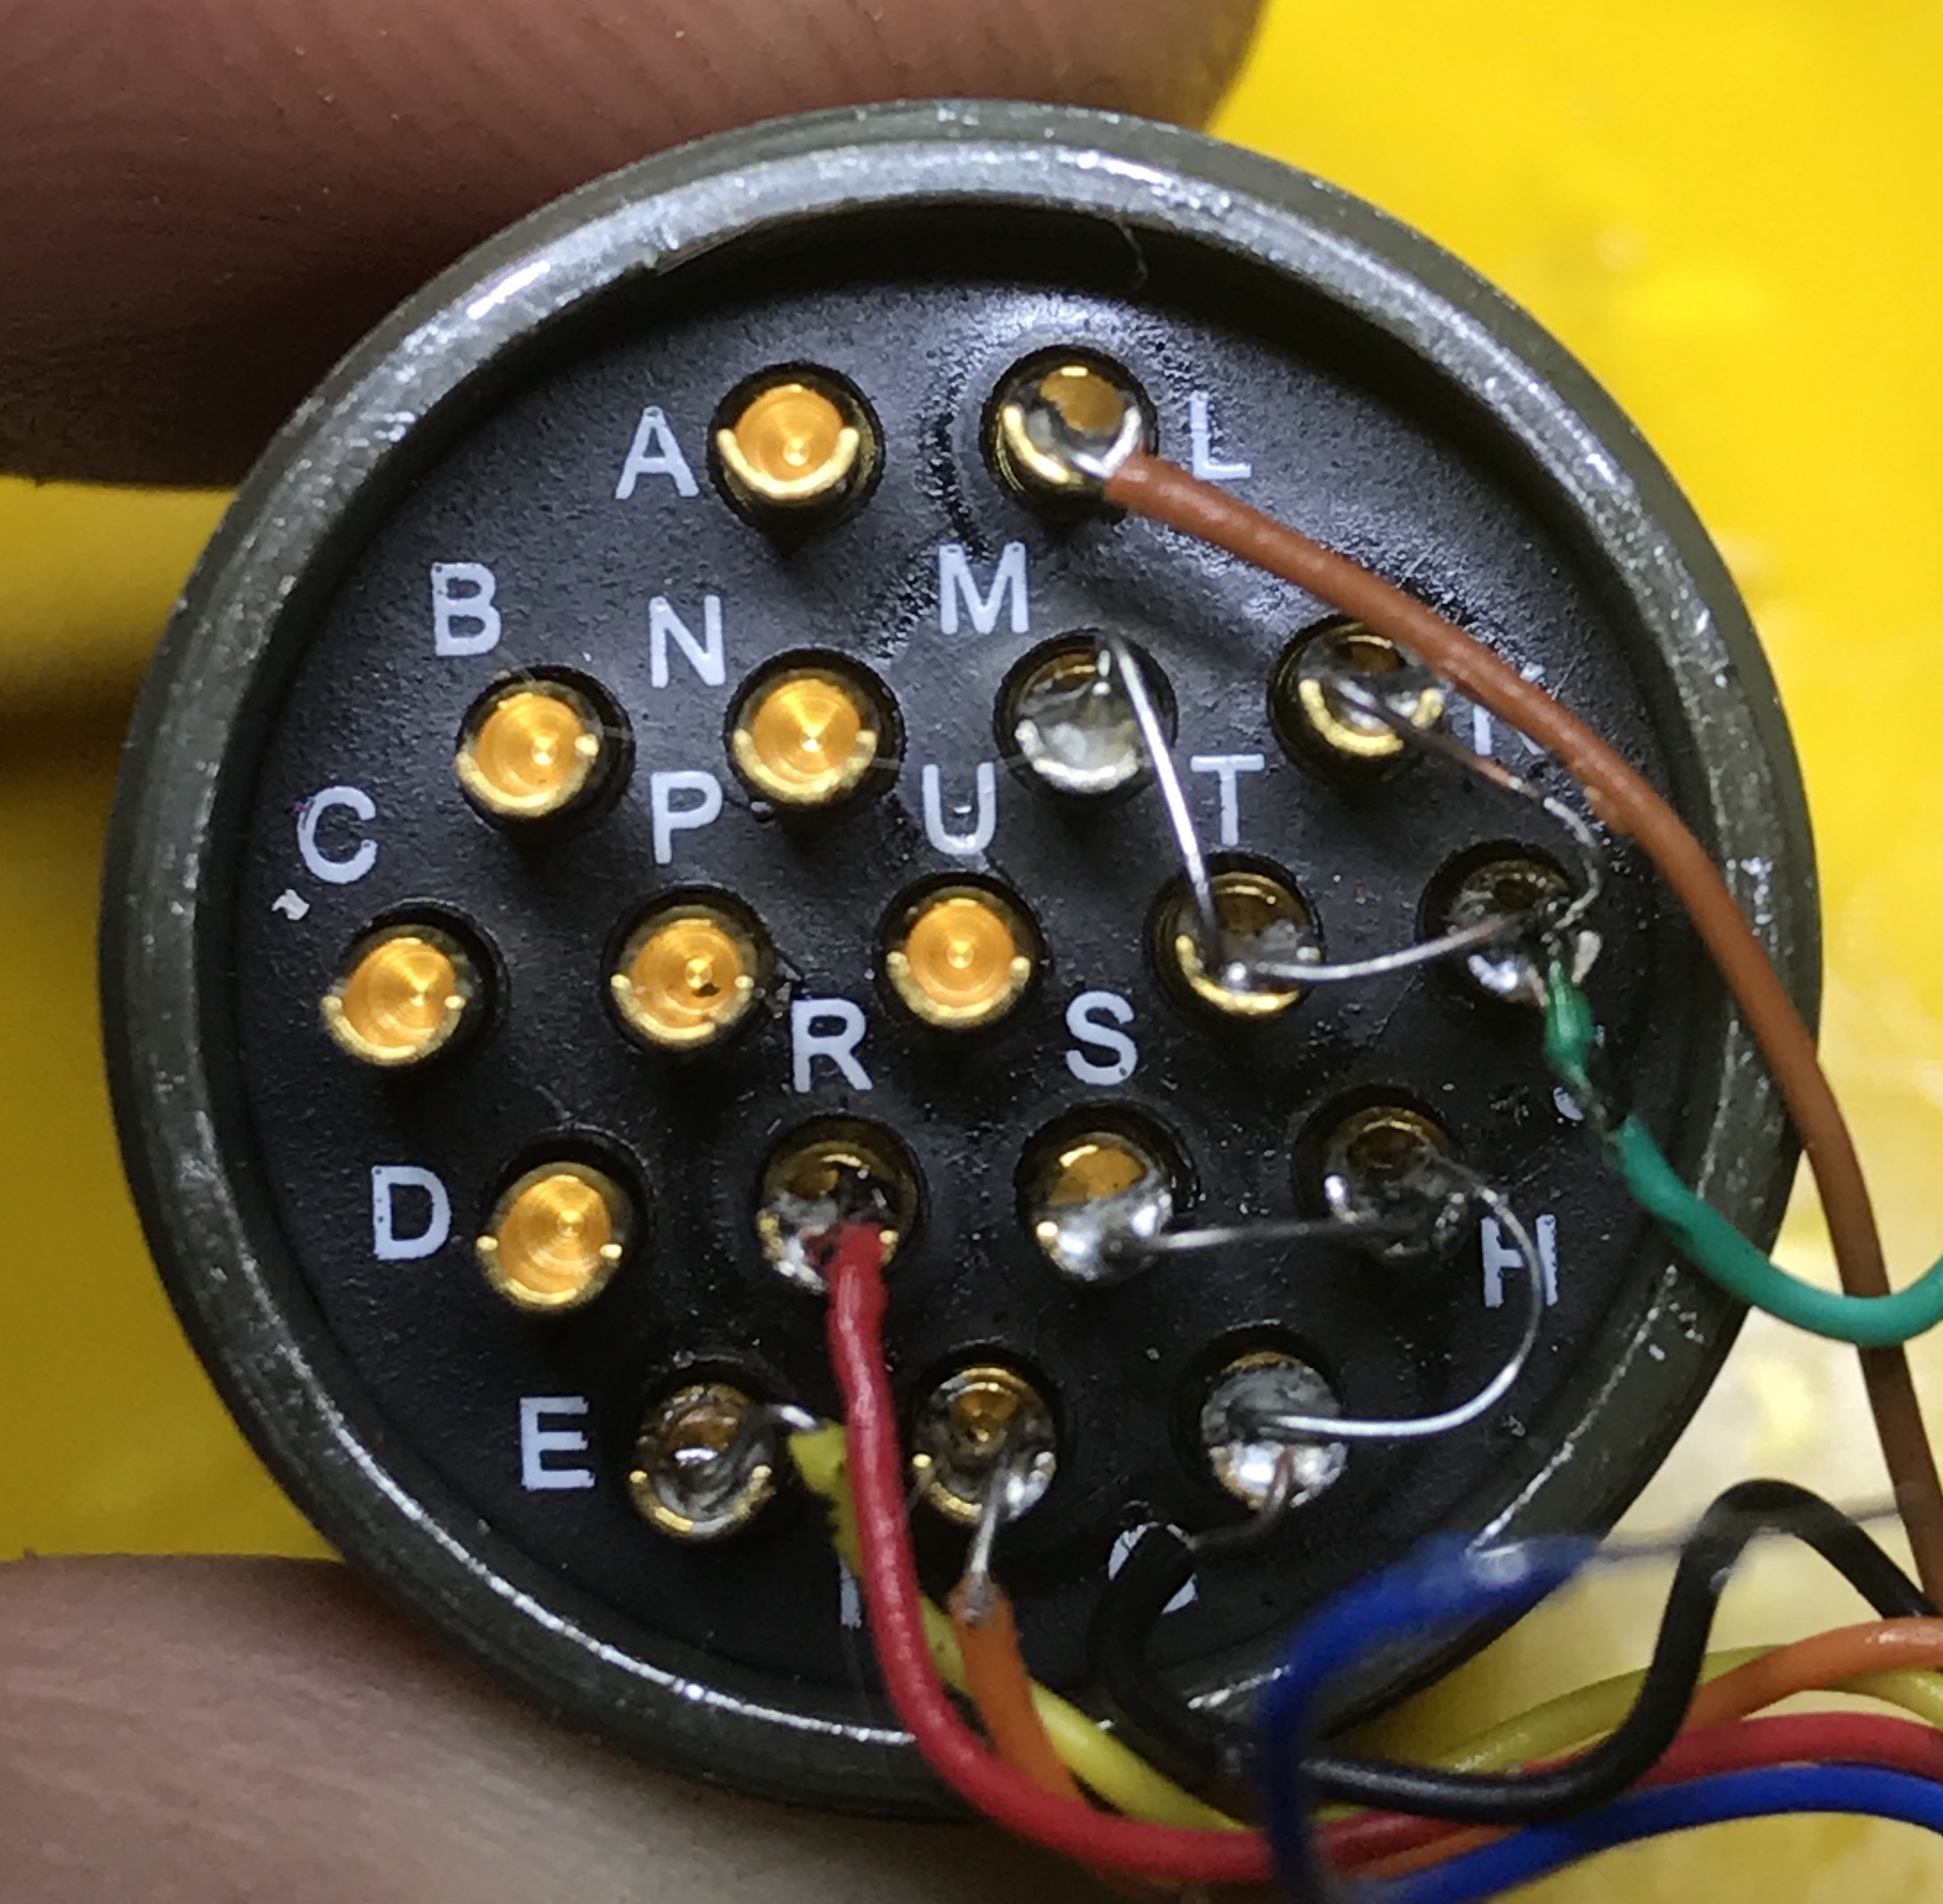
The optical receive uses a strange connector. I’ve seen this called a “quad BNC” (also seems to be called 4-pin BNC) and it is a bayonet style connector with 4 internal conductors. Sam’s kit provides cables wired with pins which you prod into the connector, it’s not the most robust solution in the world, but it holds together pretty well.

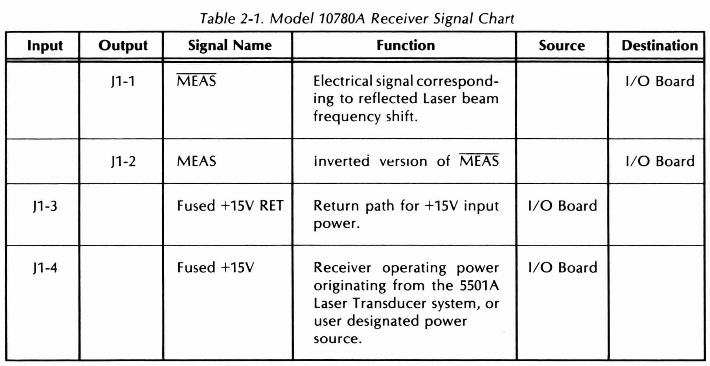
The 10780A documentation provides the following wiring information:

“Fused +15V RET” is essentially ground. The wiring I used is show below. It can also be found on Sam’s FAQ.

5517B Laser head Wiring

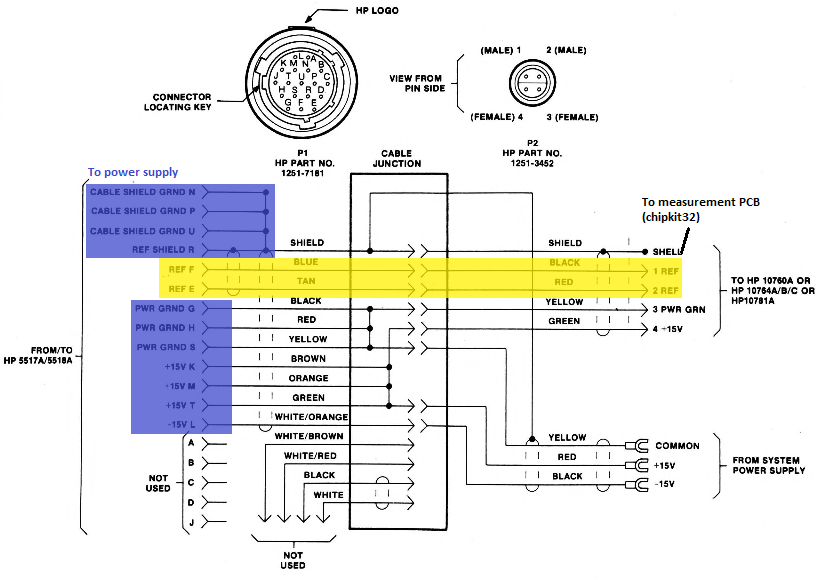
The laser head uses an old multiconductor connector. I think this one. You can find details of the wiring of this connector in the 5517 manual (5517 manual local copy). I’ve also highlighted the wiring of this cable on the screenshot below.


That’s it for now. I have a couple of videos on youtube documenting the setup:


At some point in the future I may post more details of the laser alignment process, and the jigs I’ve designed to try and make alignment easier.

Genome Analyzer II Internal Pics

A while back I was lucky enough to encounter a disassembled Genome Analyzer 2. I’ve played with the data from these instruments a lot, having written an image analysis and basecalling platform for this instrument so it was fun to see one on the inside.

The instrument is effectively a TIRF microscope, stage and fluidics system stuffed in a case. As is typical of early versions of scientific lab equipment, it mostly uses off-the-shelf parts stuffed in a case.

For my reference, I took a huge number of pictures. Check them out below:
img_0486img_0401 img_0402 img_0403 img_0404 img_0405 img_0406 img_0408 img_0409 img_0410 img_0411 img_0412 img_0414 img_0415 img_0416 img_0417  img_0420 img_0421 img_0422 img_0423 img_0424 img_0425 img_0426 img_0429 img_0430 img_0431 img_0432 img_0433 img_0434 img_0435 img_0436 img_0437 img_0438 img_0439 img_0440 img_0441 img_0442 img_0443 img_0444 img_0445 img_0446 img_0447 img_0448 img_0449 img_0450 img_0451 img_0452 img_0453 img_0454 img_0455 img_0456 img_0457 img_0458 img_0459 img_0460 img_0461 img_0462 img_0463 img_0464 img_0465 img_0466 img_0467 img_0468 img_0469 img_0470 img_0471 img_0472 img_0473 img_0474 img_0475 img_0476 img_0477 img_0478 img_0479 img_0480 img_0481 img_0482 img_0483 img_0484 img_0485  img_0489 img_0492 img_0493 img_0494 img_0495 img_0496 img_0497 img_0498 img_0499 img_0500 img_0501 img_0502 img_0503 img_0504 img_0505 img_0506 img_0507 img_0508 img_0509 img_0510 img_0511 img_0512 img_0515 img_0516 img_0518 img_0520 img_0523 img_0524 img_0527 img_0528 img_0529 img_0530 img_0532 img_0533 img_0534 img_0536 img_0537 img_0539 img_0540 img_0541 img_0542 img_0544 img_0545 img_0547 img_0548 img_0549 img_0550 img_0552

Another iPhone MEMS Mic (different configuration+layers)

iphone6smemsToday I pulled apart another MEMS Mic. This was from a replacement flexpcb for an iPhone 6s I bought on eBay. I expected the MEMS sensor to be identical to the one I posted yesterday. But it turns out it was quite different.

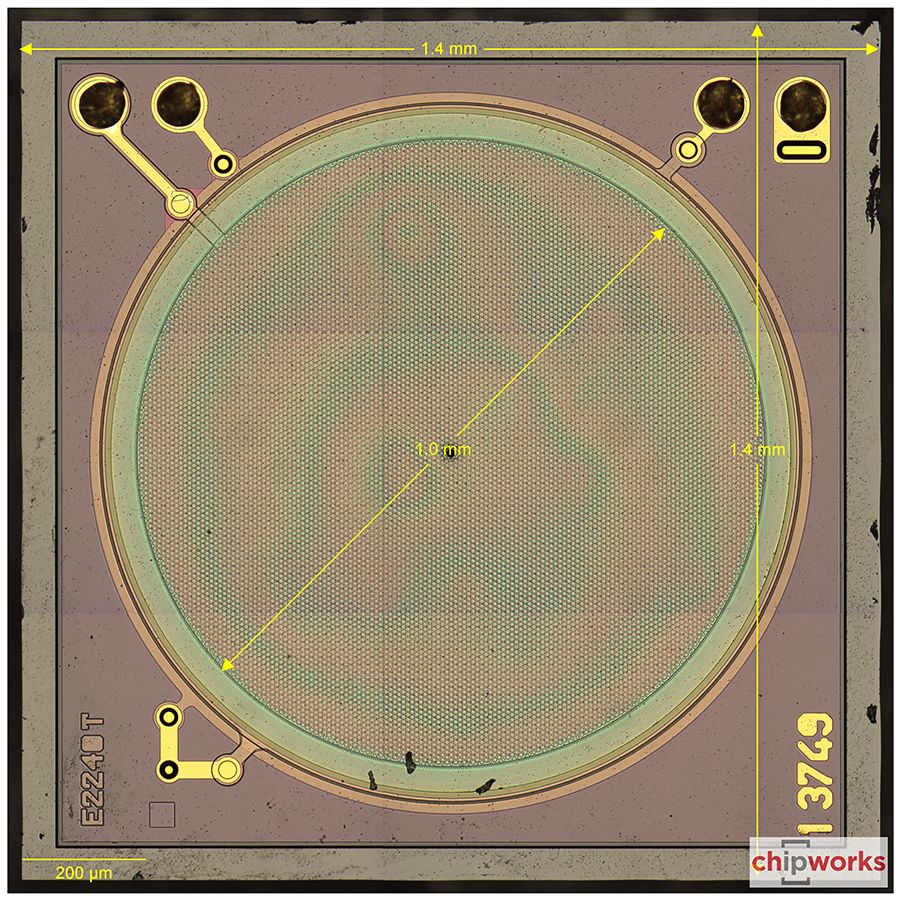
Optically it resembled the image shown on the right (from chipworks), with a single diaphragm and 4 bonding pads. Chipworks say this is a Goertek GWM2.

A couple of interesting things happened when I was playing with the 2 MEMS packages on this flex. Firstly, when I removed the package on one device the whole MEMS die came with it.


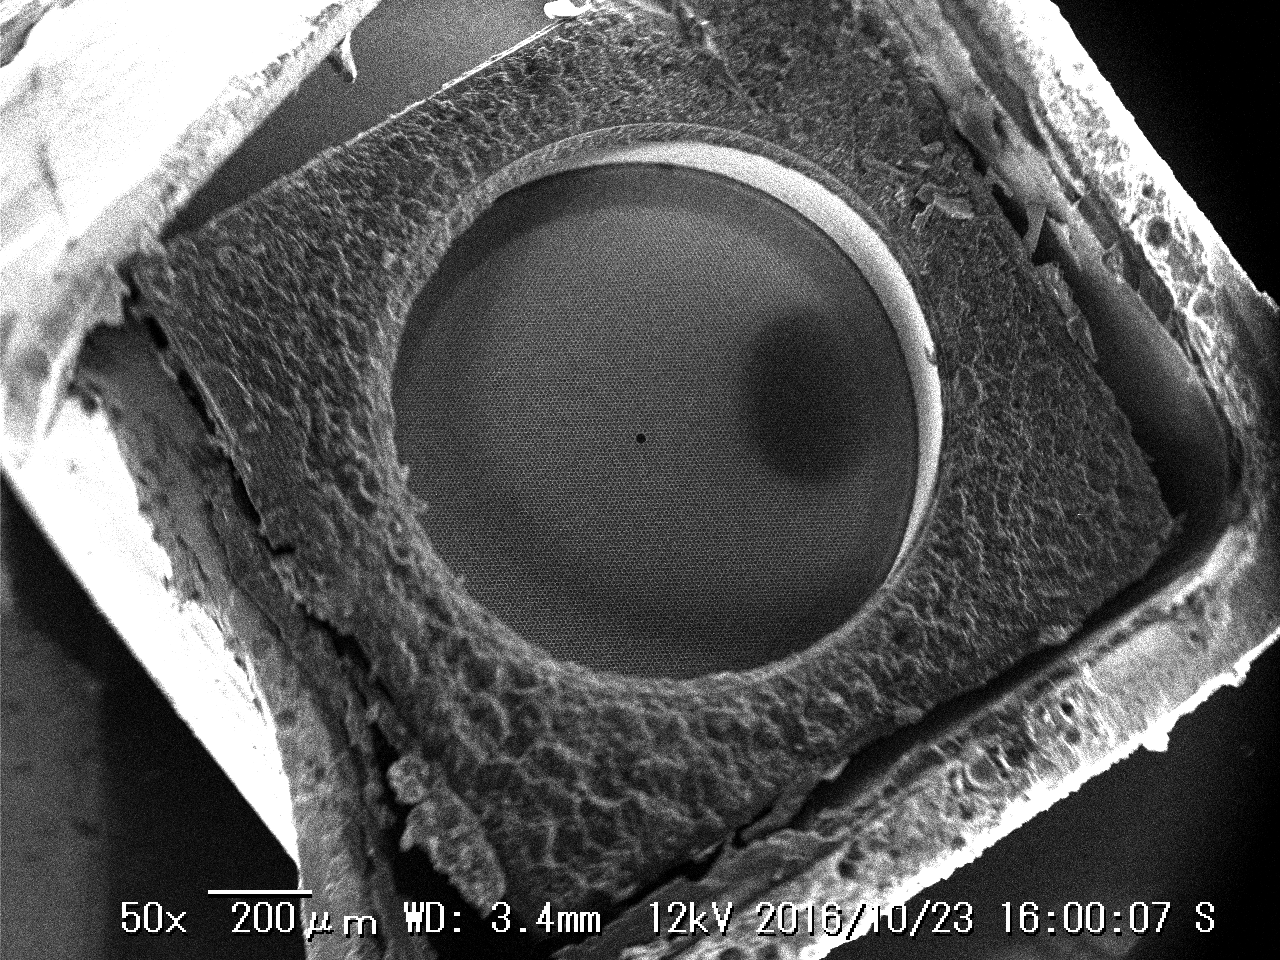
This meant I got a view of the underside of the device, this is the side that the sound hits:


20161023_160007-bmp

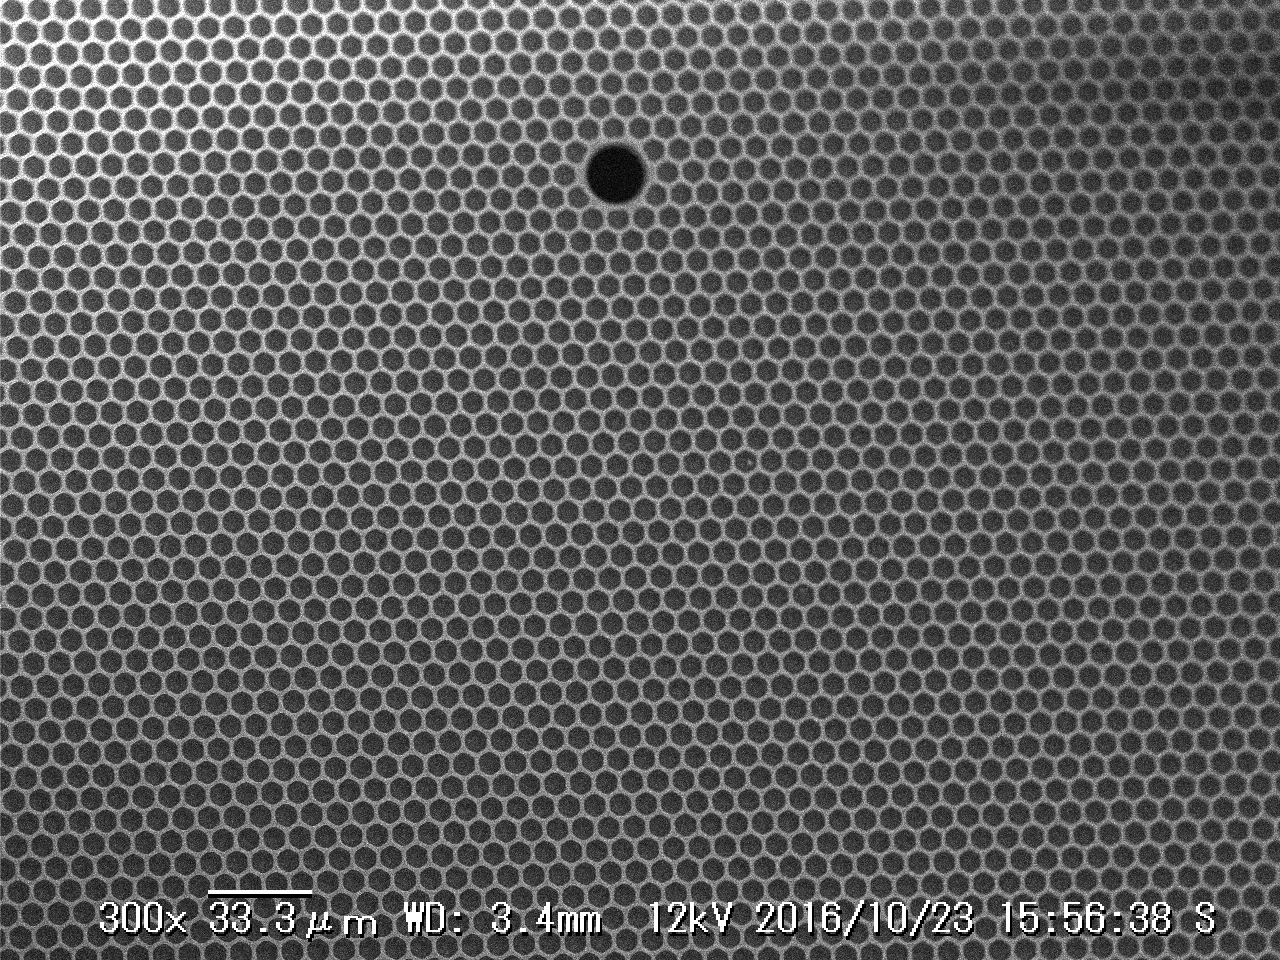
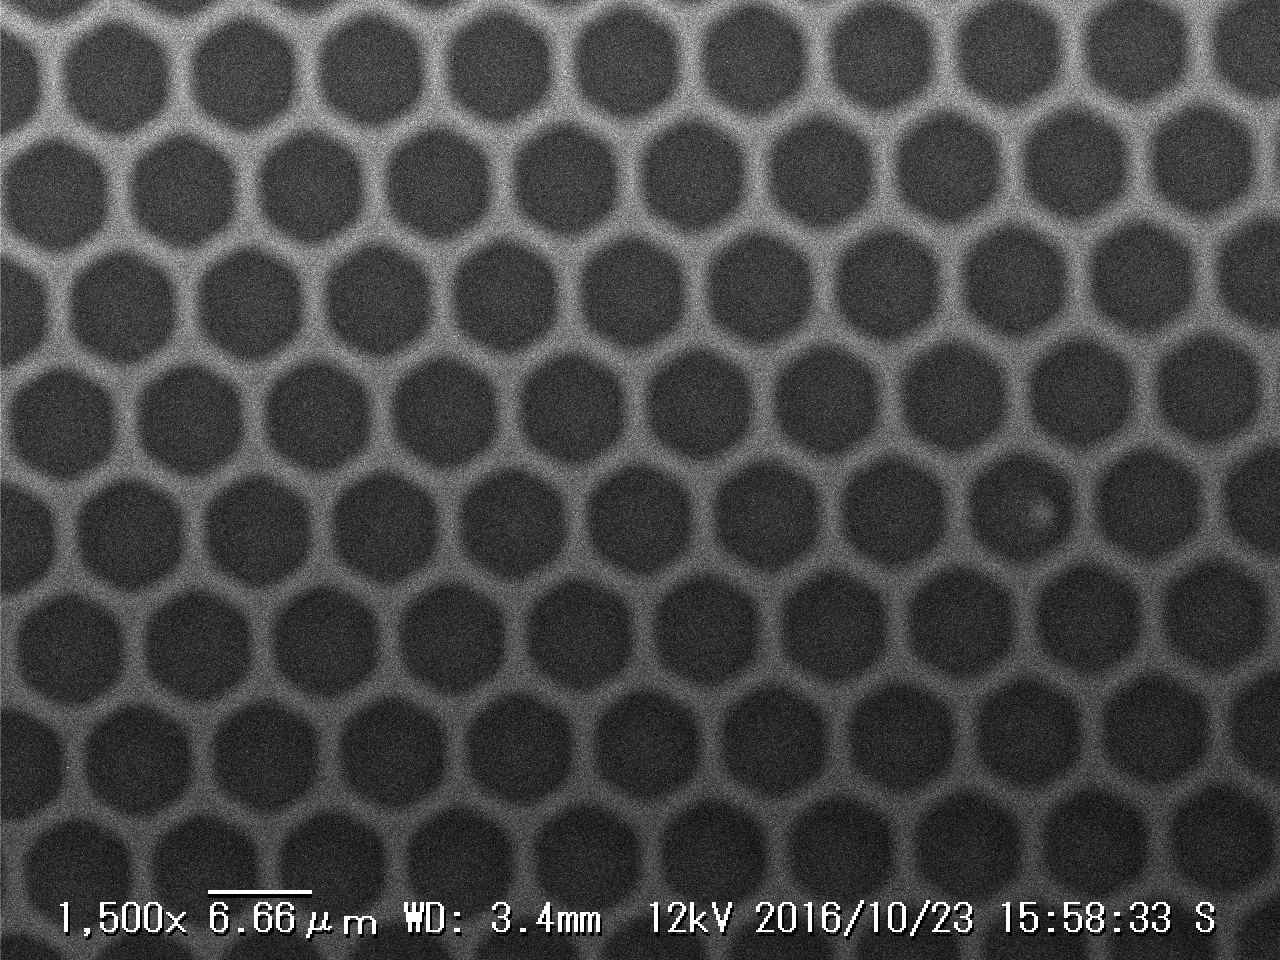
What confuses me slightly is that there appear to be release holes on this side of the diaphragm too. I would have expected it to be solid as appeared to be the case in the chipworks images I posted yesterday. The release holes also seem to be a little smaller than the previous sensor. On the order of 7 microns.
20161023_155638-bmp20161023_155833-bmp

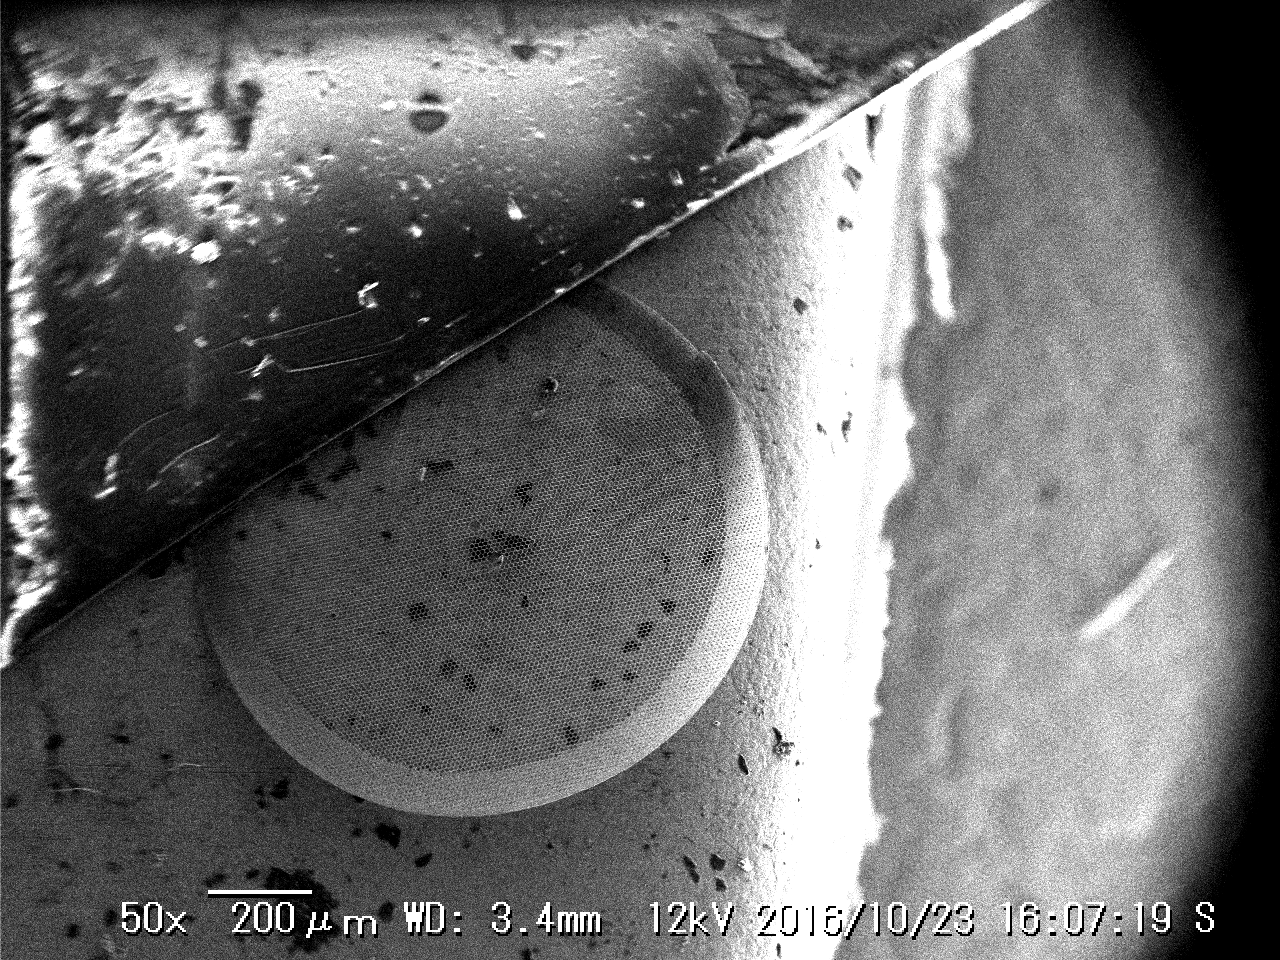
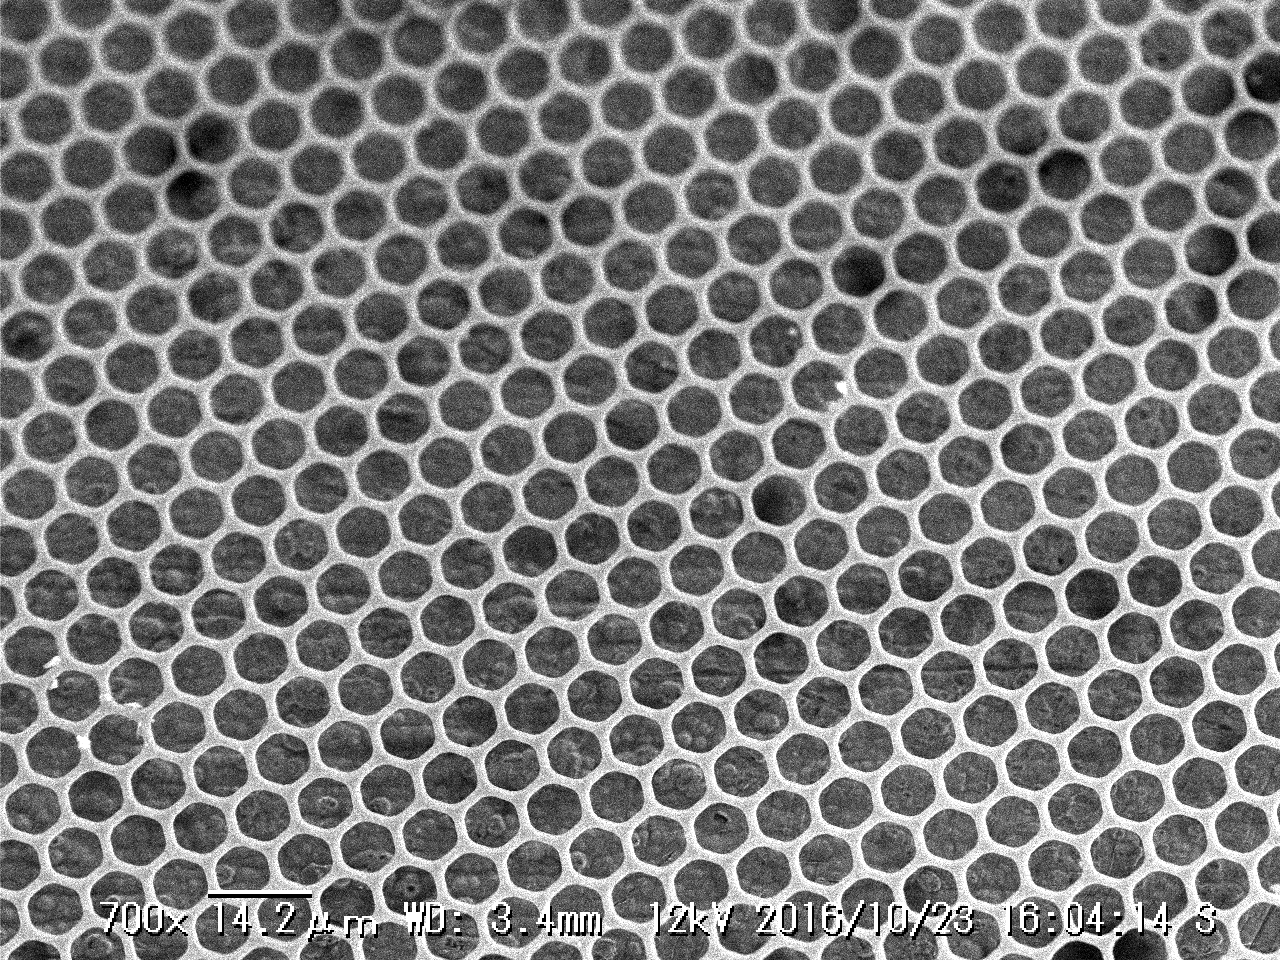
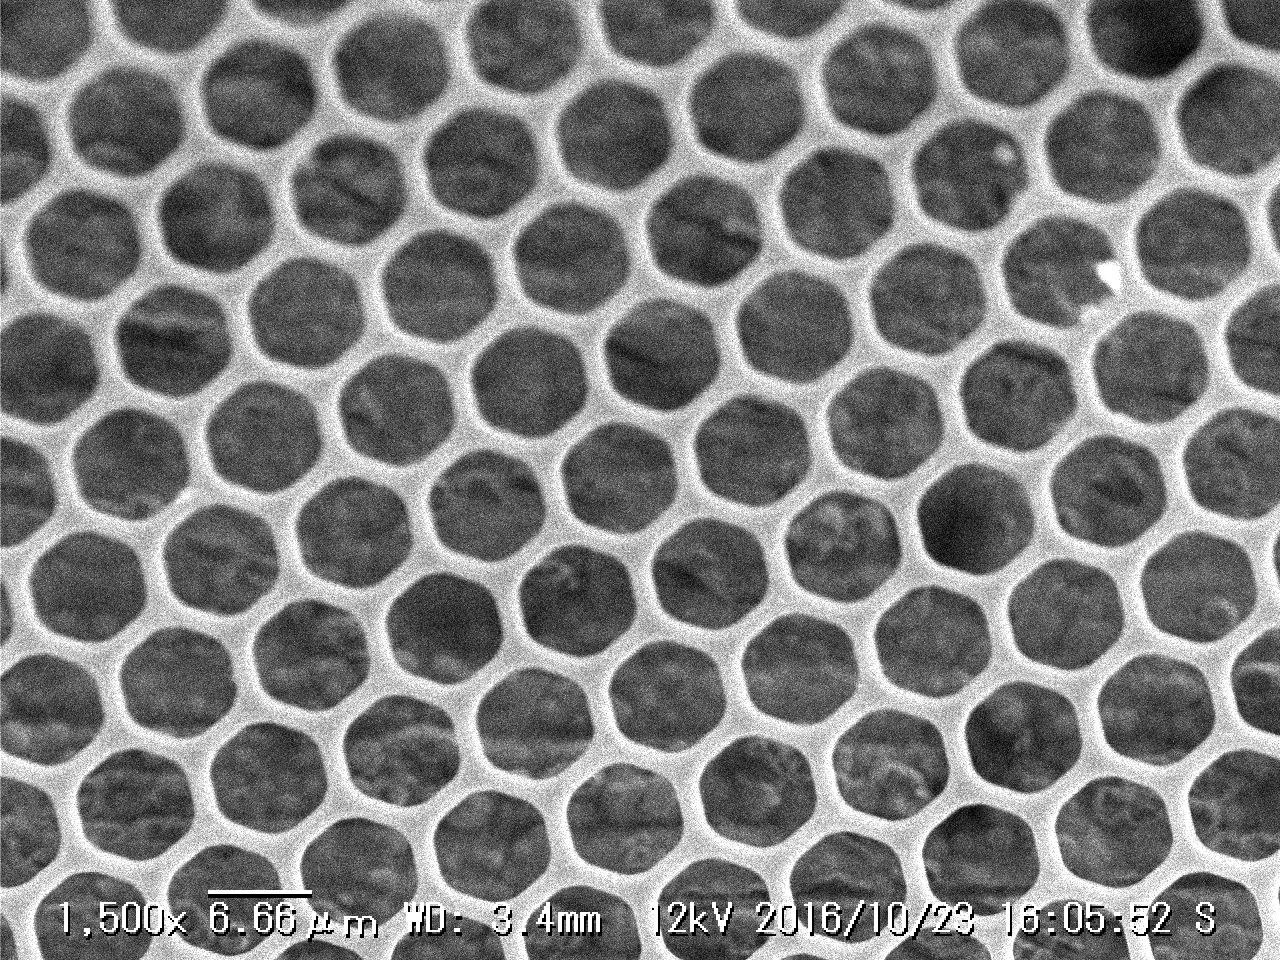
The other interesting thing that happened is that I found I was able to pull the layers away from the mic using a pair to tweezers. I was amazed that the diaphragm remained largely intact. I stuck this down with some polyimide tape and it imaged quite well, this is layer furthest from the sound inlet:

20161023_160719-bmp

20161023_160414-bmp

20161023_160552-bmp

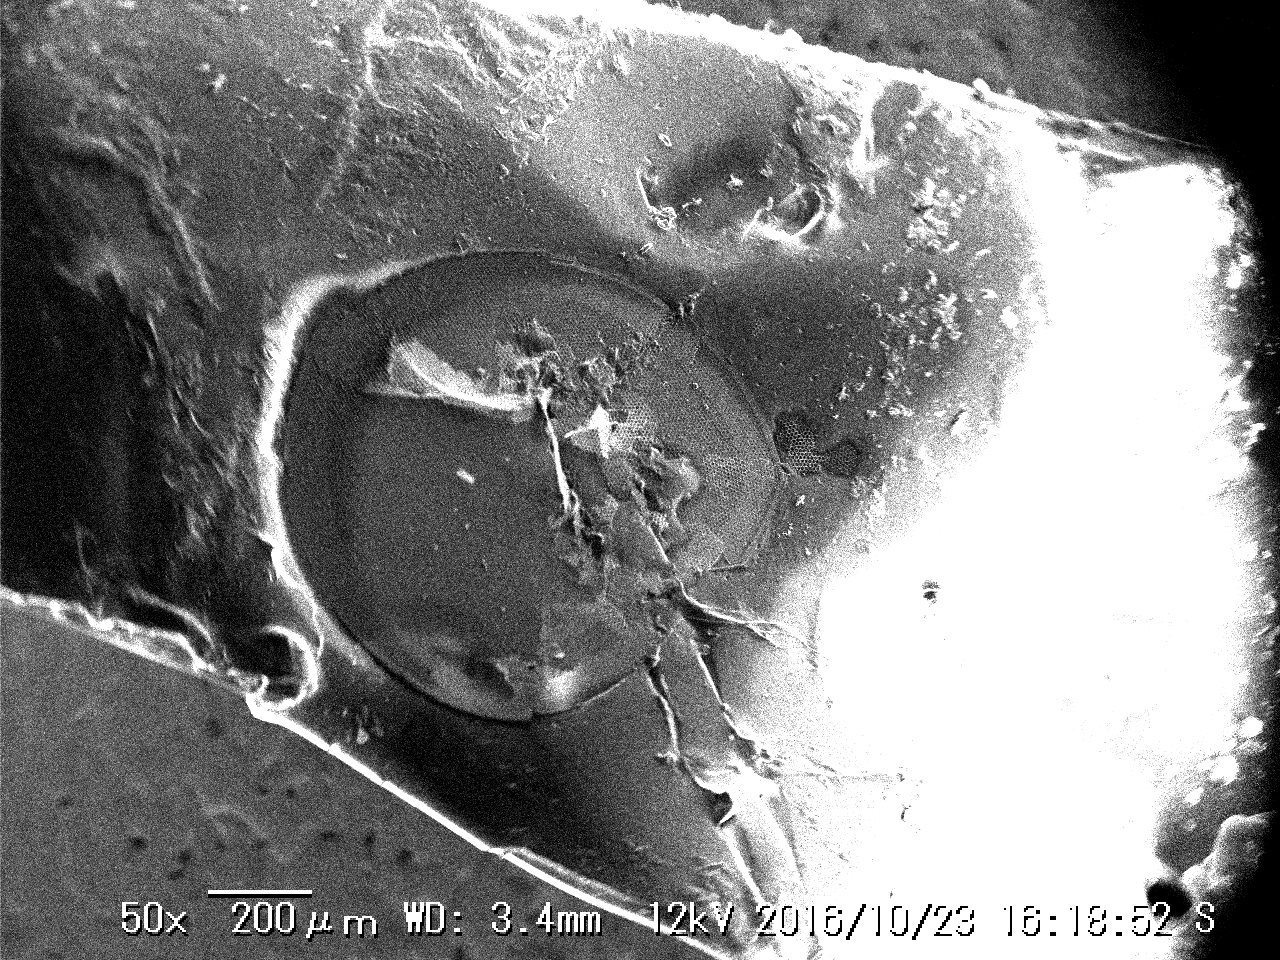
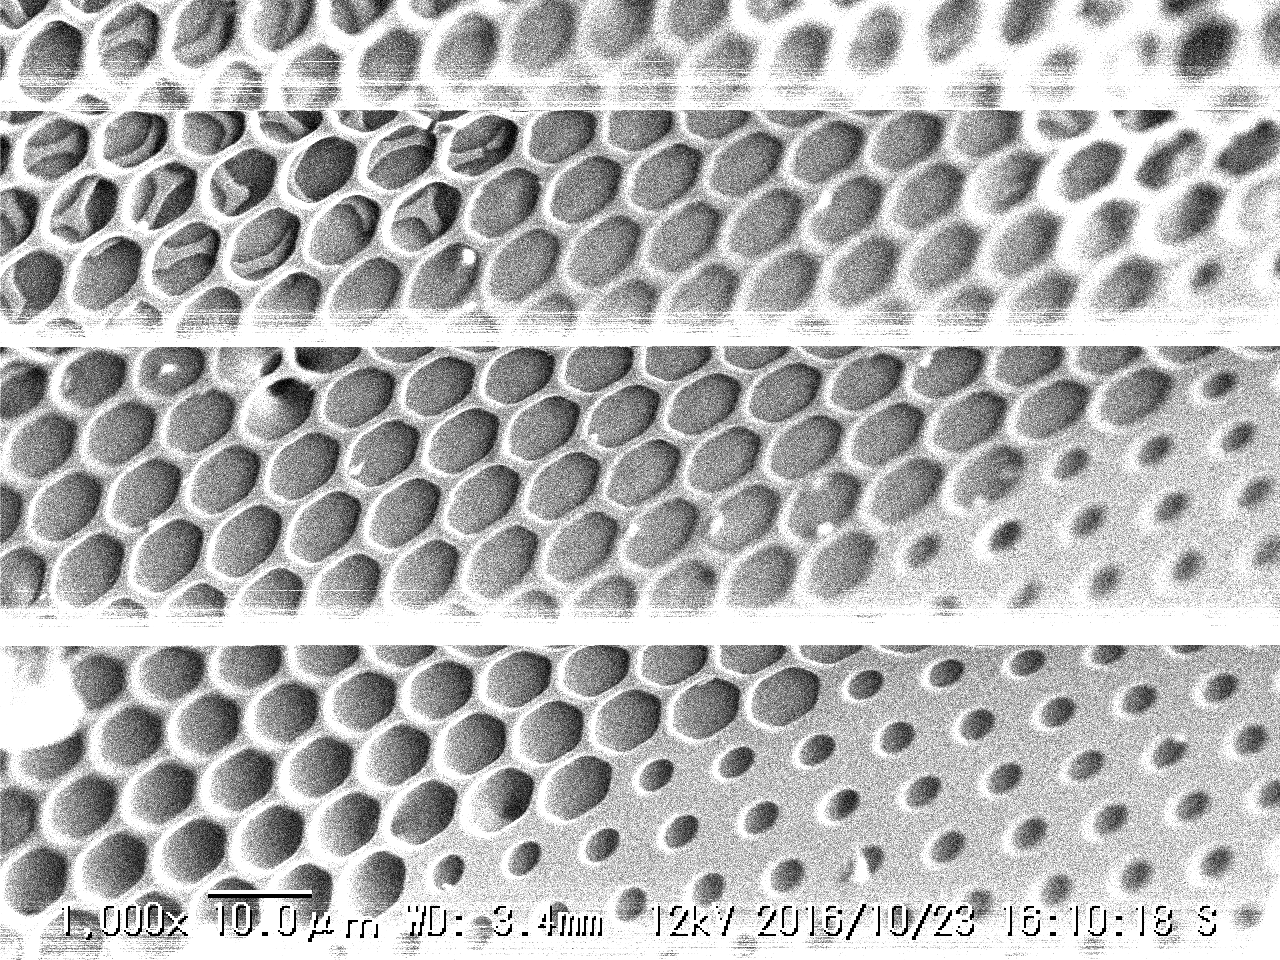
I even managed to remove the diaphragm “below” this (nearest the sound), but wasn’t so successful at taping it down. Here it is sitting on the back of polyimide tape. I’m surprised how well the sample image without being grounded…

20161023_161852-bmp

I’m not sure exactly what is happening in the following image. It looks like this diaphragm maybe more complex. While a hexagonal mesh is present, it seems like there a solid layer behind this (this would somewhat explain the fact that the “sound-side” mesh above looks like it has holes in it). It also seems to have holes of different sizes… I couldn’t acquire very good images here… I suspect the sample wasn’t very stable sitting on the polyimide tape.

20161023_161019-bmp

The iPhone MEMS Mic in a SEM

20161022_160326-bmp

iPhone MEMS Mic SEM Image

SAfter playing with the BME280 I have this new fetish for all things MEMS. So today I decided to stick the iPhone 6s MEMS mic in the SEM. According to the always wonderful chipworks this is the Knowles KSM1.

The chipworks optical die image is shown below and it clearly looks very similar to the SEM image to the right.

The die seems to contain few sub-diffection limit features. The smallest features seem to be on the order of a few microns, and I assume you could make this with a 1 micron process.


chipworks_iphonememsmic

iPhone MEMS Mic optical image (from chipworks)

20161022_161205-bmpI was really interested in the patterning on the diaphragm. The patterning of these circles differs slightly between my SEM images and the chipworks optical image above. In fact on the SEM image they look a lot more like holes. Some Knowles patents refer to holes’ purpose as allowing a void to be etched under the diaphragm:

The perforated member contains a number of openings 21 through which a sacrificial layer (not shown) between the diaphragm and perforated member is etched during fabrication to form the air gap

Makes sense to me!

20161022_162738-bmpThe “holes” are about 10micron in diameter, pretty huge really! On another device I’d poked tweezers through one of the diaphragms. My hope was I’d either get some notion of the layer thickness or revel the structure below the diaphragm (if any). No such luck really. Other than it’s probably super-thin!

20161022_162919-bmp Below are a couple more images for your viewing pleasure. The bits sticking out below, I assume are anchor points. It’s interesting that in the image above, the diaphragm breaks right up until these anchors. So it seems it does extend all the way to this point.

20161022_162124-bmp

The overall construction seems straightforward (well, as awe inspiring as MEMS always is). But there are a few questions I still have… like why are there 2 diaphragms ? Is that a yield issue or a signal issue? What are the larger circles at the edge of the diaphragm? What’s the bit that sticks out to make the diaphragm Q shaped? And why is the bonding to the diaphragm seeming different on the left than the right… many questions which perhaps I’ll investigate if I find time (update: see below).

20161022_160619-bmp


mems_more_infoSo… this MEMS journal post has a bunch of useful information. In the image to the right you can see they’ve labeled most of the features.

This is great, but the second cross-sectional view helped even more (see below).The microphone is a capacitor whose capacitance varies, initially I was thinking that the diaphragm and the bottom of the cavity formed the capacitor. That’s not the case.

There are actually two thin layers fabricated on top of each over above the main cavity, that’s why on the SEM images you see two connection points, the bit that looks like part of an inverted ‘Q’ is going to the top plate. The central connection to the bottom. One final question I have then is how is the main cavity formed? And why is it needed? The bottom plate doesn’t look like it has release holes in it, and could it not be fixed?mems_more_chipworks