HY-DIV268N-5A Stepper driver with Arduino
I’ve previously posted about the HY-DIV268N-5A and shown how it can be driven with a function generator and how I used to in my Proxxon CNC Mill conversion.
Using the HY-DIV268N-5A with an Arduino is equally simple. You can use the HY-DIV268N-5A directly, or with the often supplied parallel driver board.
The image below show how the HY-DIV268N-5A should be connected, make sure all the black wires are connected to ground and that the stepper is connected correctly.
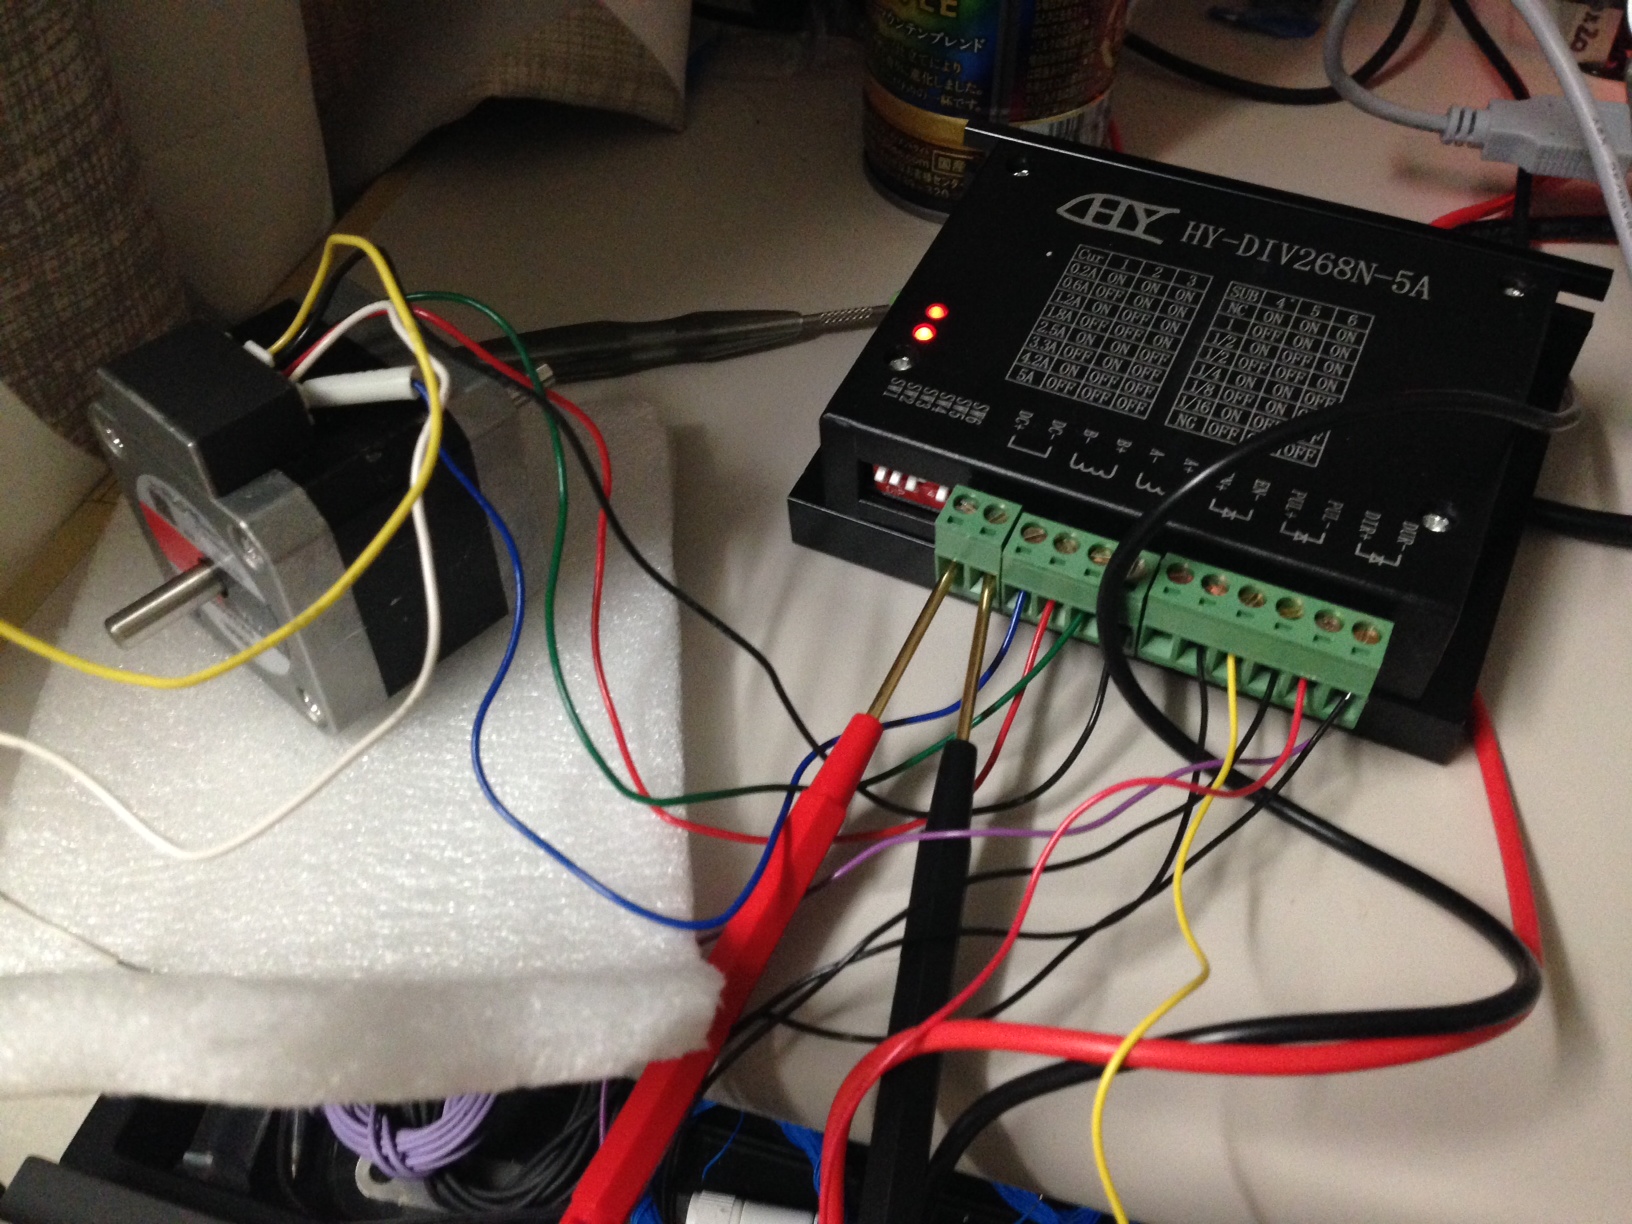
Make sure the lights on the HY-DIV268N-5A are correctly illuminated. They wont be if you don’t supply enough voltage/current. Refer to my previous post for specifications.
Once the stepper is correctly connected you should be able to drive the stepper with pulses from the Arduino. Make sure the Enable pin is grounded. And the grounds are common between the driver and the Arduino. All grounds in the system should be connected. Then simply send pulses from the Arduino to the PUL+ pin, pulling DIR+ high/low to change the direction. Use the normal digitalWrite function to do this.