Z1 Coulter Particle Counter Teardown
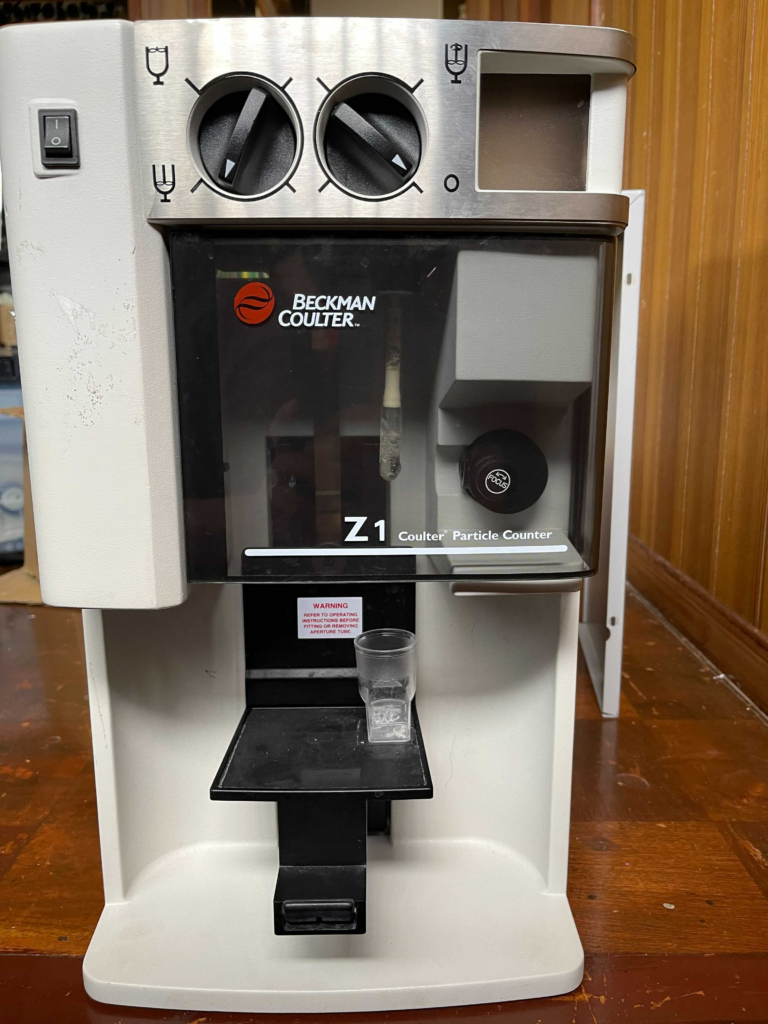
I picked up a Beckman Coulter Z1 particle counter on eBay. I suspect it was non-functional. The control pad was missing and the rear case only had one screw. But this was fine for me as I was mostly interested in pulling it apart.
I’ll cover the aperture and fluidics first here. A dump of the pictures of the rest of the unit can be found at the end of this post.
Coulter counters are used to measure particle sizes. For example, to gain red and white blood cell counts. They do this by suspending particles in a conductive (salt) solution. This fluid is then driven through a aperture. A bias voltage is passed over the aperture and the current flowing through the aperture is measured. The fluid is driven through the aperture under pressure. As particles pass through the aperture they block the current flow, and can therefore be detected/counted.
The principle is discussed in a previous blog post.
Aperture
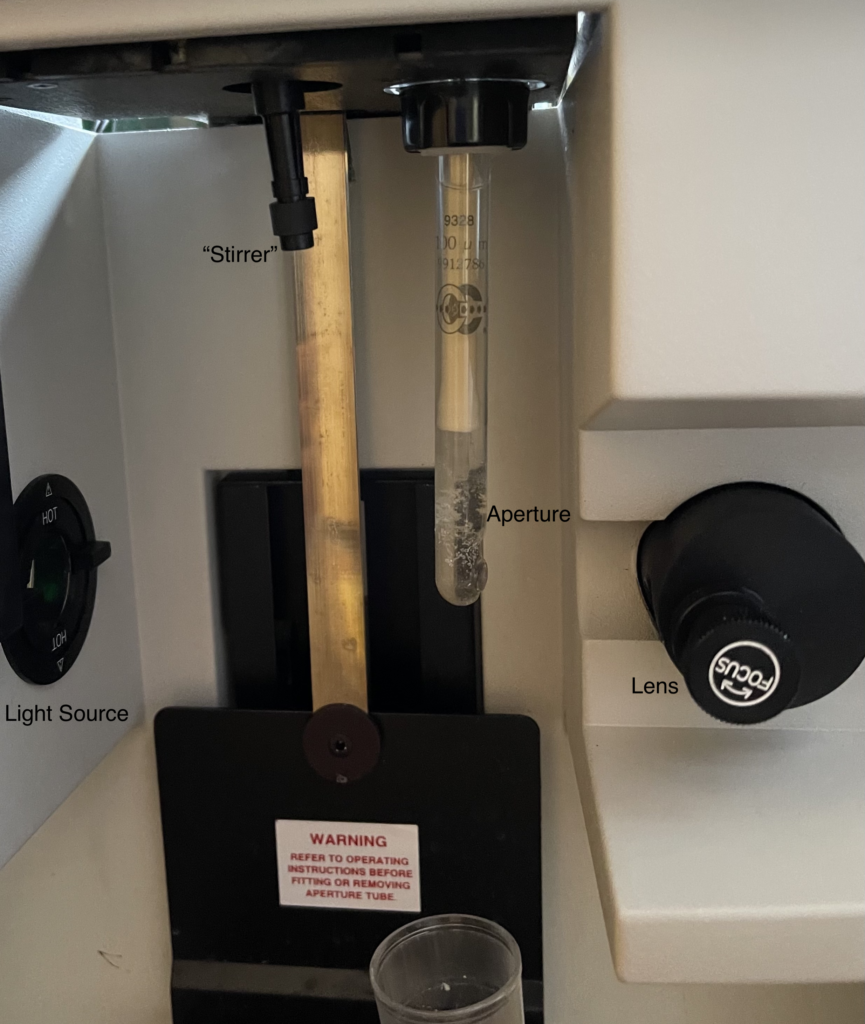
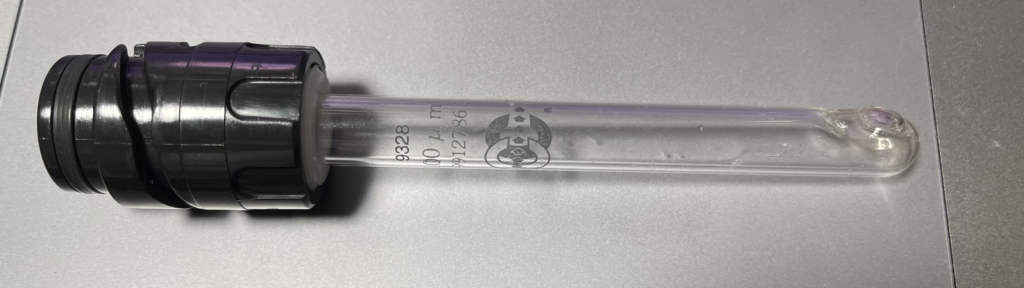
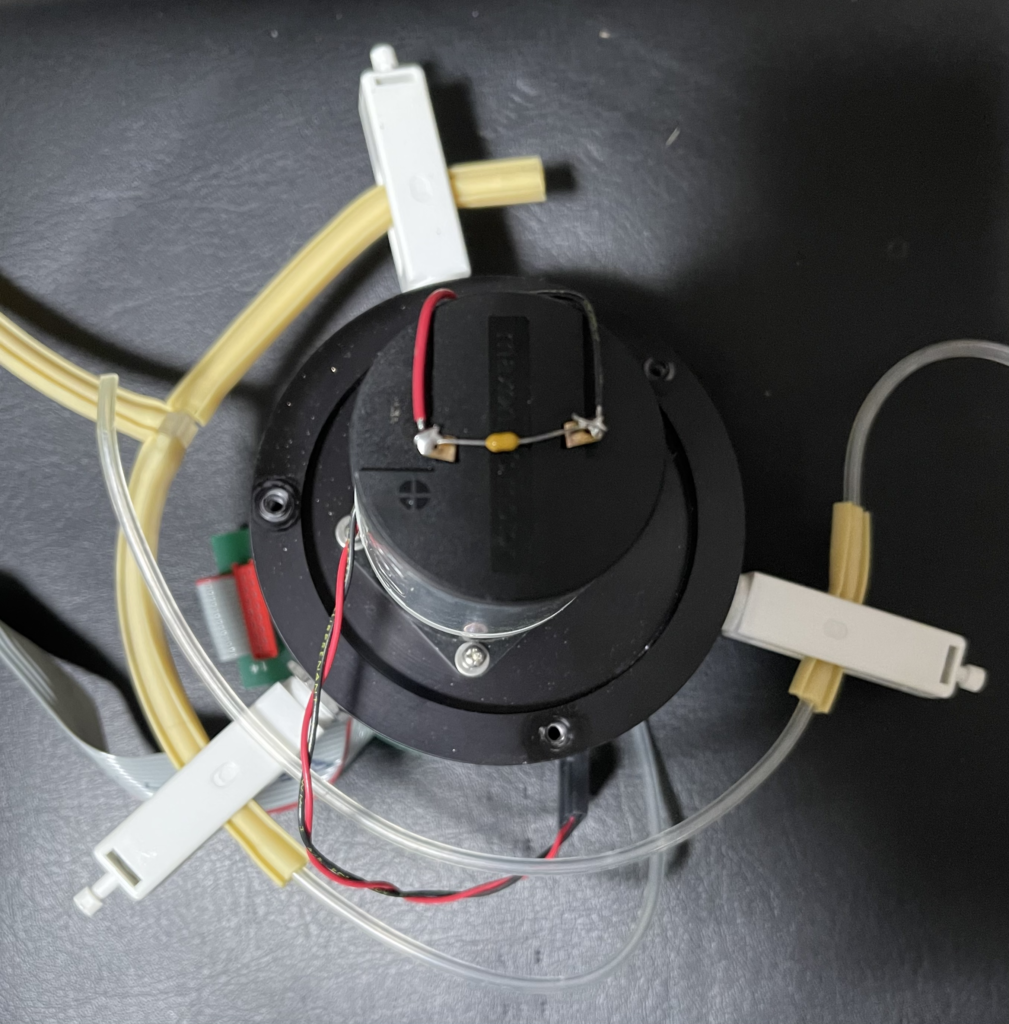
The aperture “rod” screws into the unit. There’s a light source (Mercury lamp I think) which can be used to illuminate the aperture. This is focused through the lens on the right and projected on to a screen at the top of the unit. The system is purely optical, there’s no detection electronics. It’s unclear to me how clear the alignment of the aperture is… or what the exact purpose of optically monitoring the aperture is.
There’s a stirrer attachment to the left of the aperture rod. From the rest of the system I suspect this also makes electrical contact with the fluid.
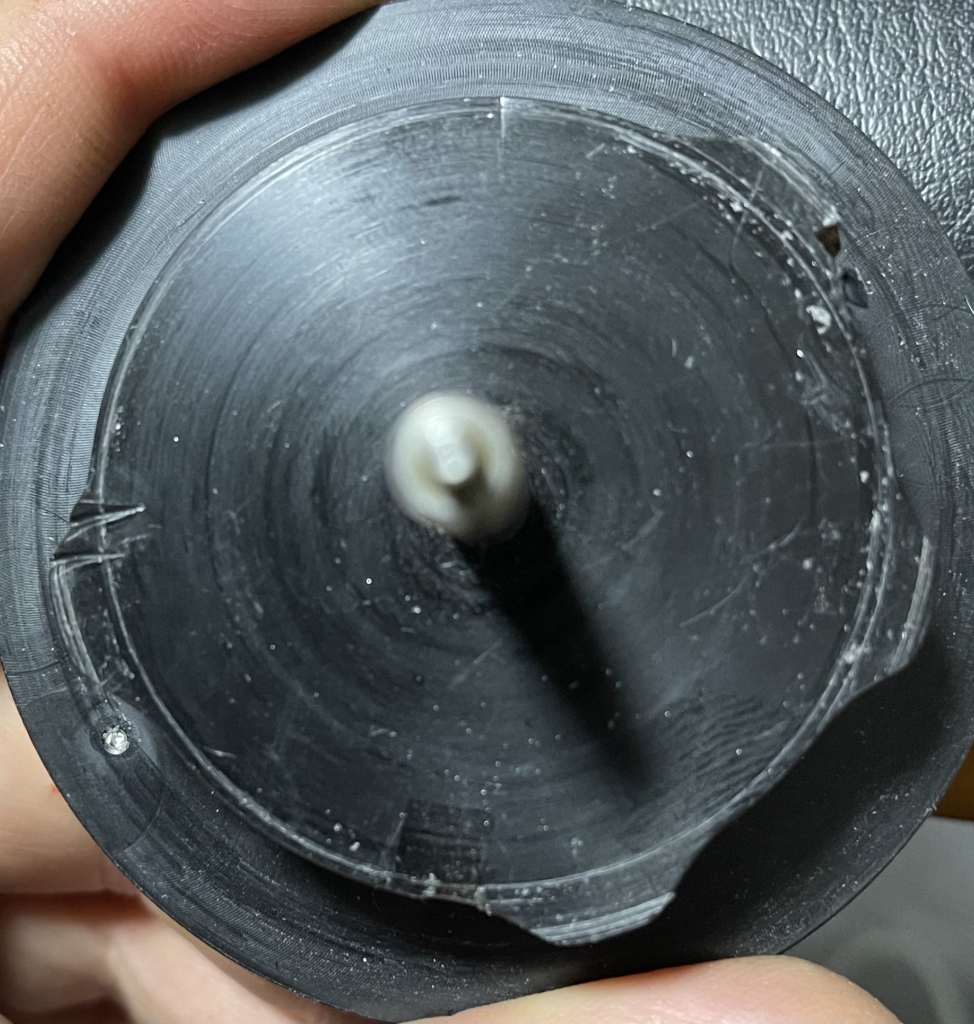
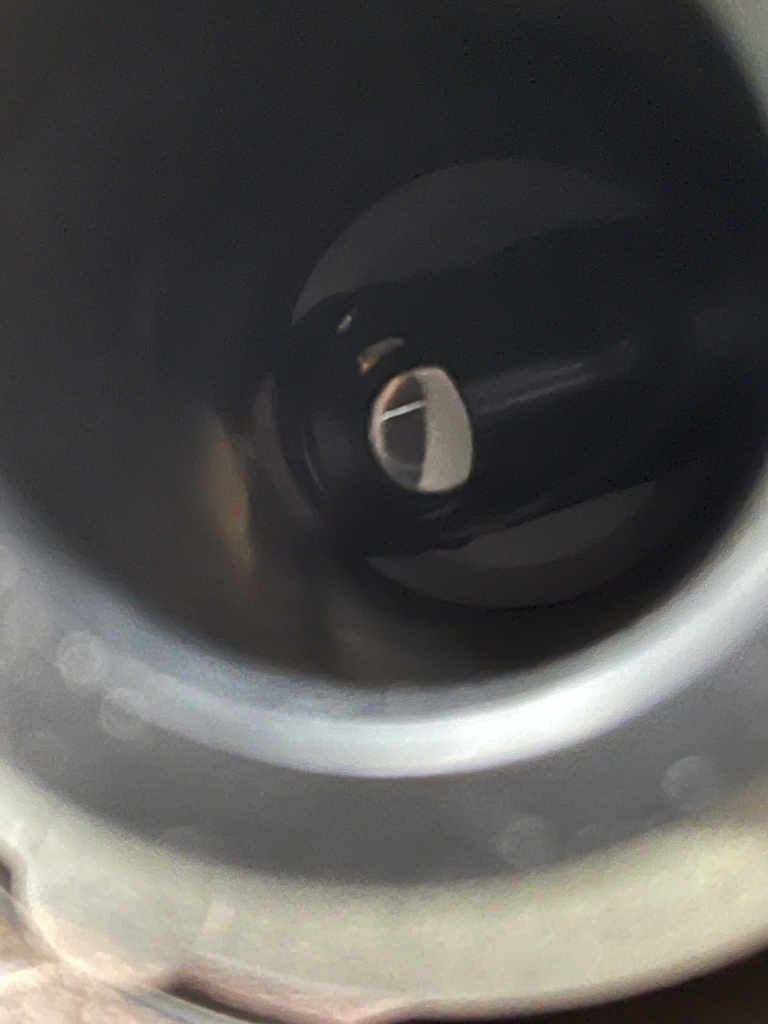
The aperture rod itself is a glass tube:
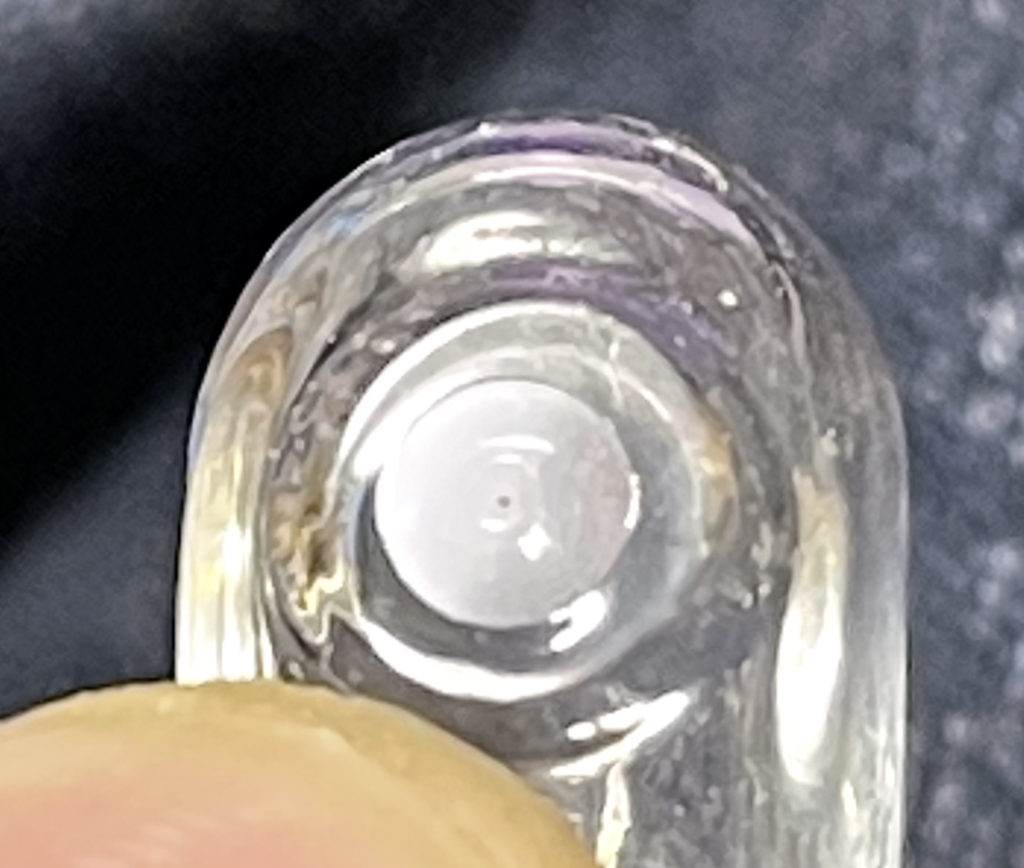
At the end of the tube is a flat disc with a small aperture in it. It’s not clear to me if this is a polished part of the glass or a disc embedded in it:
If you pull apart the instrument, you’ll find the aperture attaches to a small fluidic block:
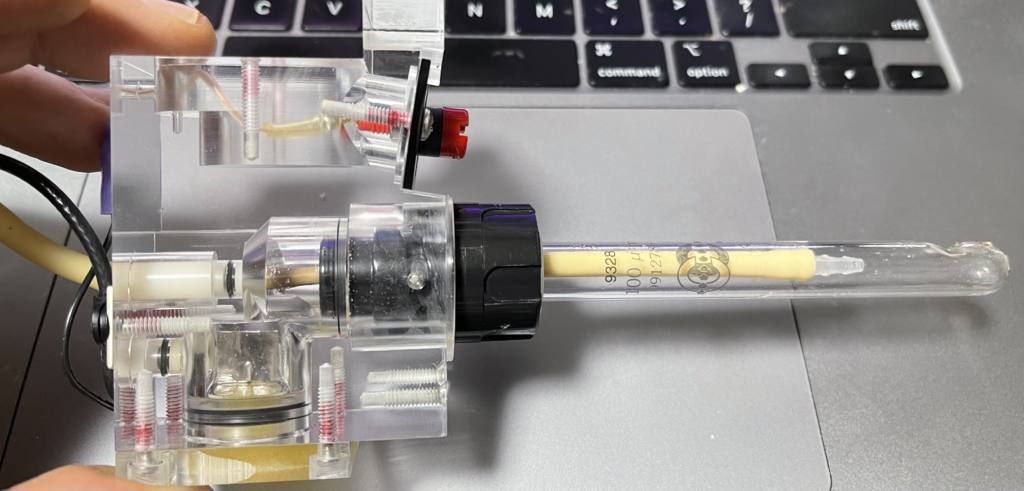
The coax cable on the left makes contact with the foil sheet on the bottom (with is in the interior tube fluid path) of the unit and the red connector on the top of the unit. Somehow this top red connector must make contact with the sample. I assume via the stirrer…
There are two fluidic connectors at the top of the block. I imagine the instrument can pre-fill the tube via one of these.
Fluidics
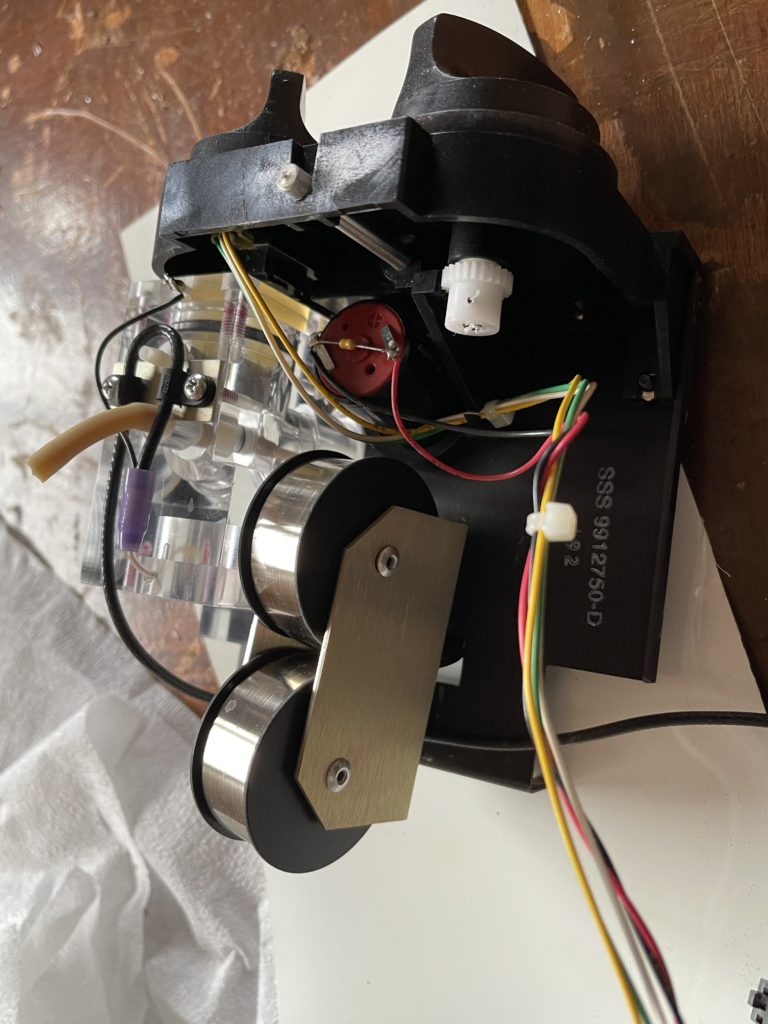
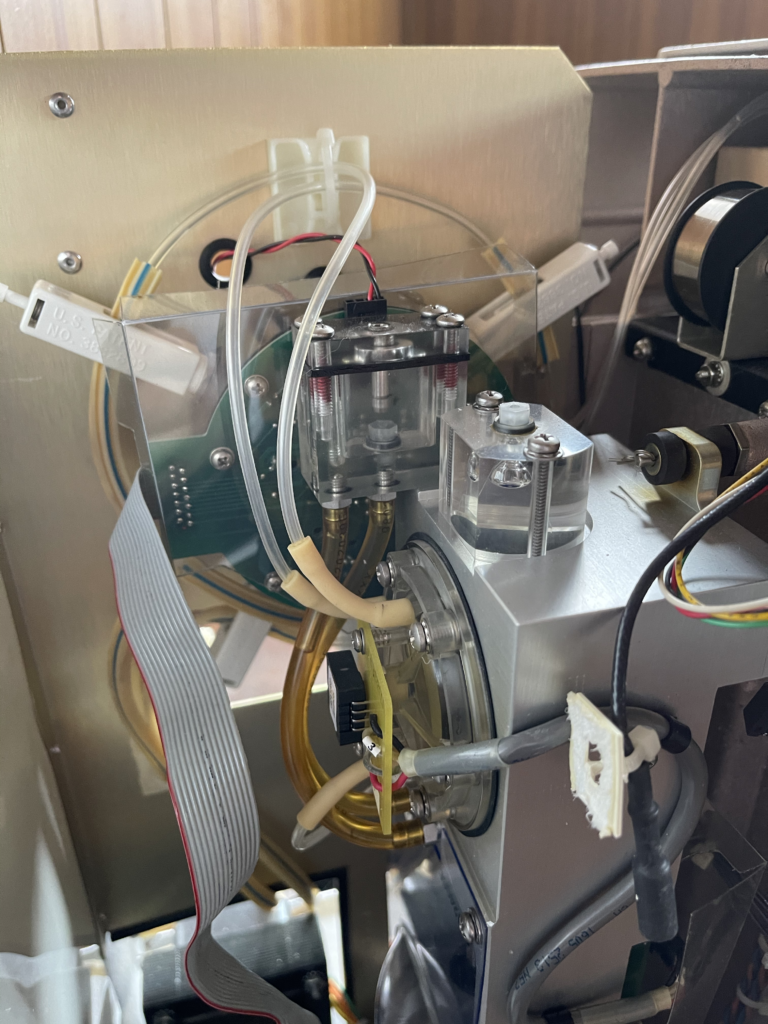
The bulk of the instrument is composed of two fluidic components. A selector valve, and a metering pump.
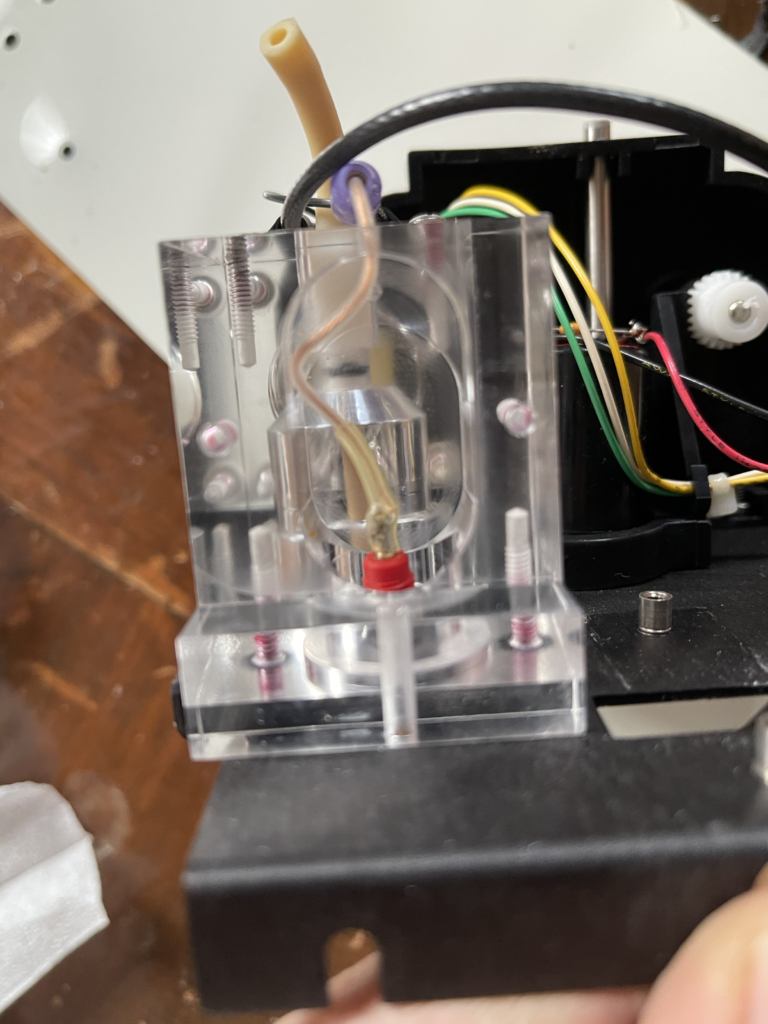
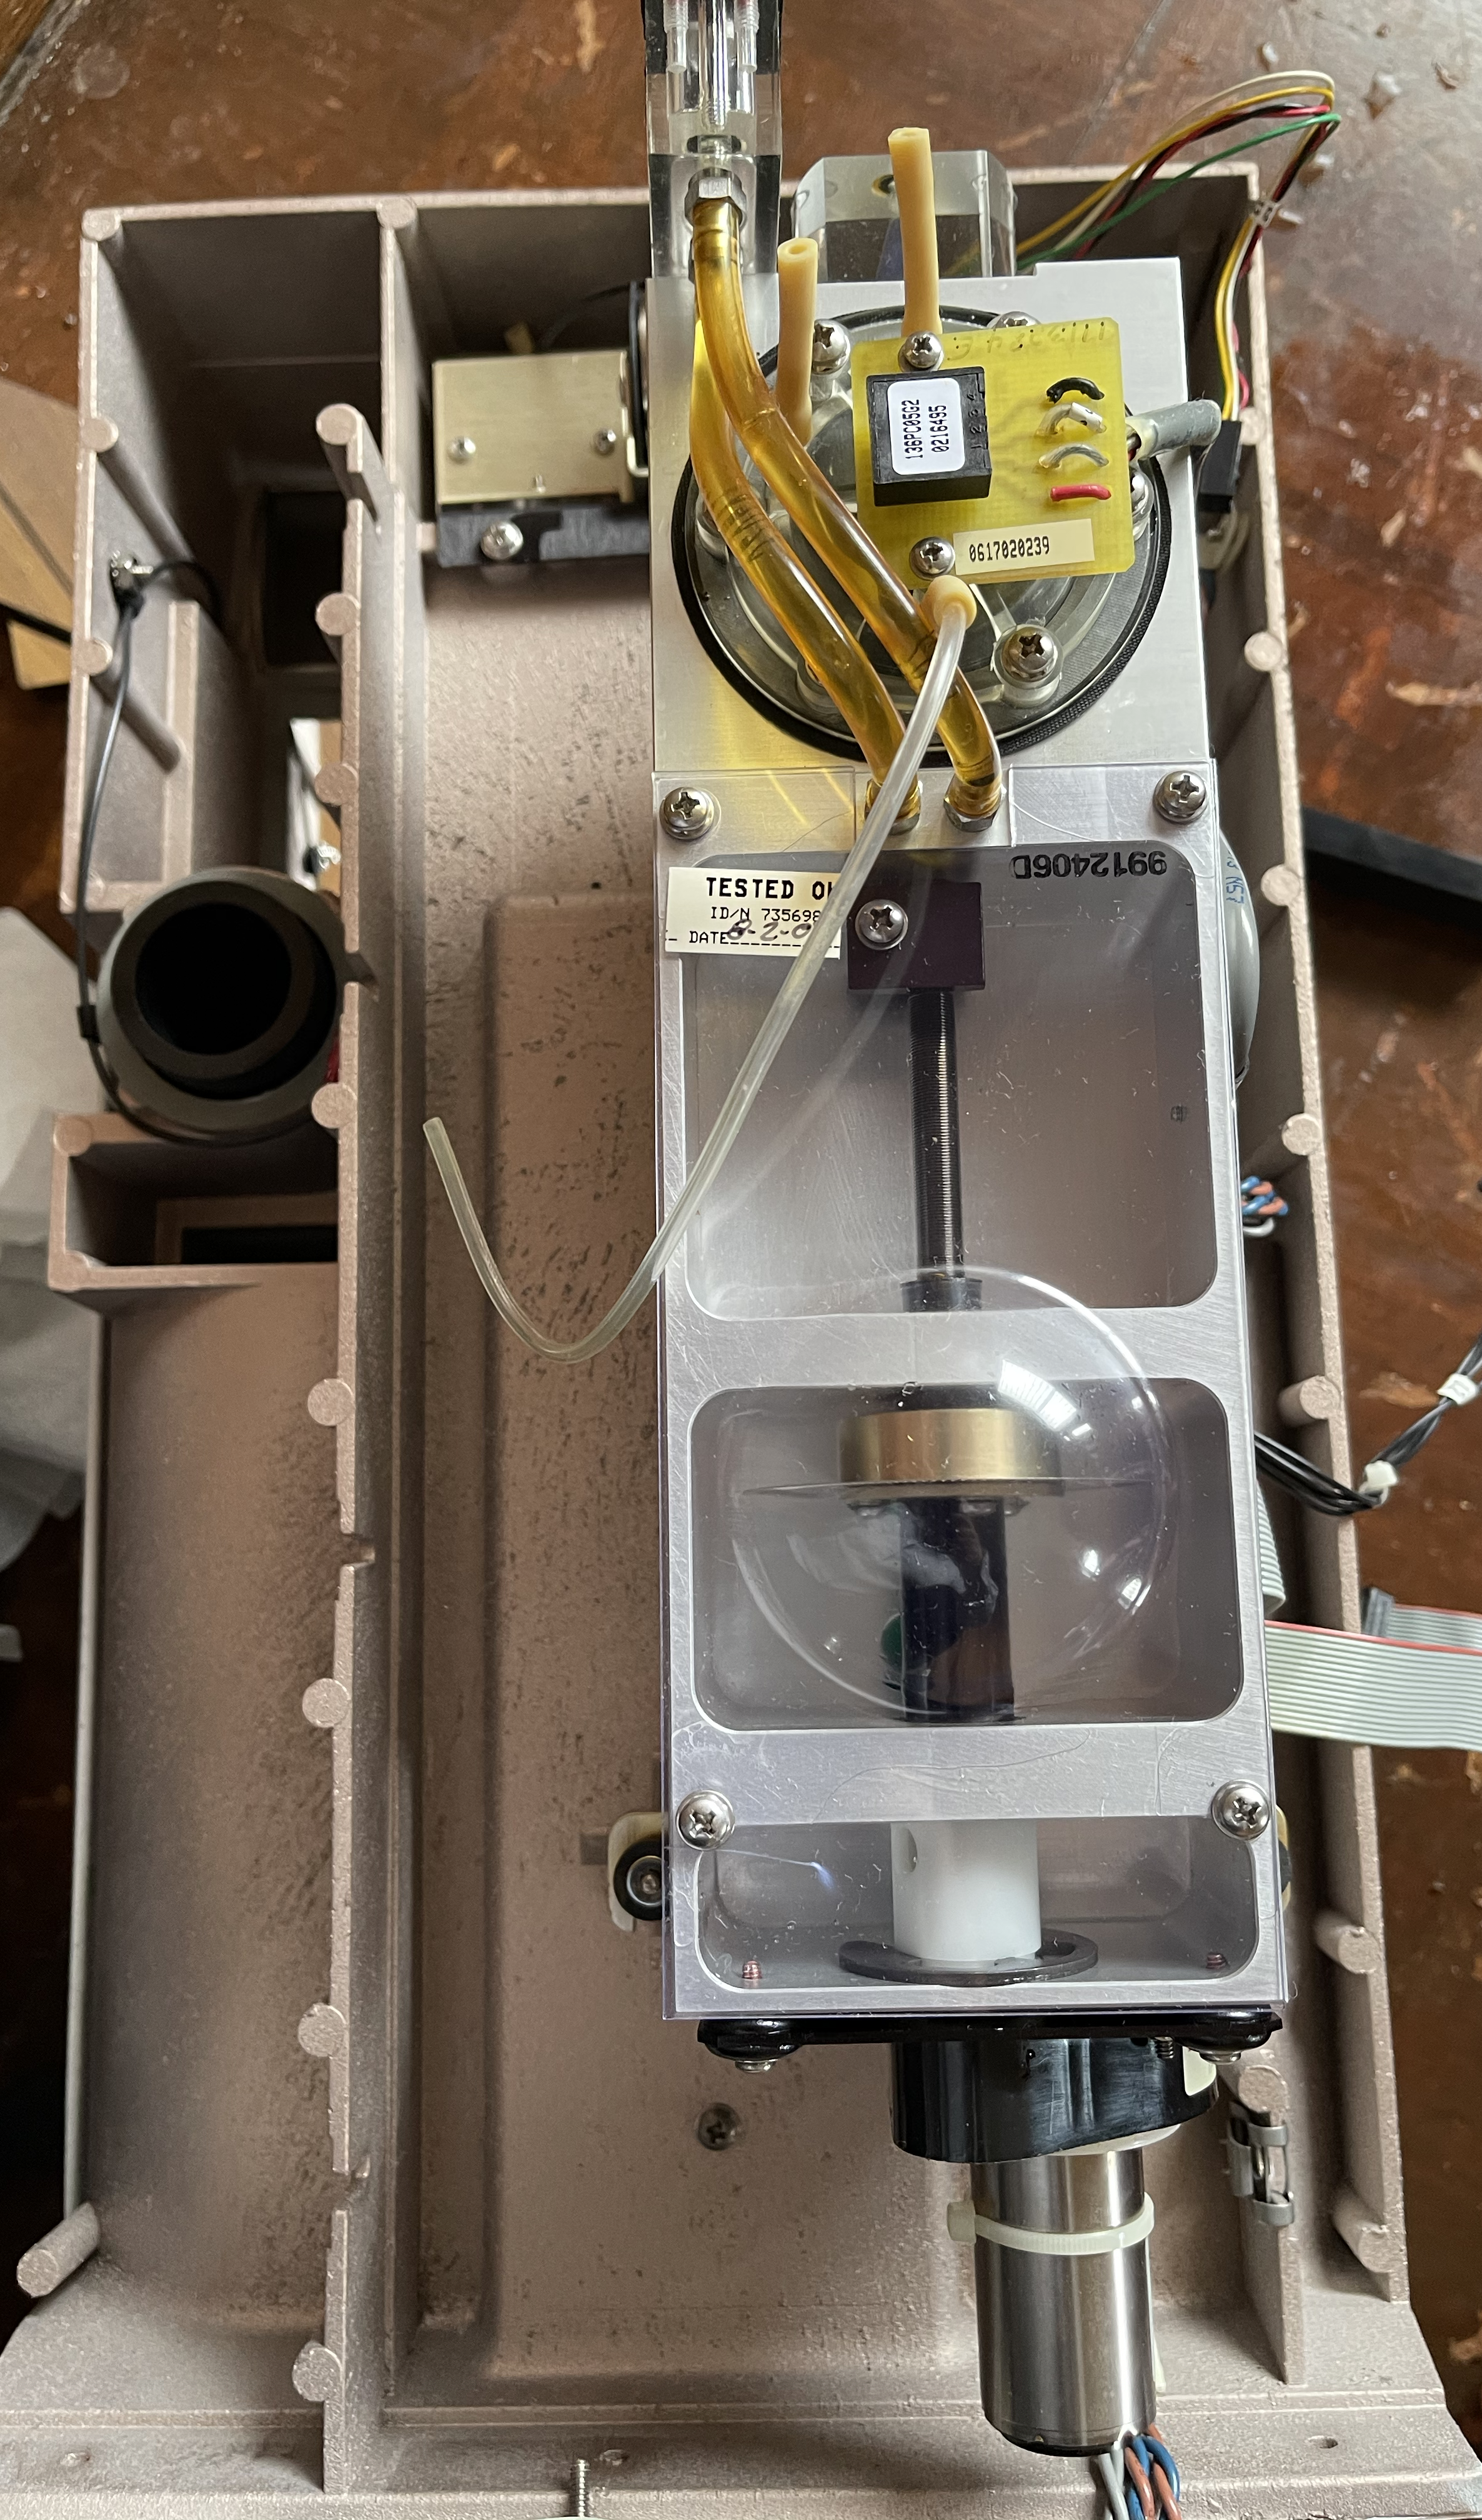
The metering pump, labeled “Metering Module”. Is a rather attractive piece of engineering:
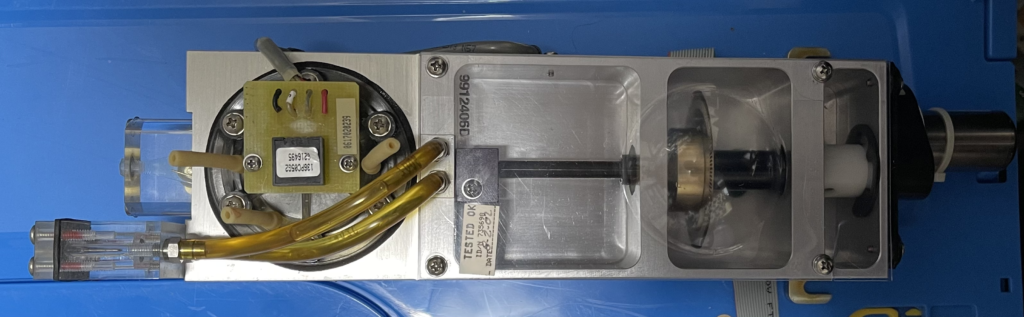
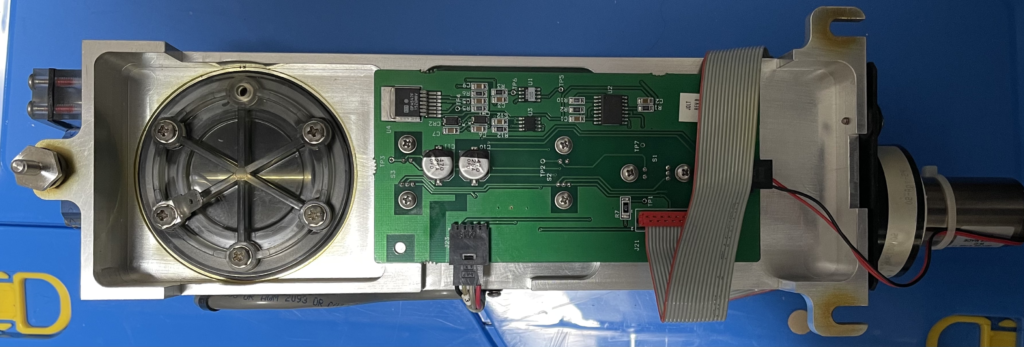
It appears to essentially be an oil filled diaphragm pump. On the “front” of the unit above you can see a Maxon DC motor to the right. This drives a rod with an encoder wheel on it. The rod feeds through into the oil chamber.
By pushing the rod into the chamber the oil push pressure on a membrane which can be used to move fluid around…

This membrane makes contact with the fluid on the other side of the pump (“front” above”):
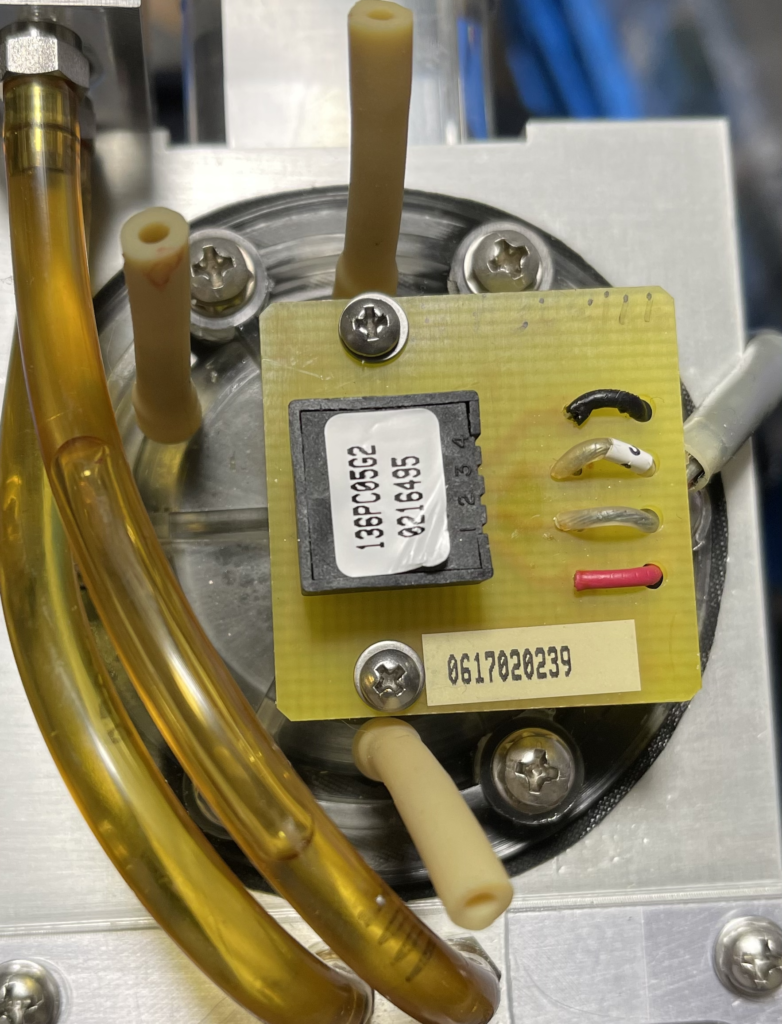
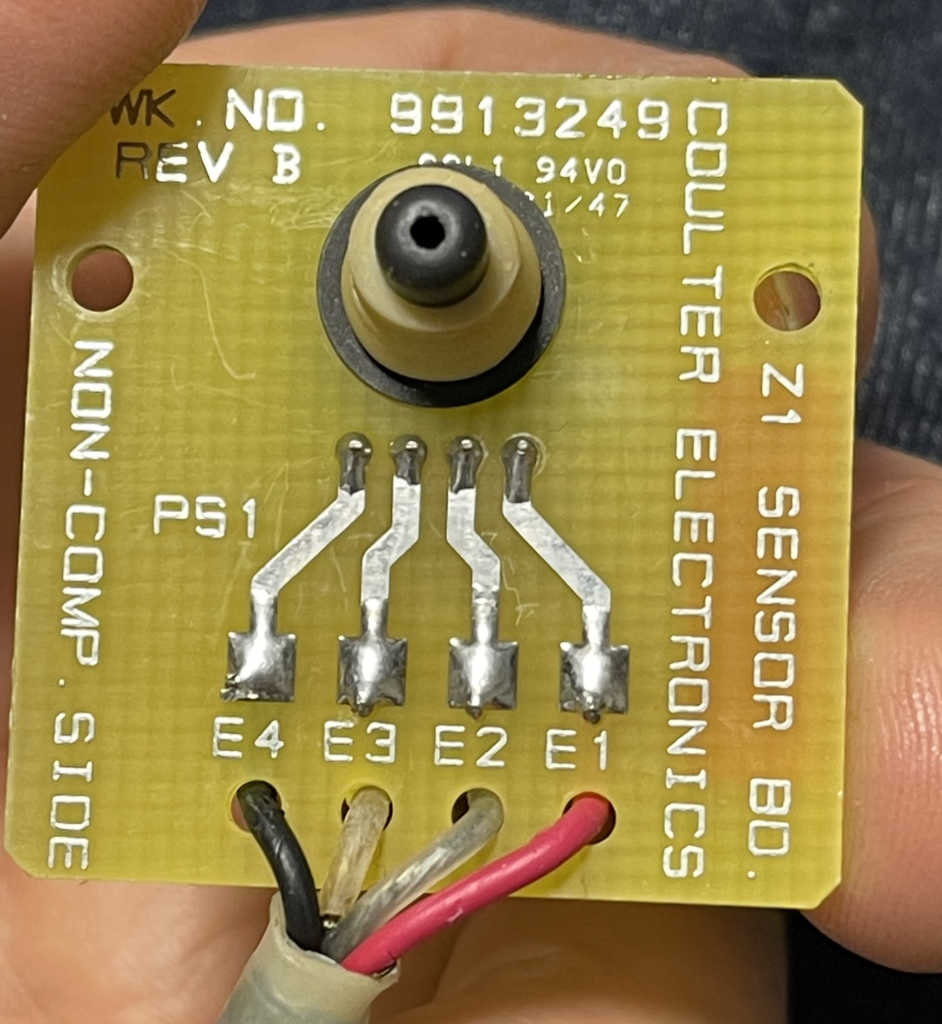
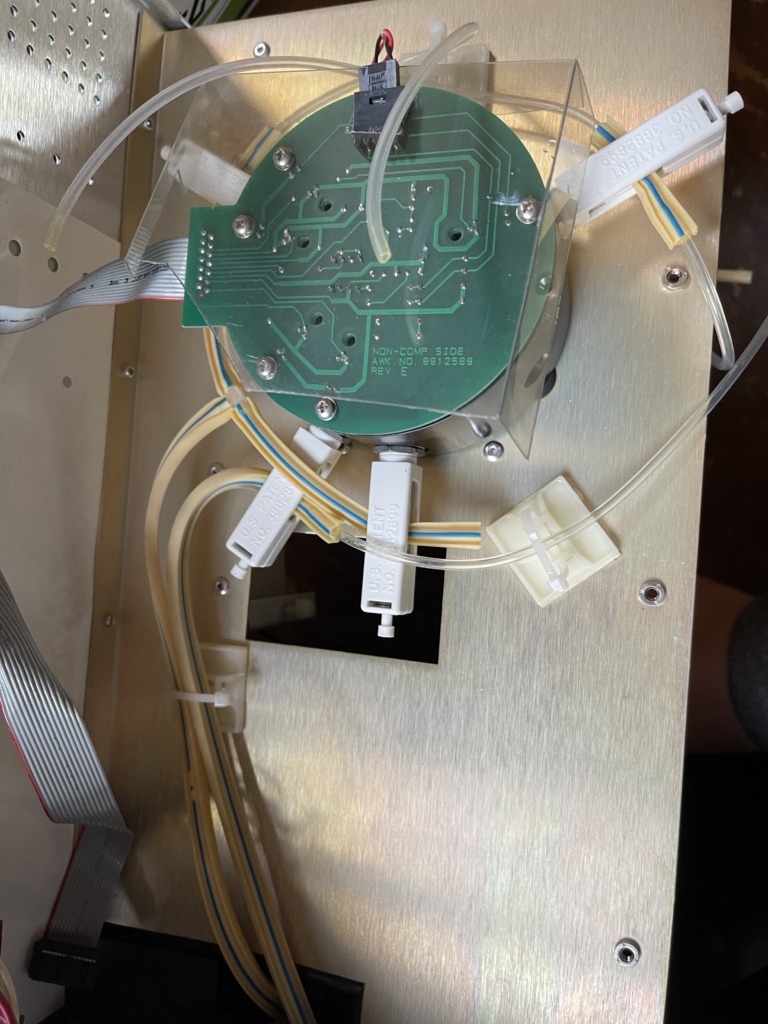
The three fluidic connectors/tubes above all make contact with the main chamber containing the diaphragm. The component on the PCB above also makes contact with the chamber, and I would guess is almost certainly a pressure sensor:
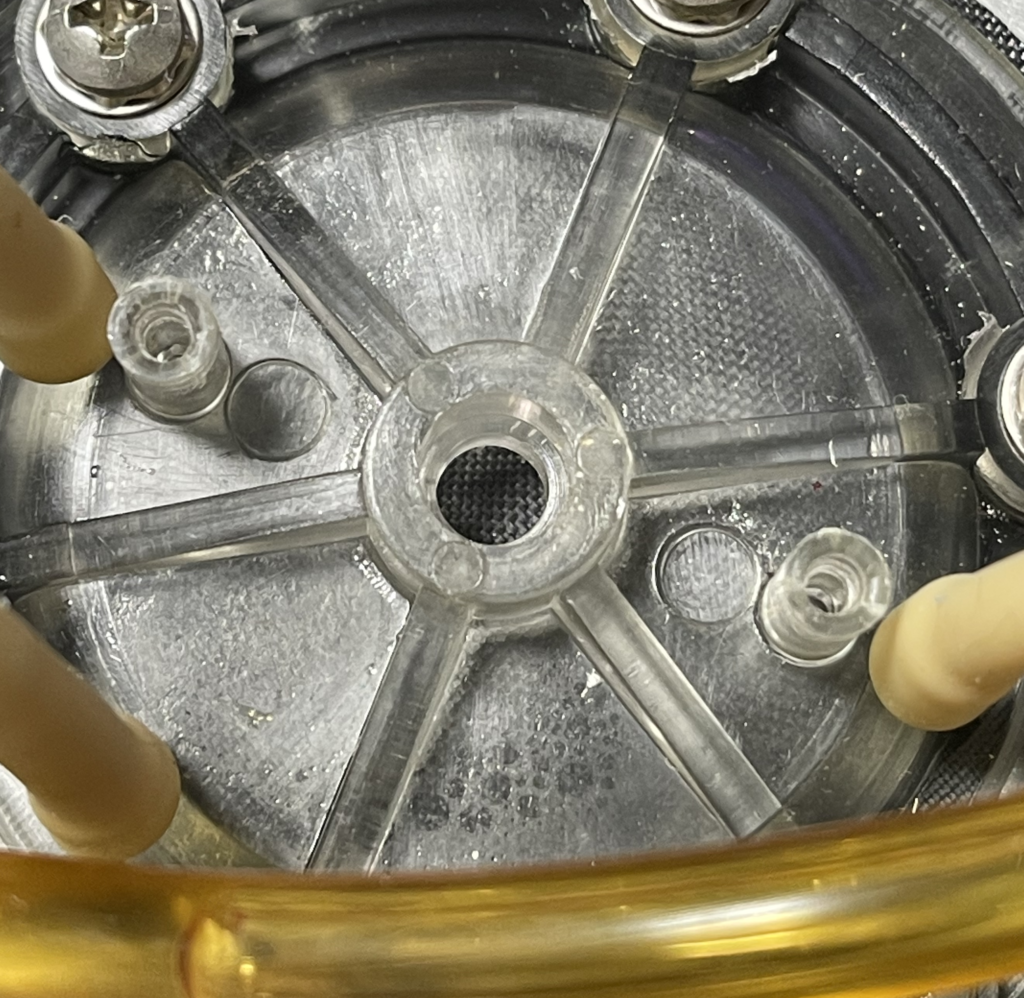
With the pressure sensor removed you can just see the membrane:
As it goes, this is all fine. But in order to move fluid around, the diaphragm pump needs a valve to open and close the inputs/outputs. In a regular diaphragm pump these are usually mechanical valves:

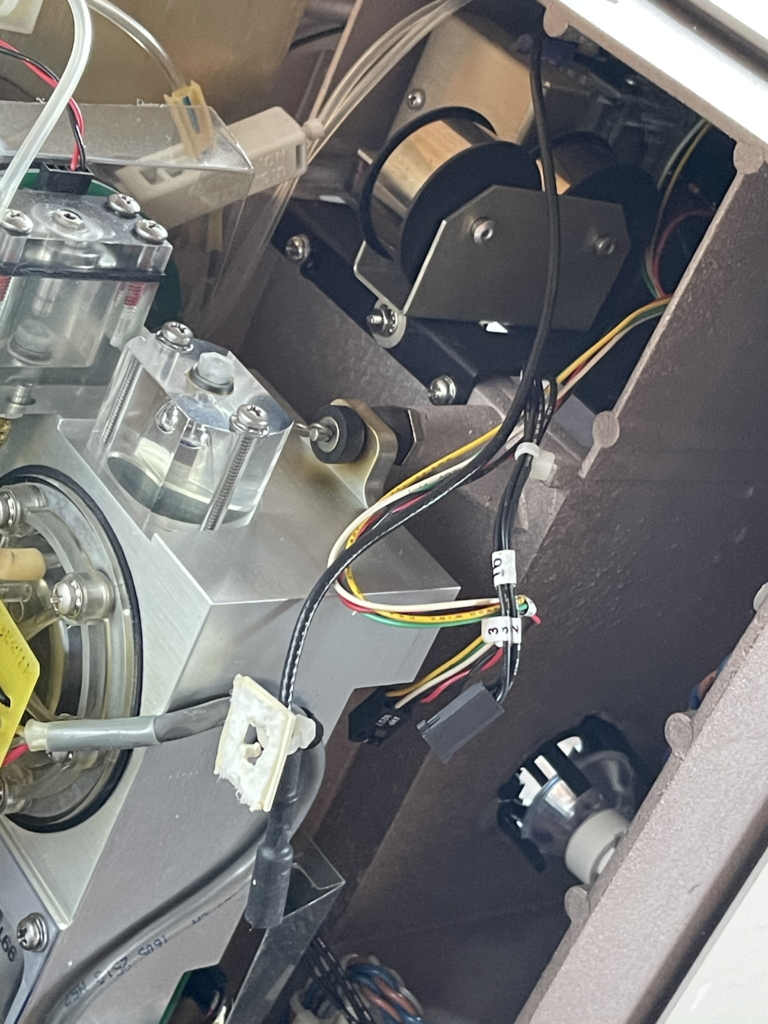
But in order to allow the pump to switch between different inlets/outputs the Z1 uses a motor driven selector valve:
This is a very simple mechanical system. The white valves just clamp tubes shut under pressure:

Inside the unit is a wheel which is rotate by the motor to put pressure on the values:
For the most part this wheel seems to clamp down on one valve at a time. So I would imagine this can be used to first fill the pump chamber with buffer. Then clamp off the buffer, and allow the pump to fill the aperture tube. Then pull fluid through the aperture tube into the pump chamber before finally ejecting it to waste.
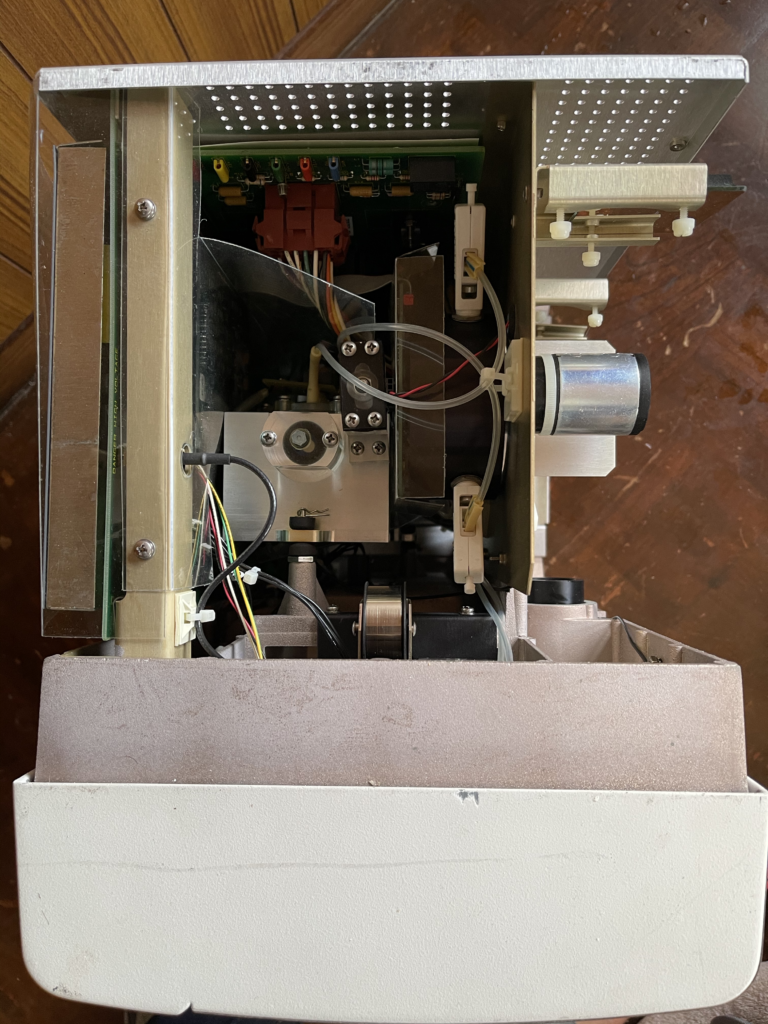
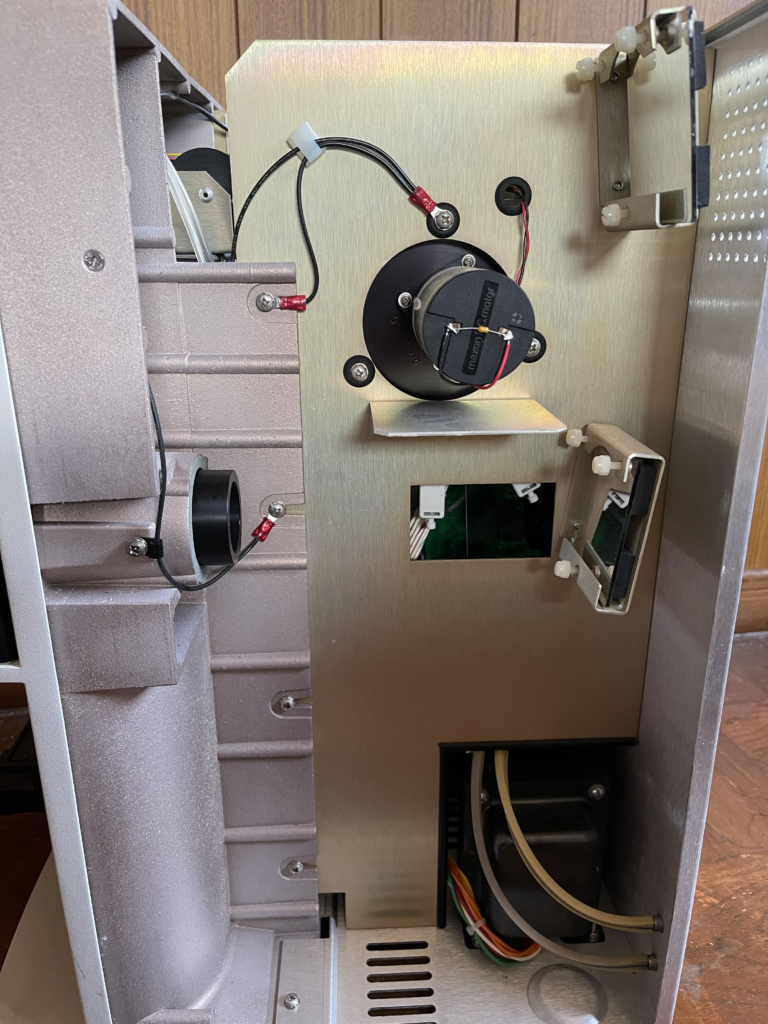
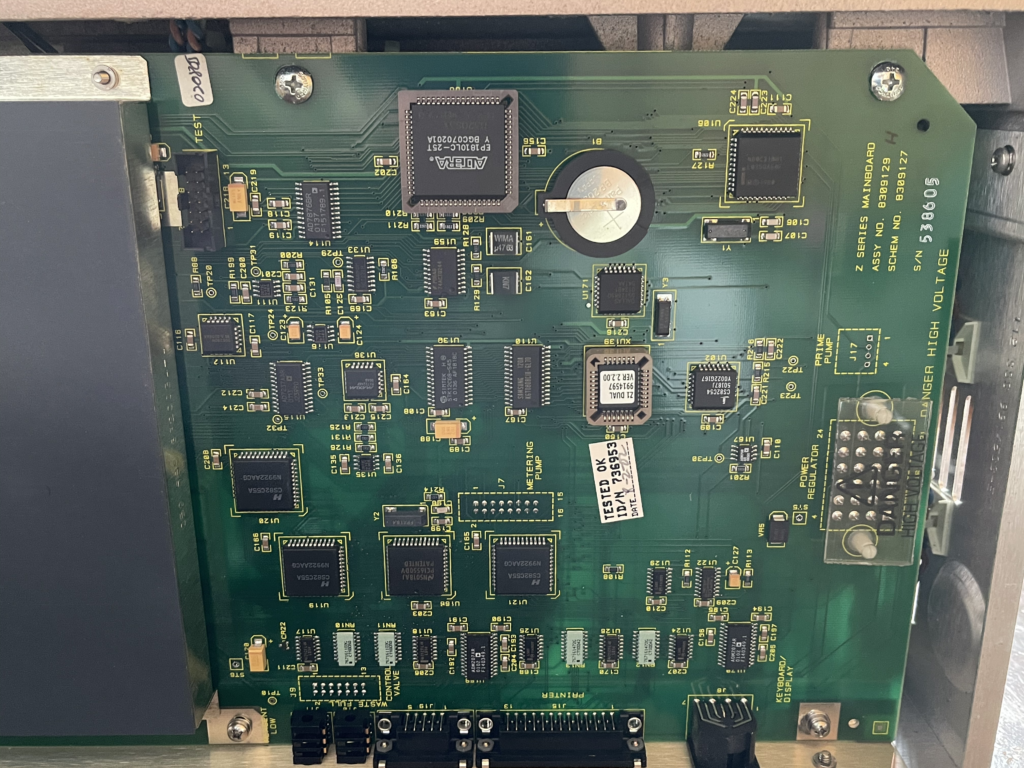
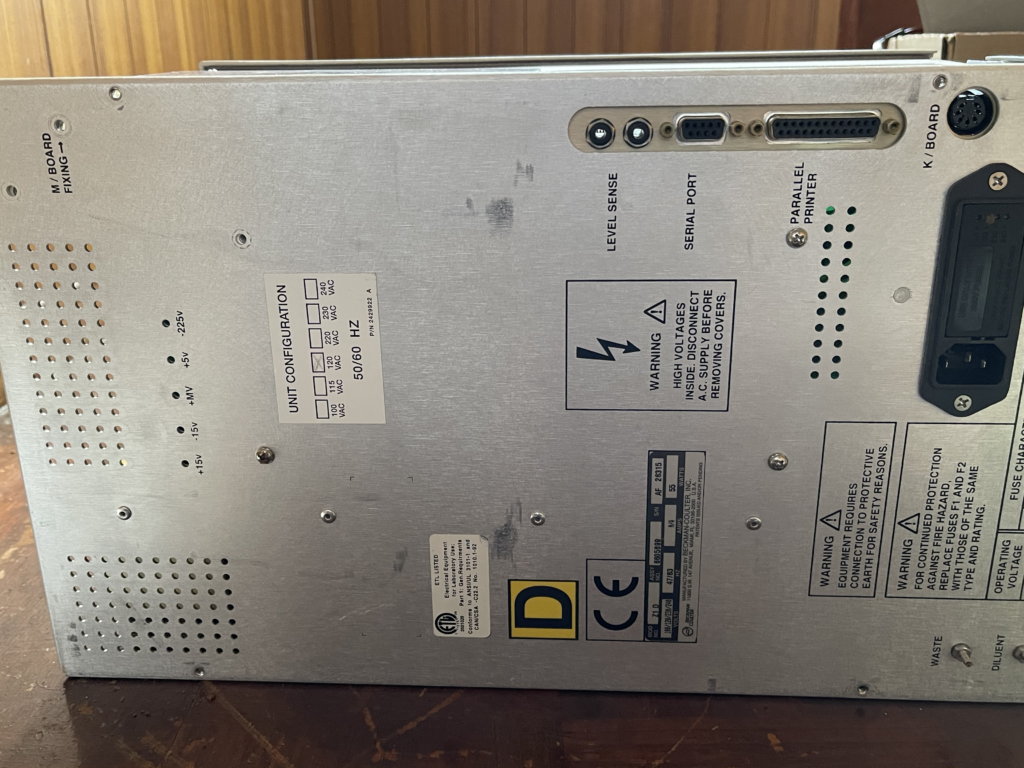
This is as far as I plan to take things in this post, but I may investigate the electrical side more later. In the mean time, below are a pile of pictures from the teardown:


![]()