Photobeaching on the Genome Analyzer, using a IMX178
In my previous post, I talked about my first experiments with a genome analyzer, looking at single dye bleaching. In this post I discuss a few further developments.
I picked up an IMX178 based camera. These cameras are cheaper than the IMX174 based ones, have smaller pixels (bad) but better noise specs. Images generally looked a little better (the image below is atto1178_5) with used 1s exposures and 4x binning:
But I found turning the mode scrambler off produced much much cleaner images, with better defined points. However, this introduces the “wavey” illumination that you can see in the images below (500ms exposures here, atto1178_13):
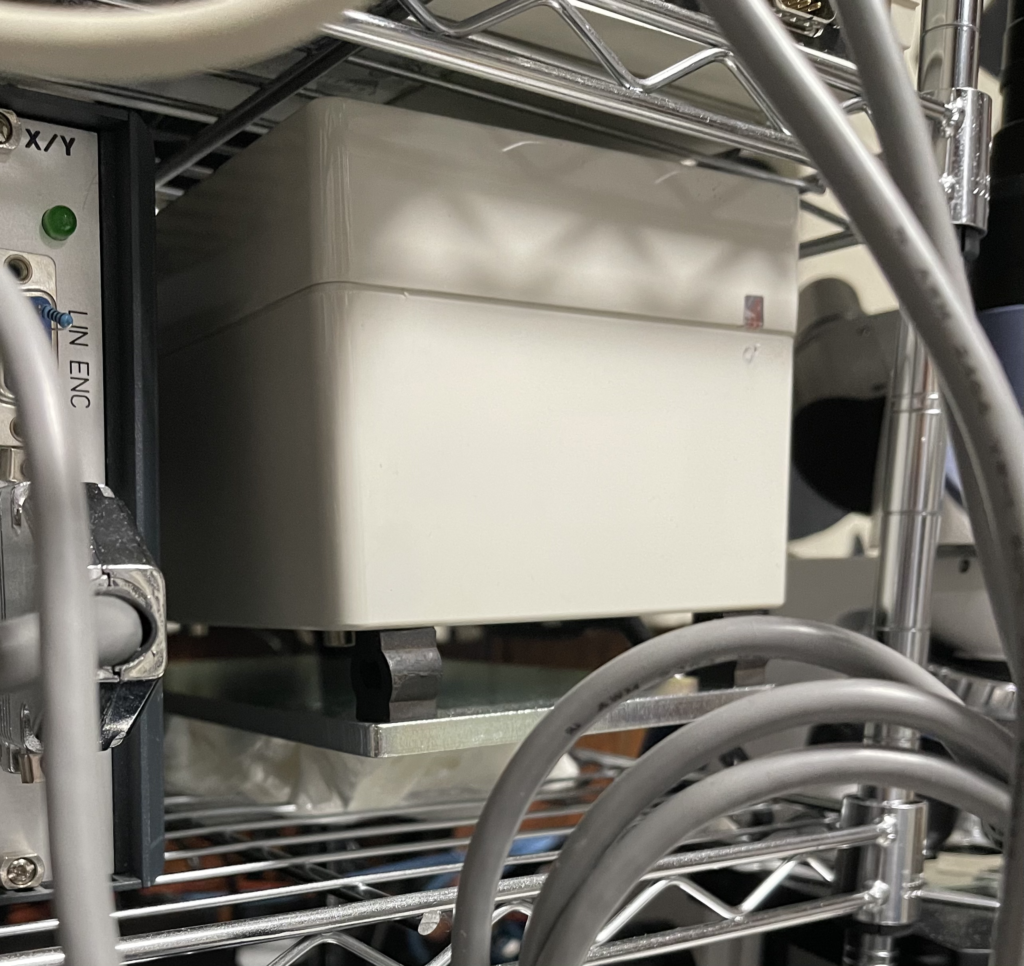
Turns out the mode scrambler (which works by vibrating after all) was causing a lot of vibrational issues. While the mode scrambler is attached to a dampening mount, I found that stuffing a pile of kimwipes under the unit, cleaned up more of the vibrational noise:
The results are reasonably clean (Atto1178_21, 2s exposures, binning=4):

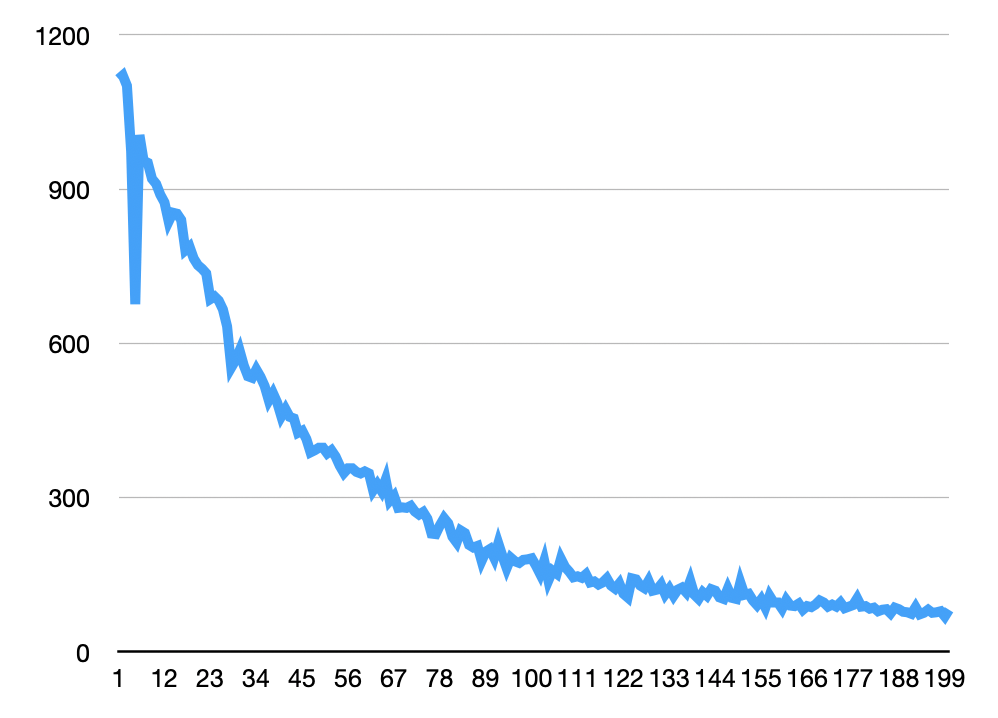
With some basic thresholding, I was able to quickly extract particles from this dataset in Fiji. In general for the images above I enhanced contrast (using the stack histogram) and background subtracted (default values, 50px window). Below I used analyze particles to generate particle counts on a manually thresholded stack (same thresholds were used for all images). These looks more or less as expected for a photobleaching experiment, with the dip at the beginning caused by the image becoming saturated/some spots colliding:
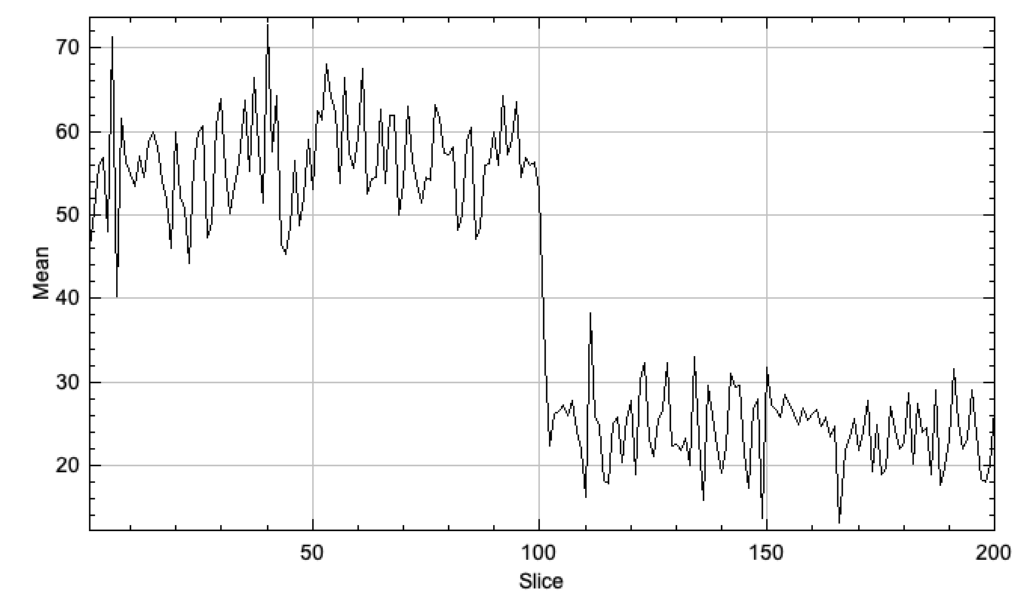
You can also pick out fairly clean traces across frame for spots that bleach (Plot Z-axis profile over a spot):
Datasets:
https://41j.com/blog/wp-content/uploads/2021/04/atto1178_5.tar.gz
https://41j.com/blog/wp-content/uploads/2021/04/atto1178_13.tar.gz
https://41j.com/blog/wp-content/uploads/2021/04/atto1178_21.tar.gz