Archive for the ‘Uncategorized’ Category.

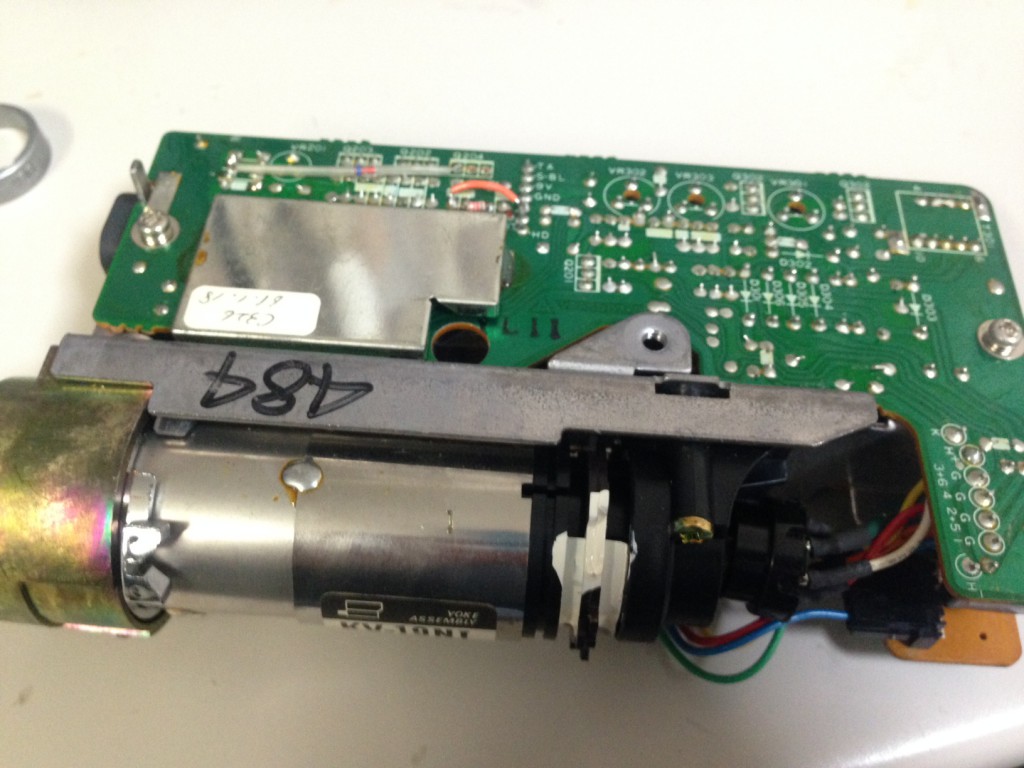
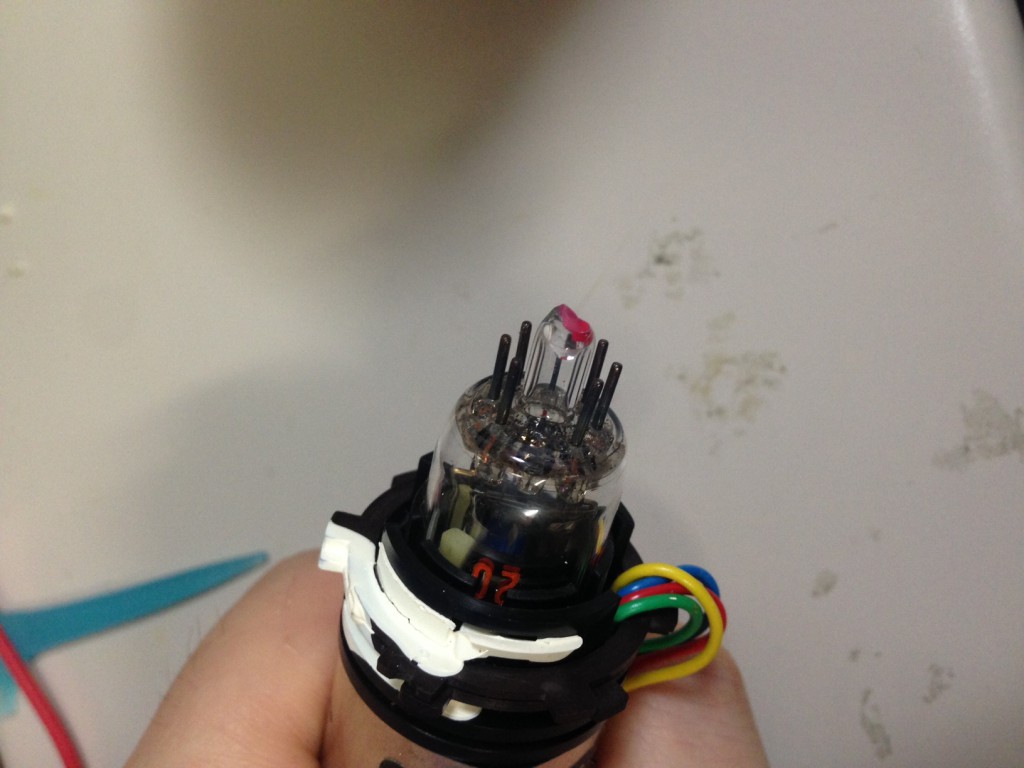
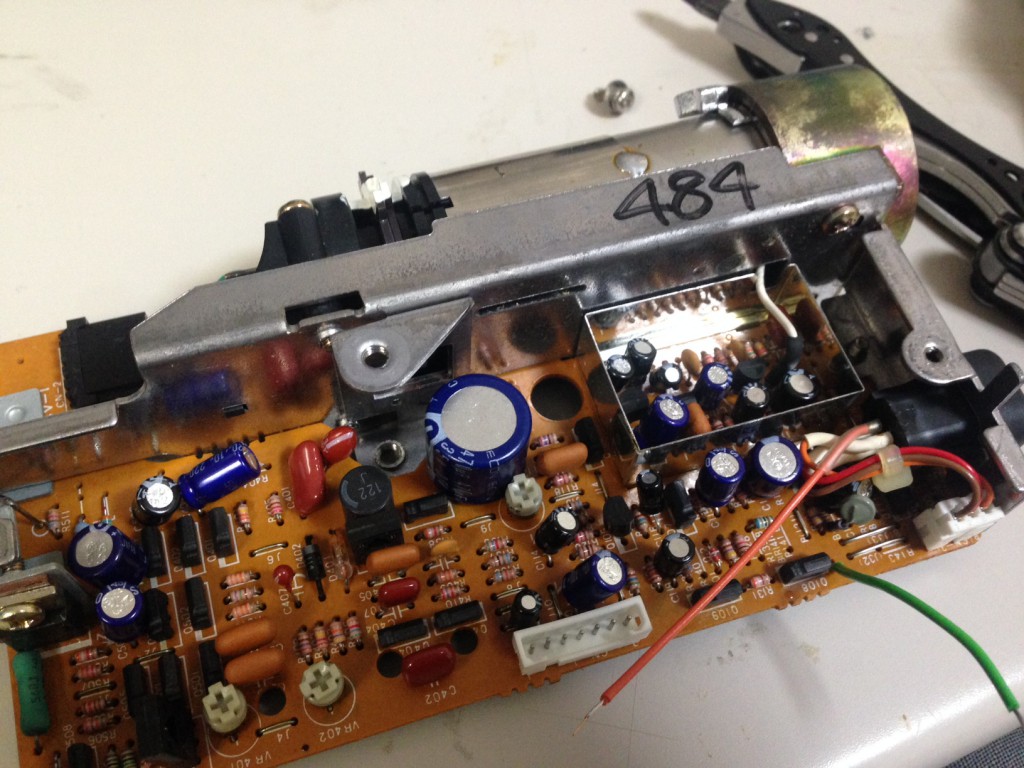
National “TV Camera” Vidicon

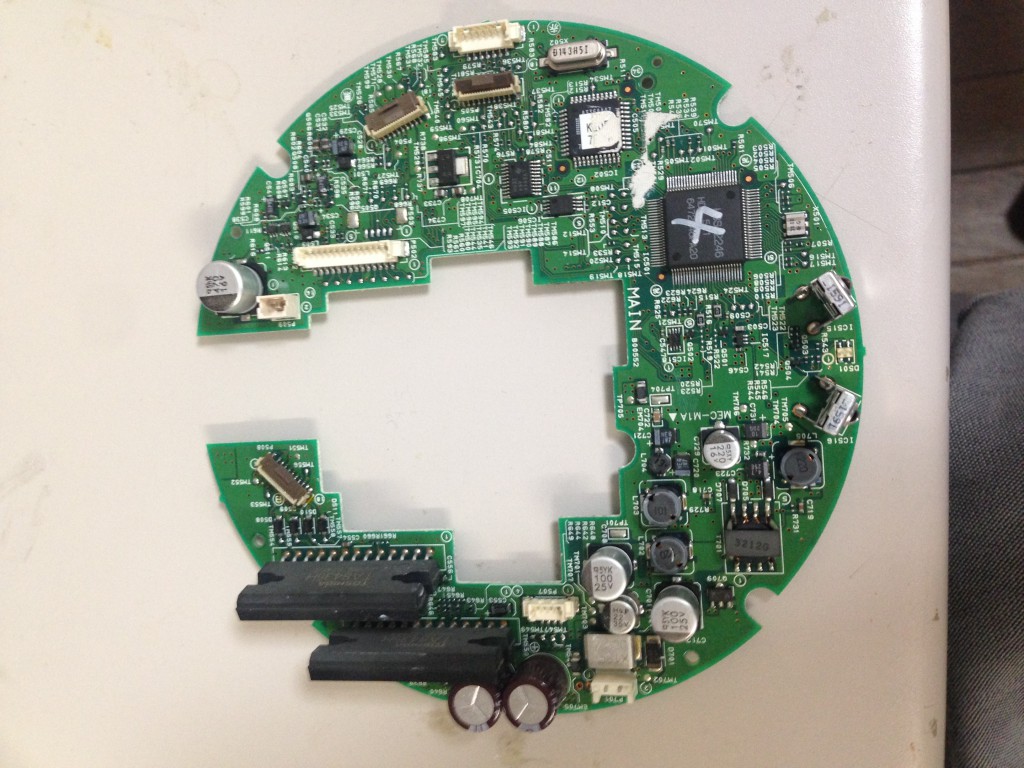
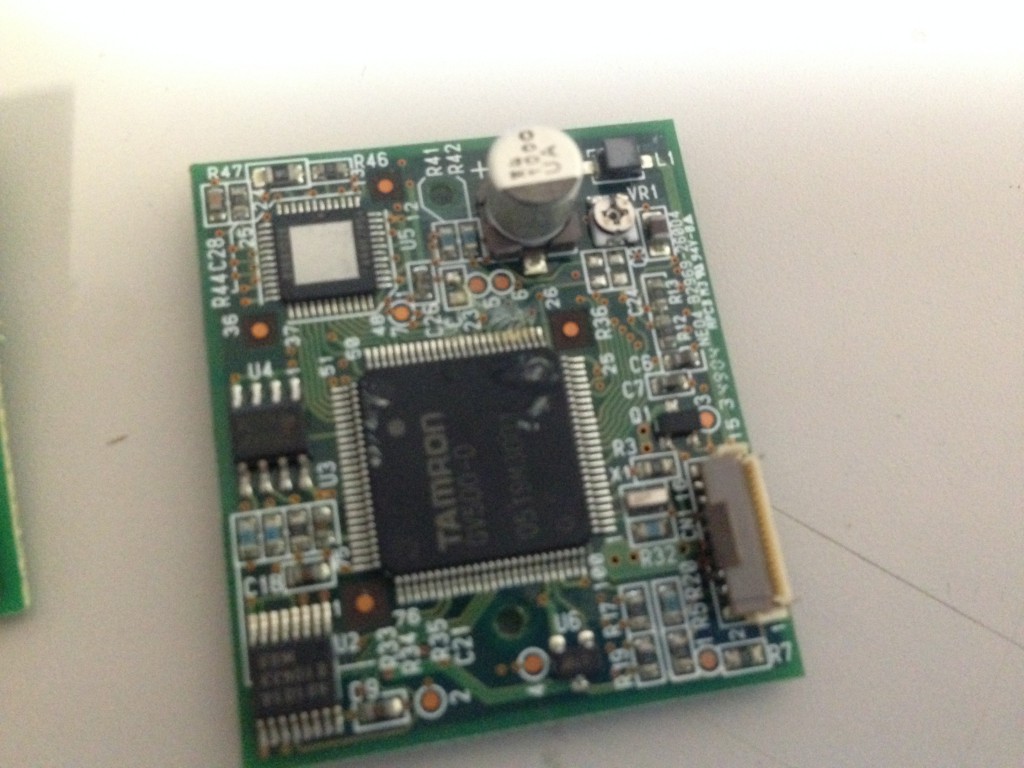
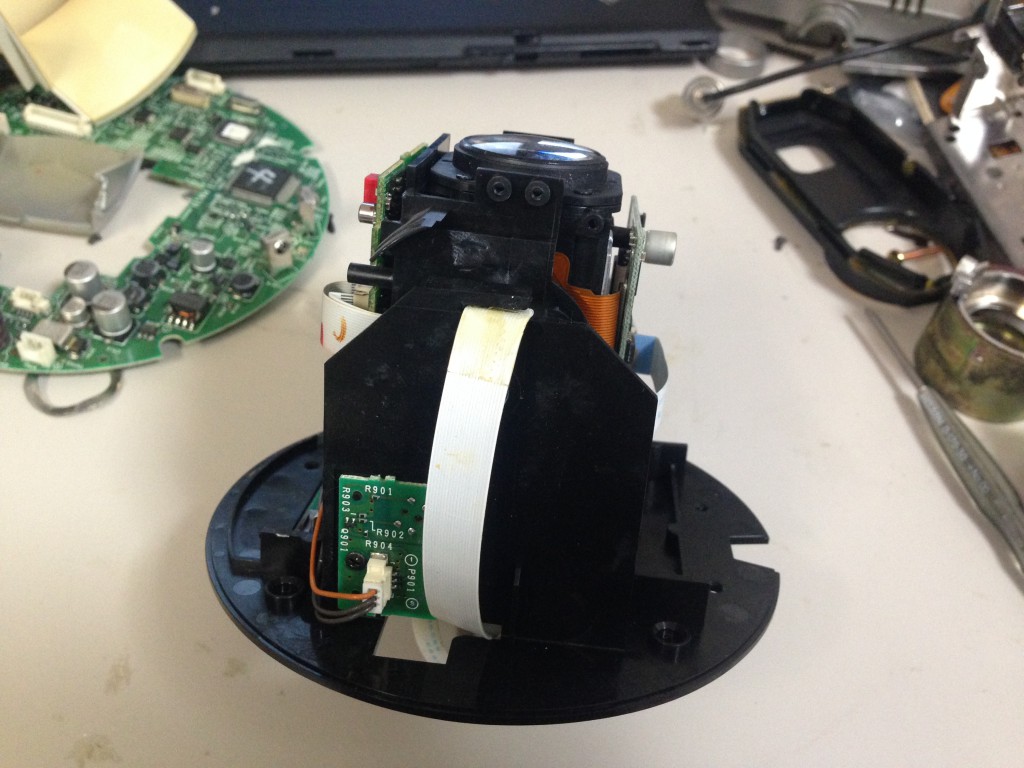
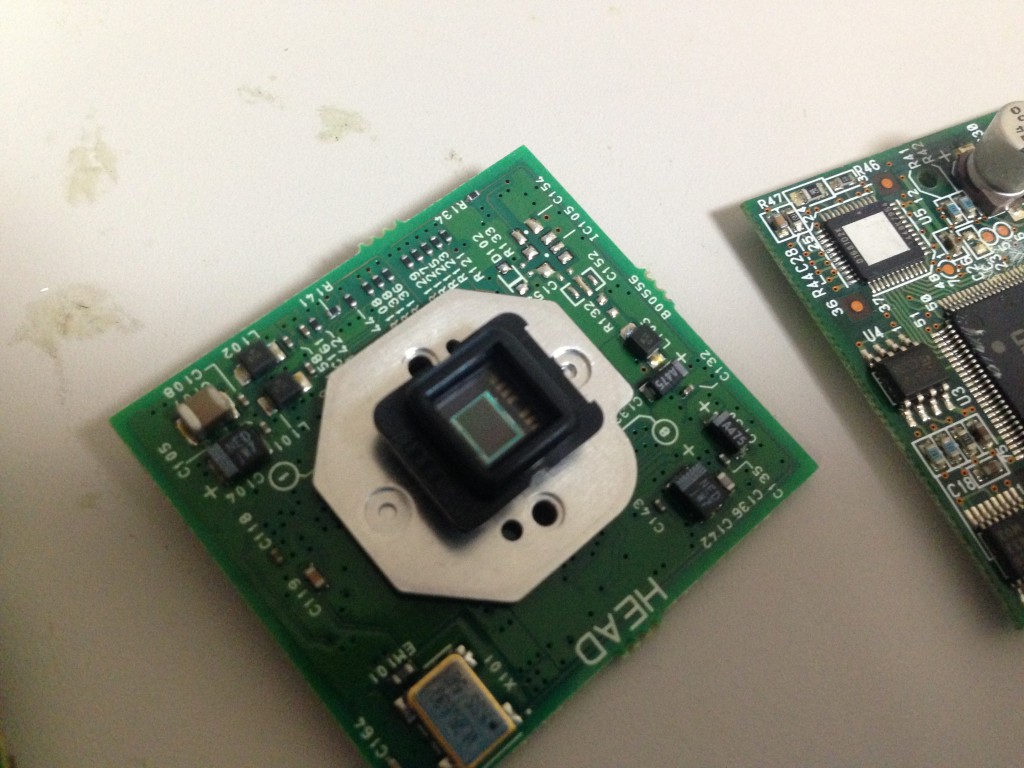
photo 1

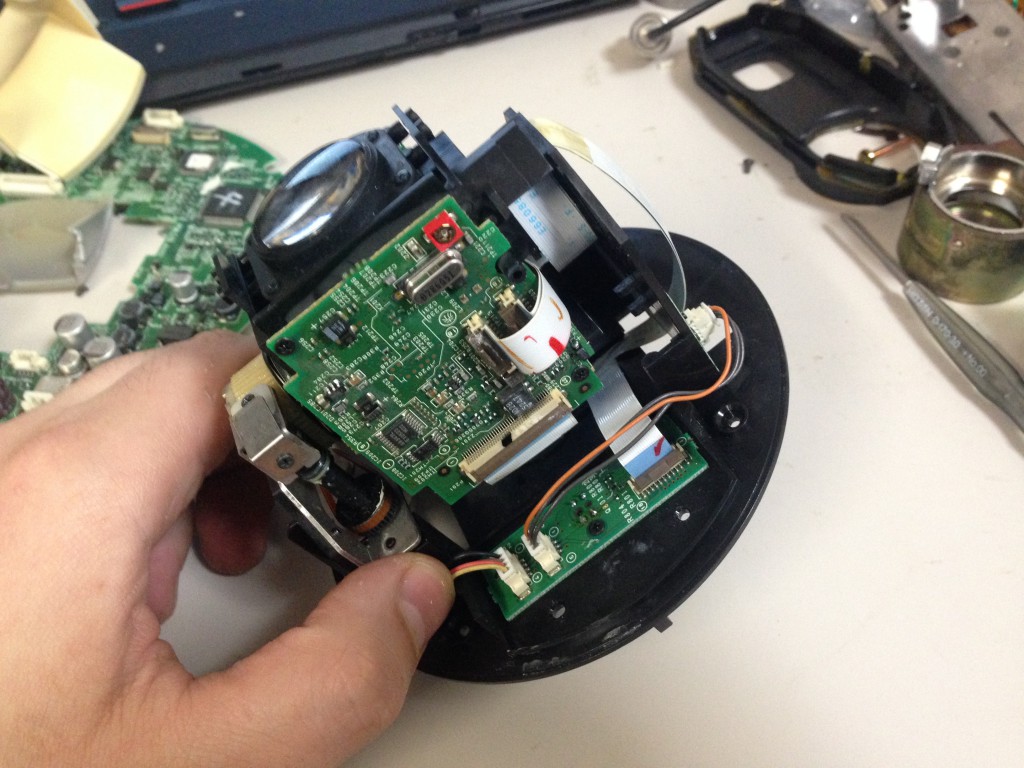
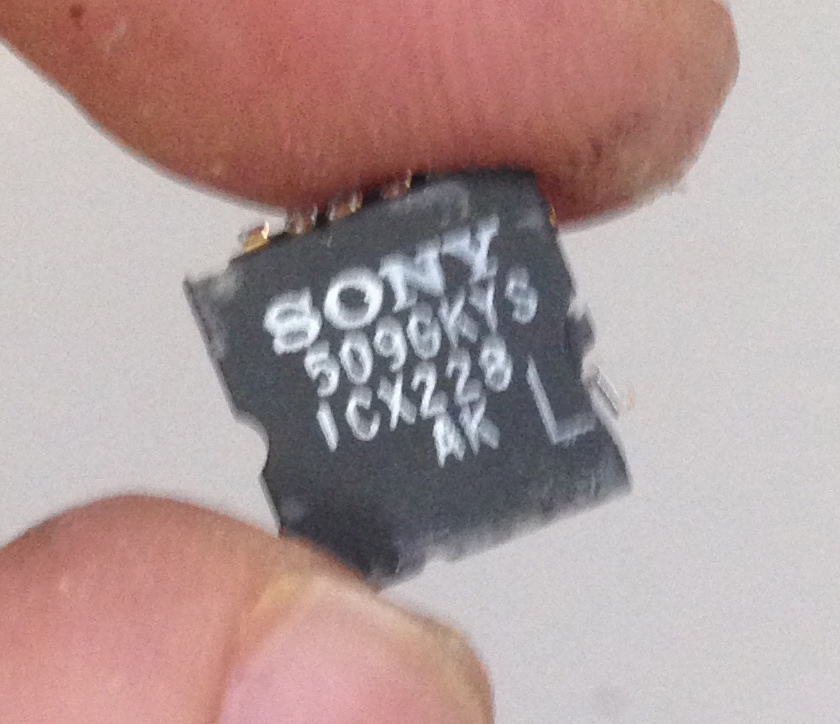
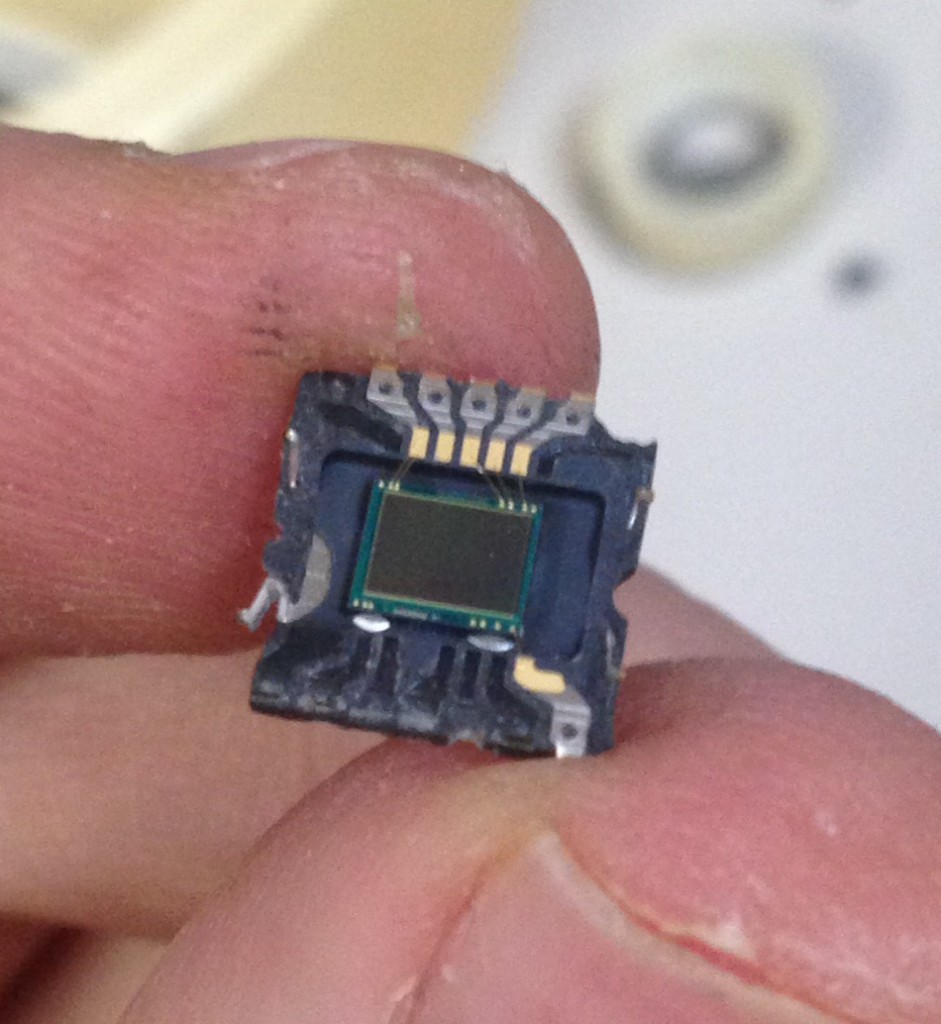
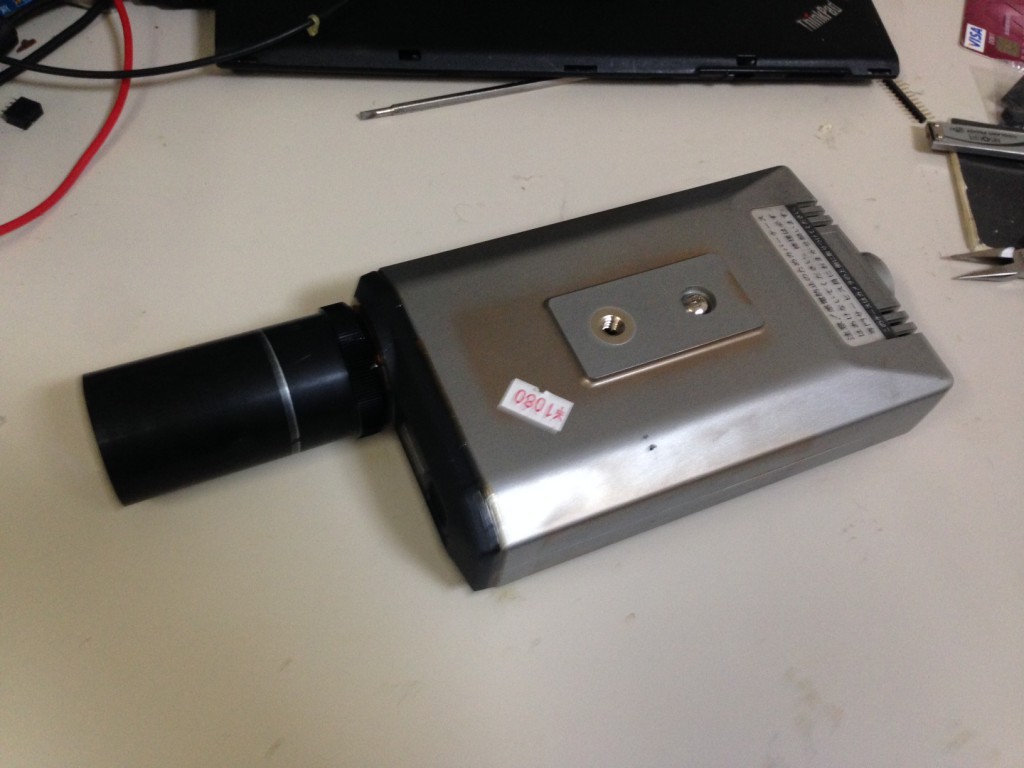
While digging through the junk bins of Akihabara today I picked up what I thought was a CCD security camera. I interested in pulling out the CCD and sticking it under a SEM I’m going to be looking at tomorrow.

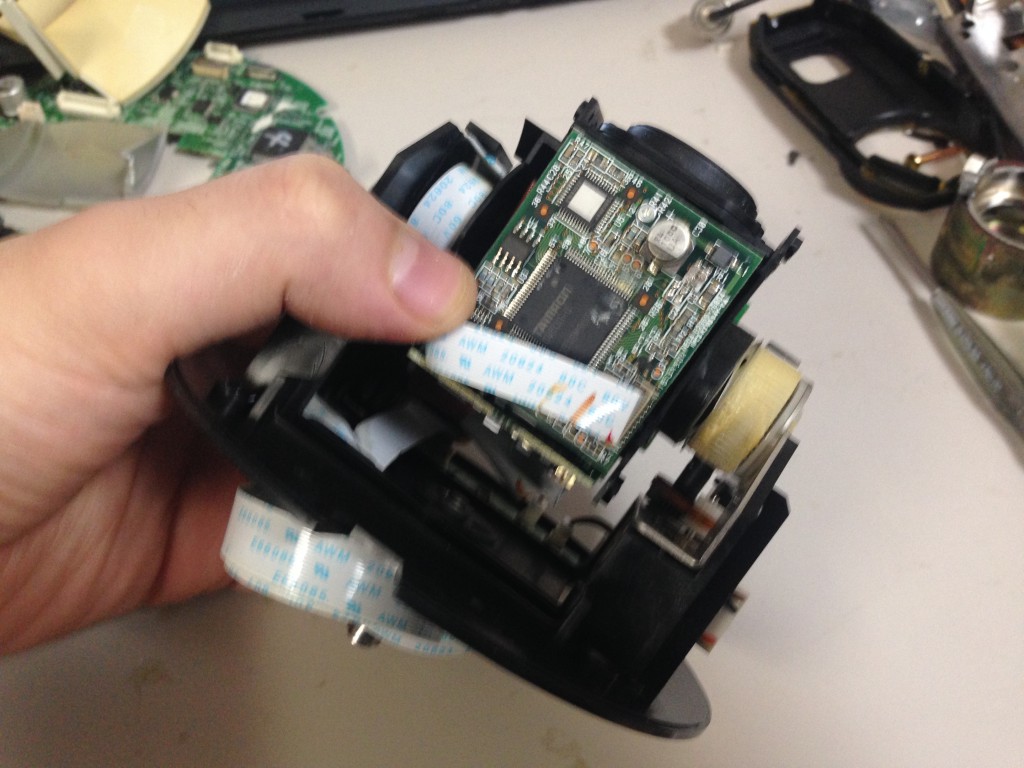
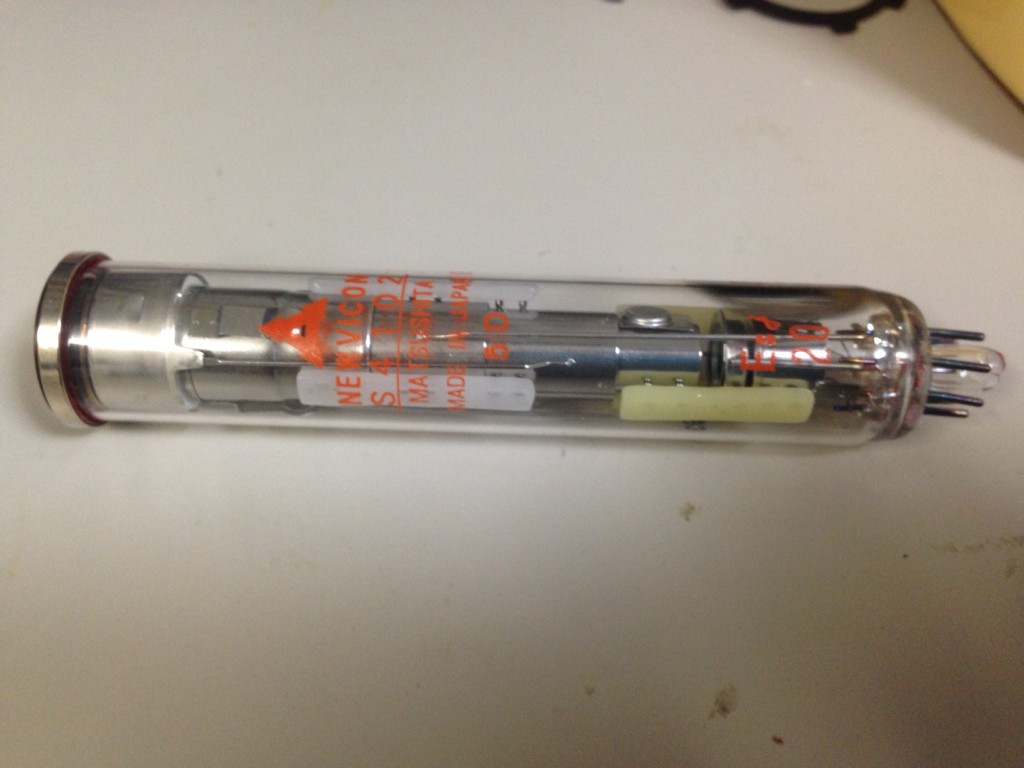
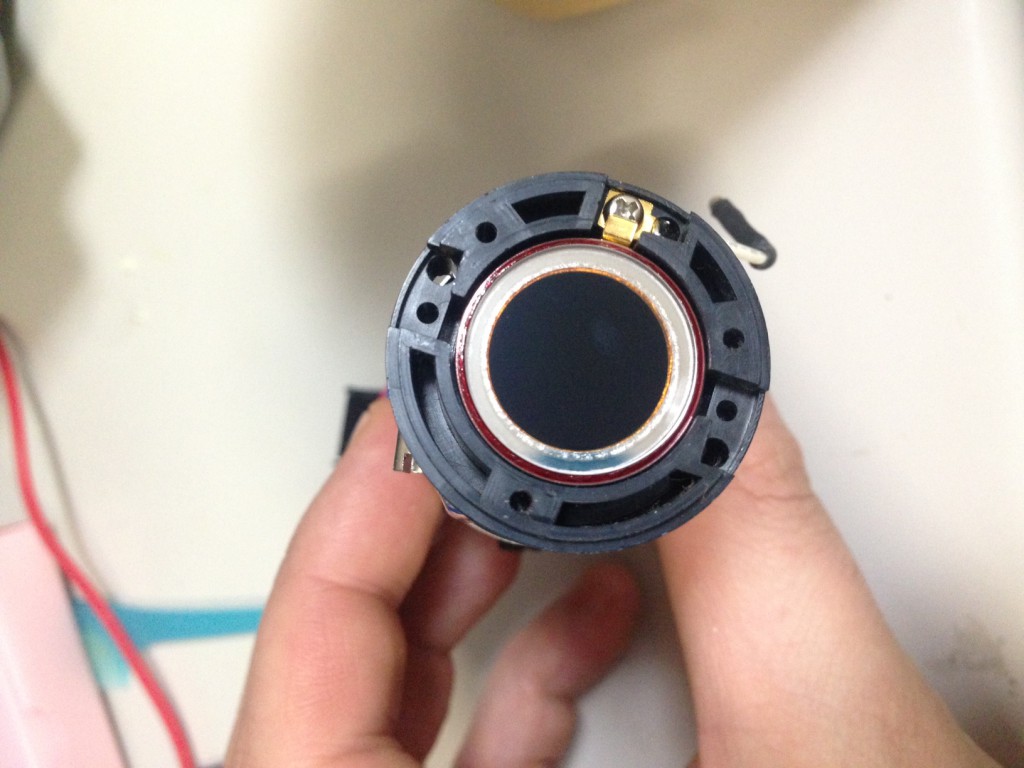
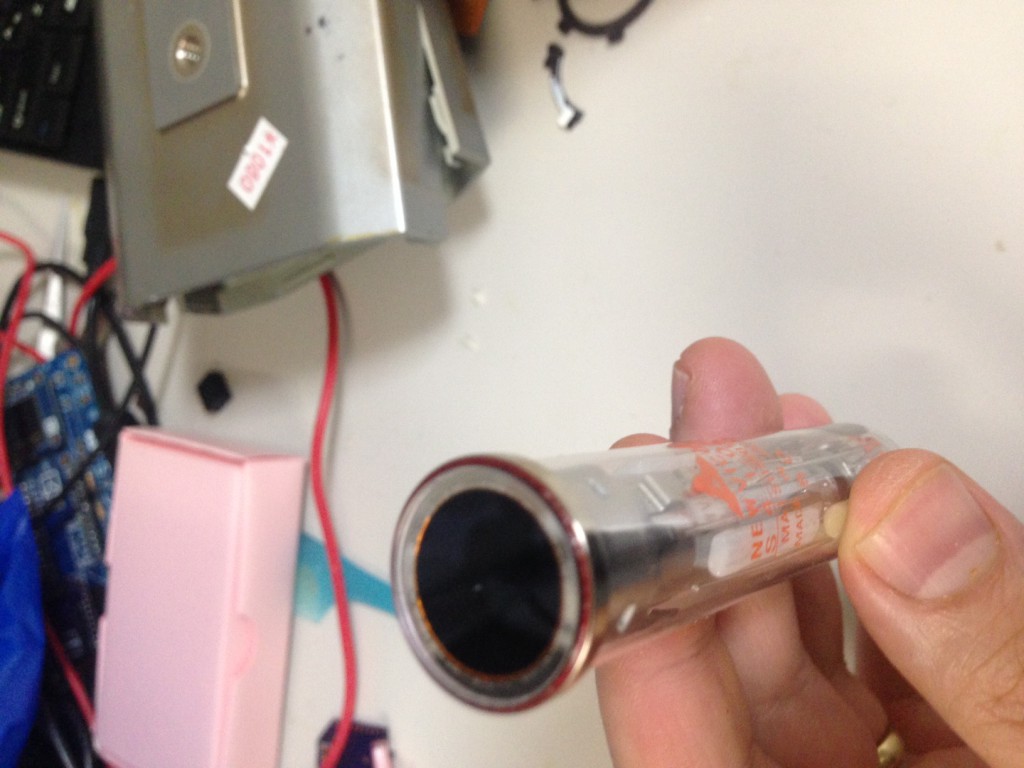
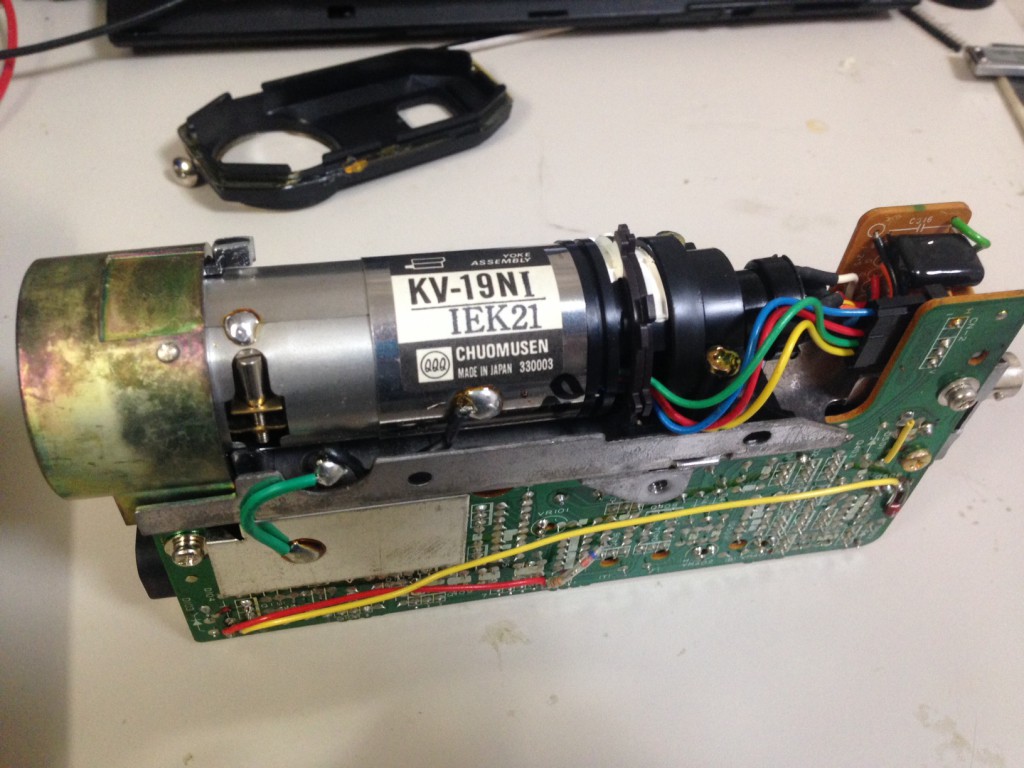
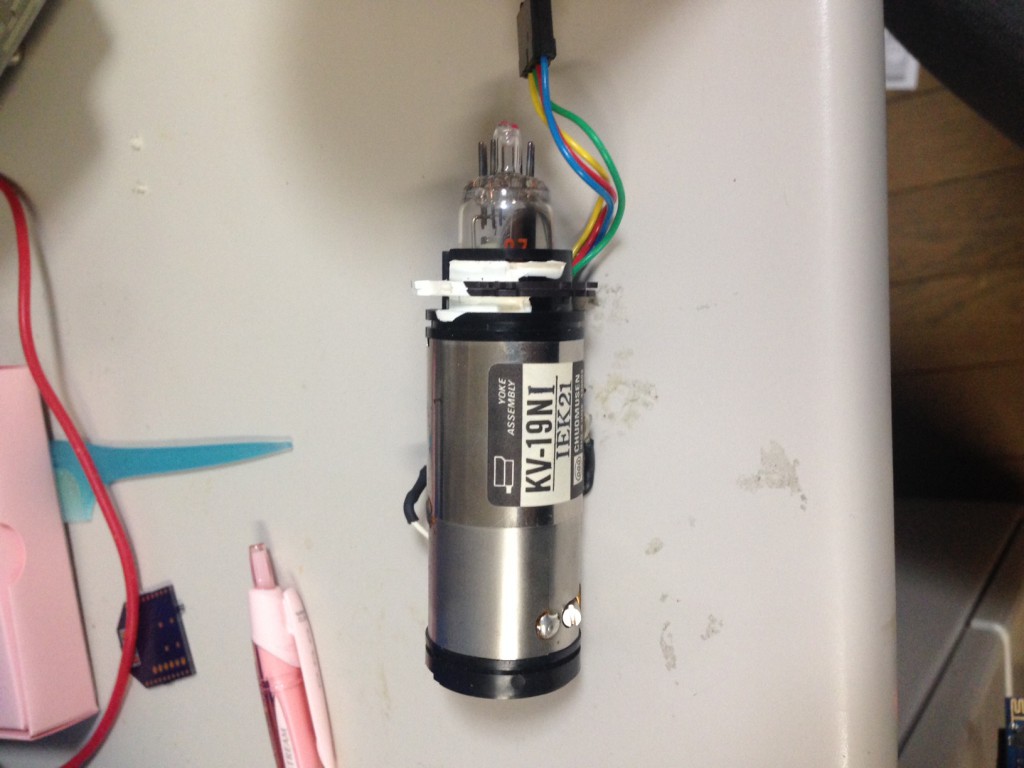
However it turned out to be something quite different! Before CCDs and CMOS sensors, when you wanted to electrically capture images you used vacuum tubes!

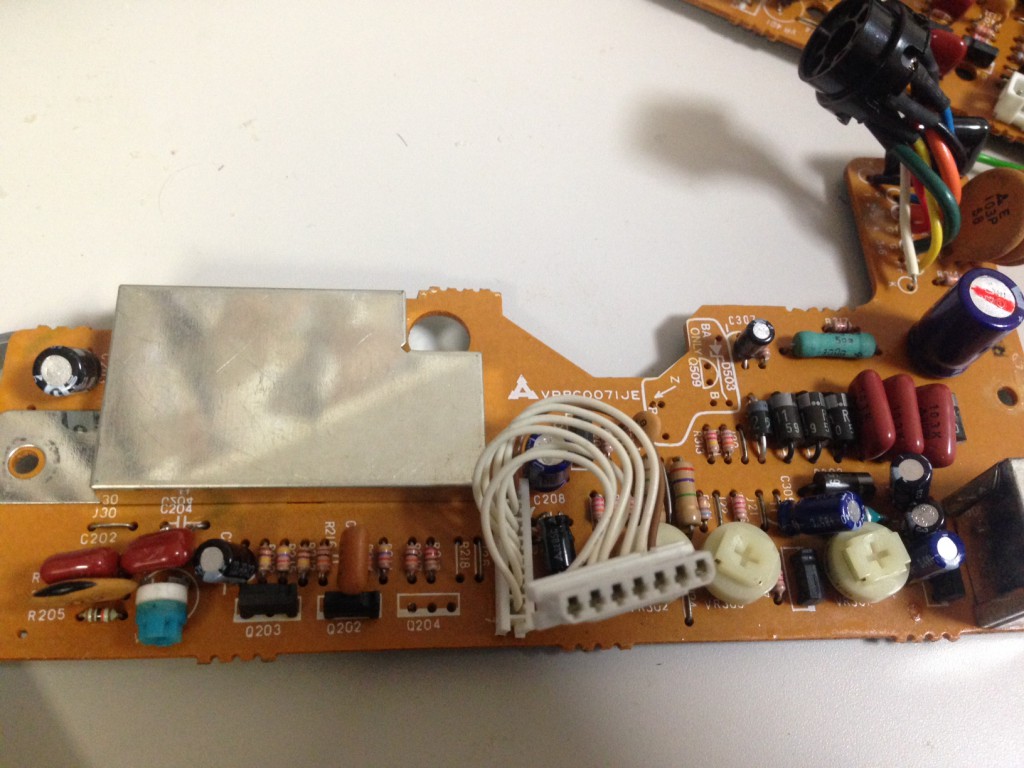
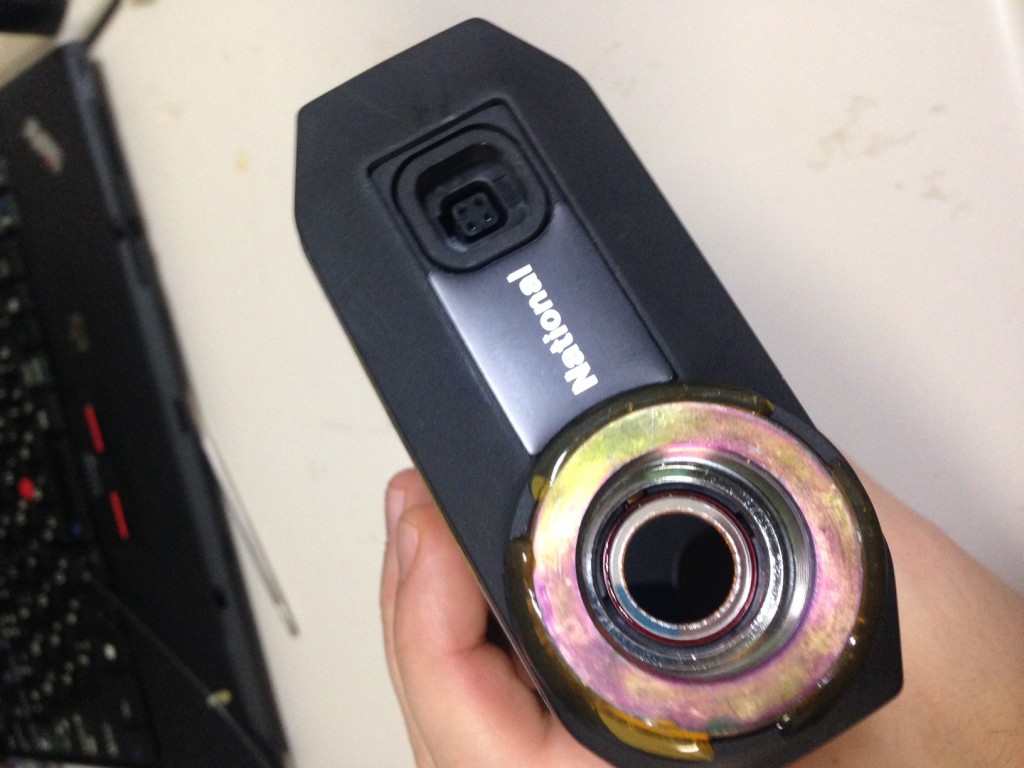
Here’s the tube after pulling everything apart (teardown photos below):
photo 5(1)

The following diagram shows how the tube works, but check out the wikipedia page for more information.

Vidicon

Not exactly what I was looking for but an interesting find and the C-mount optics will be useful for another project.

photo 1(1)

photo 2

photo 2(1)

photo 2(2)

photo 3

photo 3(1)

photo 4

photo 4(1)

photo 5

Installing the esp8266 SDK

This is a continuation of my notes on the esp8266 microcontroller, you can find a complete list of my esp8266 posts here

Installing the esp8266 SDK has got a lot easier recently, thanks to the great work of Paul Sokolovsky. I’m using my own fork of his repository. But you’d also be wise to check out the original.

The instructions shown here are for Linux. Currently the esp8266 doesn’t work reliably under Windows, and I’d recommend running the tools in either a Ubuntu virtual machine on Windows or on a real Linux box. The instructions are also for recent versions of Ubuntu (14.04) or Debian. They can easily be adapted for other distributions however.

The instructions below is build the excellent open SDK put together by Paul Sokolovsky. First open a console, then use the following command to install the required dependencies:

sudo apt-get update
sudo apt-get install make unrar autoconf automake libtool gcc g++ gperf flex bison texinfo gawk ncurses-dev libexpat-dev python sed

You will be prompted for your password, and ask to confirm the installation of the tools. Go for it! Next, it's time to download and build the SDK itself. The following command will take quite some time (up to an hour!) to complete. Before running the installation make sure you have a few Gigabytes of free space. Then enter the following commands, one at a time:

cd $HOME
git clone https://github.com/new299/esp-open-sdk.git
cd $HOME/esp-open-sdk
make STANDALONE=y

Once installed you should make sure the tools are on your path. You can do this by adding them to your .bashrc. Add the following two lines with your favorite text editor e.g.

nano $HOME/.bashrc

:

PATH=$PATH:$HOME/esp-open-sdk/Espressif/crosstool-NG/builds/xtensa-lx106-elf/bin
PATH=$PATH:$HOME/esp-open-sdk/Espressif/esptool-py

In order to update your path you will need to start a new terminal. So quit your terminal and restart it.

You can now use the tools as normal. In order to test the SDK you can check out an example project and compile it:

git clone https://github.com/new299/esp-example.git
cd esp-example
make

To flash the code to an esp you can use:

make flash

Please note, the examples above assume the SDK has been installed in your home directory, if you changed the commands above to install the SDK elsewhere, you'll need to make appropriate changes here too.
Kindlegen, W14001: Hyperlink not resolved errors

I’ve been playing with kindlegen and kept getting “Hyperlink not resolved errors”. Turns out if you just pass kindlegen a single html file to process into a mobi it will only ever process that file. You’ll need to keep all your content in a single html file.

If you want to structure your document as multiple html files you have to create a OPF to process with kindlegen and include a manifest in it. Kindlegen will add all your linked html files to the mobi and everything should work correctly.

You’d be wise to refer elsewhere for full details of the OPF format, but an example manifest section might look like this:

    <manifest>
        <item id="content" media-type="text/x-oeb1-document" href="index.html"></item>
        <item id="c1" media-type="text/x-oeb1-document" href="methods.html"></item>
        <item id="c2" media-type="text/x-oeb1-document" href="cutting.html"></item>
        <item id="c3" media-type="text/x-oeb1-document" href="testing.html"></item>
        <item id="c4" media-type="text/x-oeb1-document" href="moremethods.html"></item>
        <item id="c5" media-type="text/x-oeb1-document" href="footnotes.html"></item>
    </manifest>

Kohzu linear stages

photo

I guess I’m a bit crazy for linear stages at the moment. In addition to the Chuo Seiki XY stage I also picked up these Kohzu linear stages. They also use Oriental motor 5-phase steppers, but this time PX535MH-Bs (0.75Amps per phase). I’m really curious to see how the 5-phase steppers perform. Particularly having read the info from the Oriental Motors site.. Would be nice to do some vibrational tests.