Archive for the ‘Uncategorized’ Category.
July 3, 2014, 11:43 am
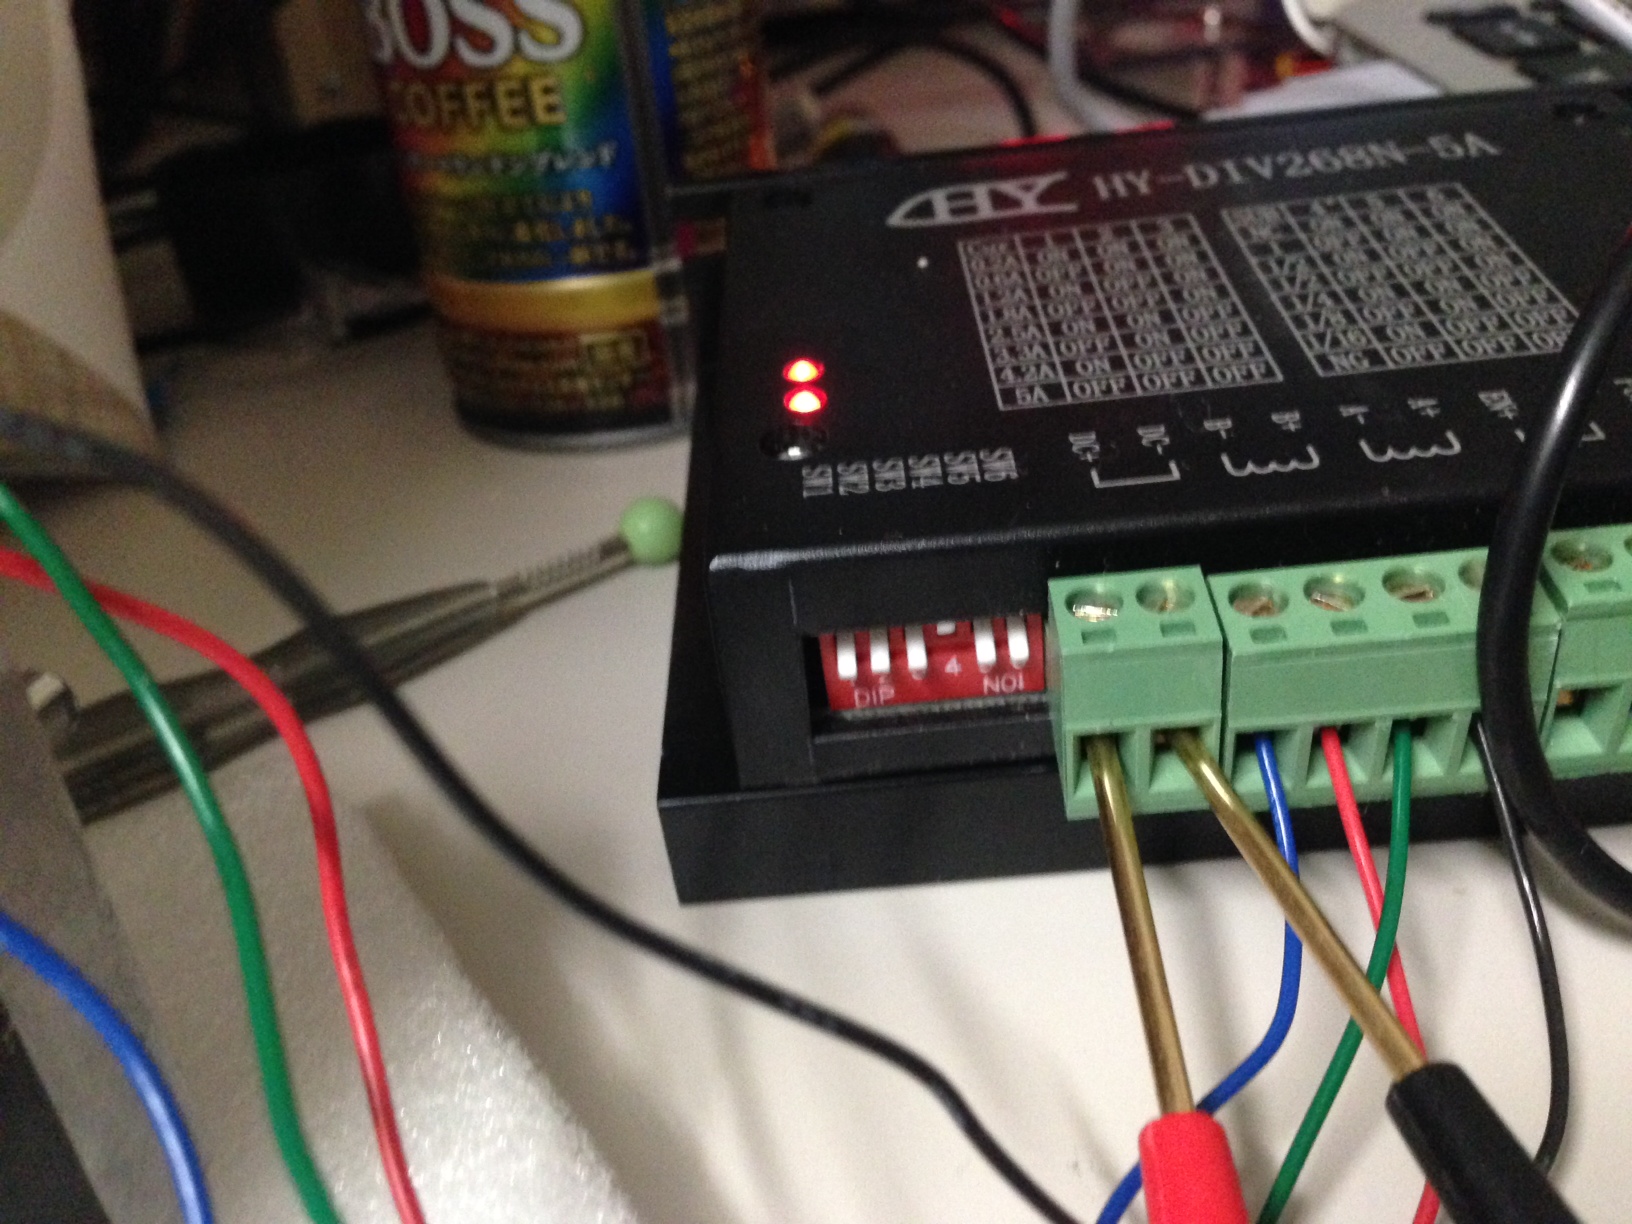
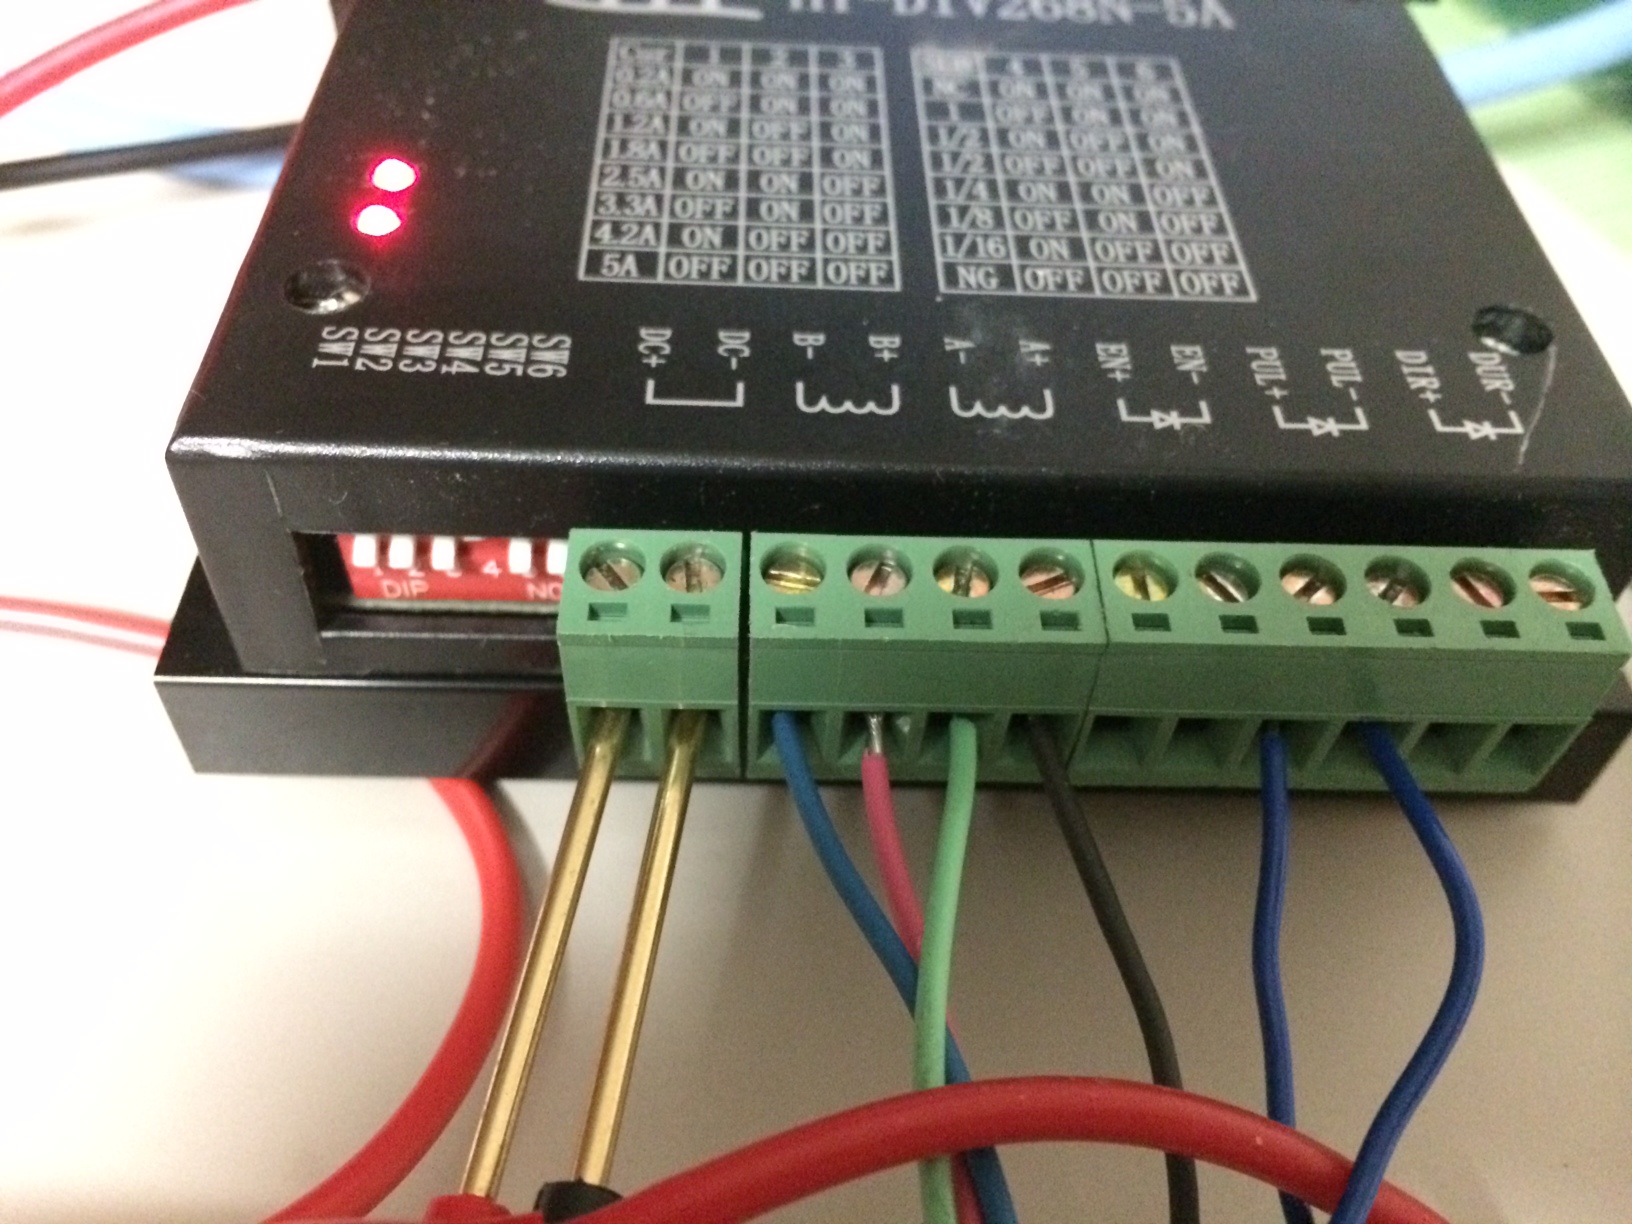
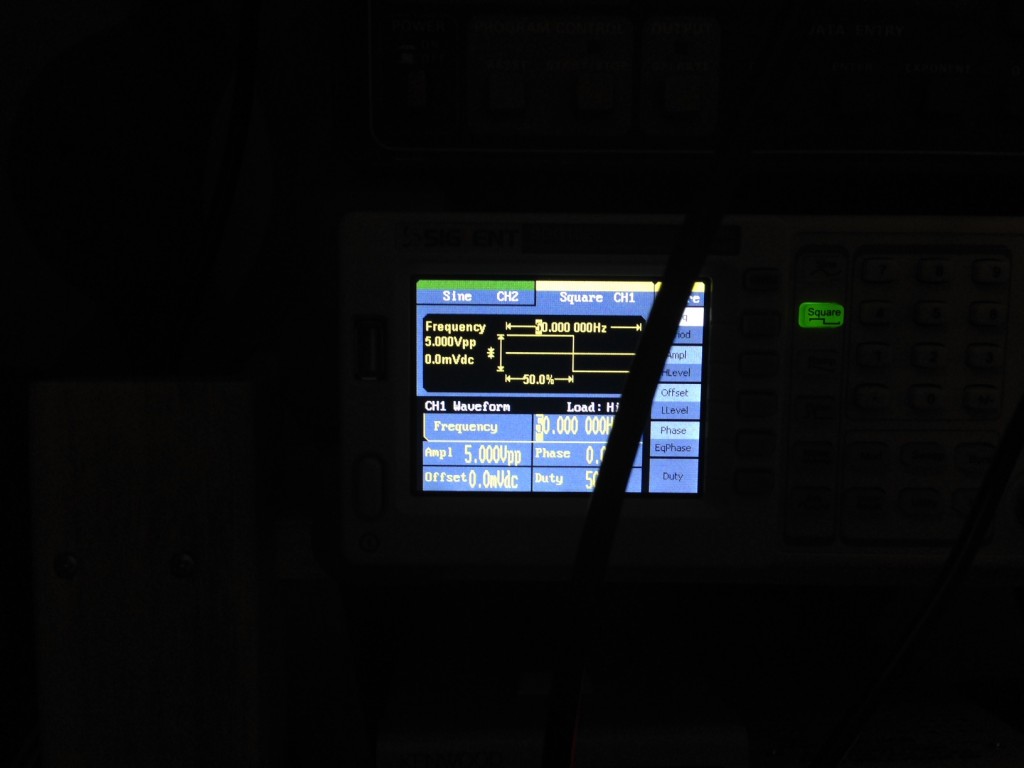
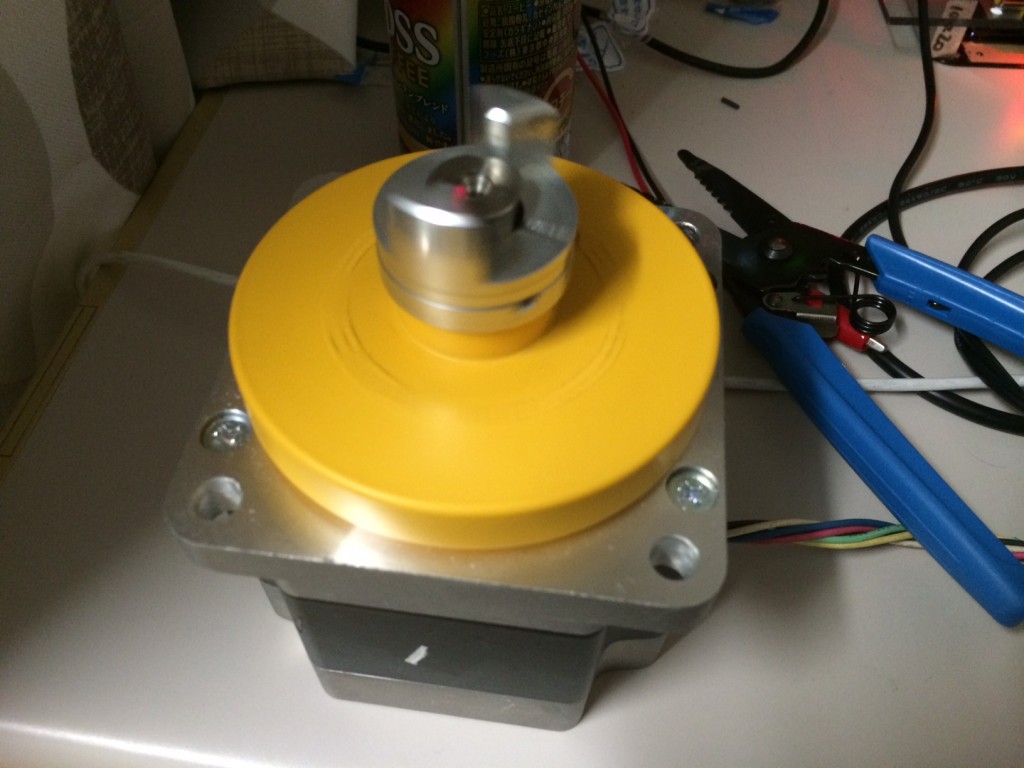
I’ve been playing with a PK244PB stepper (picked up for about 3USD woohoo) and HY-DIV268N-5A Stepper driver. Hopefully these will be used for a CNC project later. The pictures below document the basic configuration. The interface board supplied use old school parallel (WTF?) In order to test things out I needed to ground pin 25, and supply a square wave on pin 2. The input on pin 2 gives provides a pulse drive to the system, there’s also a direction pin (pin 14) you can stick 5V in there to get the motor to rotate in the other direction.

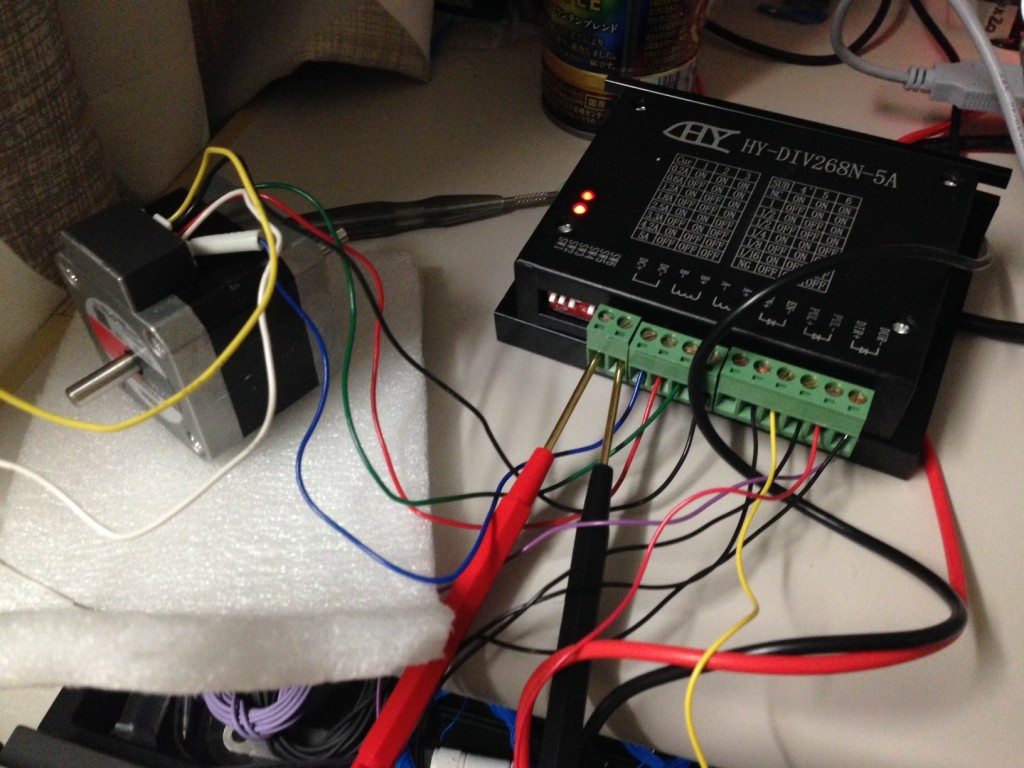
I’ve also used this driver with the PK296-03A stepper (which is a beast!):

This is the original ebay page for the driver: driver_info.html.maff
Original Specifications
From the above ebay page:
Electrical Specifications of Breakout board
|
| Input Voltage |
5V DC via power adapter or directly get power from PC via USB port |
| Drive type |
Pulse + Direction + Enable Signal Control |
| Suitable Microstep Driver |
2 Phase, 3 Phase, 4 Phase Microstep Driver (M542/M542H/MA860H/3MA2290 etc.) |
| Net weight |
Approx 80g/300g |
| Dimensions |
90 * 82 * 15mm (L*W*H) |
Electrical Specifications Of TB6600HG Stepper Driver
|
| Input Voltage |
12V ~ 45V(Peak) DC |
| Output Current |
0.2A ~ 5.0A (Peak) |
| Drive Type |
Pulse + Direction + Enable Signal Control (Single-Chip PWM Bipolar Sine Chopper) |
| Suitable Motor |
Nema17, Nema23, Nema24, Small-sized Nema34 (Rated current: 0.2A-5.0A) |
| Net Weight |
250g |
| Dimensions |
105*85*35mm |
Operationg Environment & Other Specifications Of TB6600HG Stepper Driver
|
| Cooling |
Natural Cooling or Fan Forced cooling |
| Operating Environment |
| Environment |
Avoid dust, oil fog, corrosive gas |
| Ambient Temperature |
0 °C ~ 50°C (32°F ~ 122°F) |
| Humidity |
40%RH ~ 90%RH |
| Operating Temperature |
70°C (158°F) Max |
|
| Storage Temperature |
-20 °C ~ 65°C (-4°F ~ 149°F) |
| Total Weight |
Approx. 300g |
DIP Settings from ebay page
| Output Current |
SW1 |
SW2 |
SW3 |
| 0.2A |
ON |
ON |
ON |
| 0.6A |
OFF |
ON |
ON |
| 1.2A |
ON |
OFF |
ON |
| 1.8A |
OFF |
OFF |
ON |
| 2.5A |
ON |
ON |
OFF |
| 3.3A |
OFF |
ON |
OFF |
| 4.2A |
ON |
OFF |
OFF |
| 5.0A |
OFF |
OFF |
OFF |
| Microstep Mode |
SW4 |
SW5 |
SW6 |
| N/A |
ON |
ON |
ON |
| 1(Full Step) |
OFF |
ON |
ON |
| 2 |
ON |
OFF |
ON |
| 2 |
OFF |
OFF |
ON |
| 4 |
ON |
ON |
OFF |
| 8 |
OFF |
ON |
OFF |
| 16 |
ON |
OFF |
OFF |
| N/A |
OFF |
OFF |
OFF |
July 2, 2014, 2:34 pm
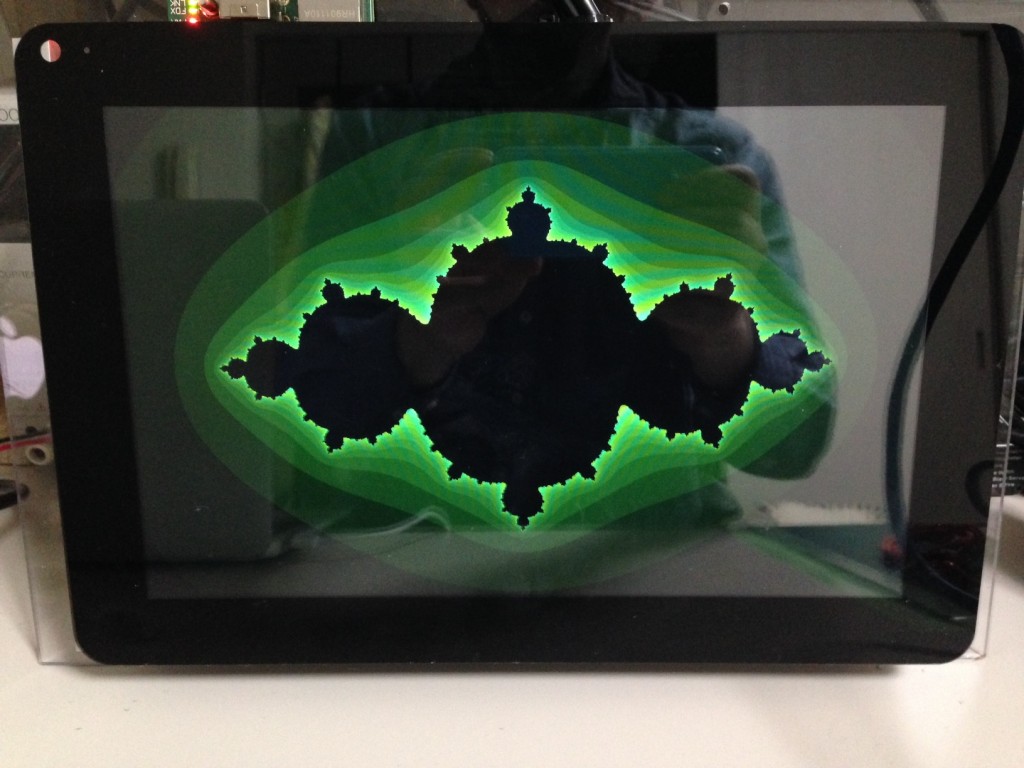
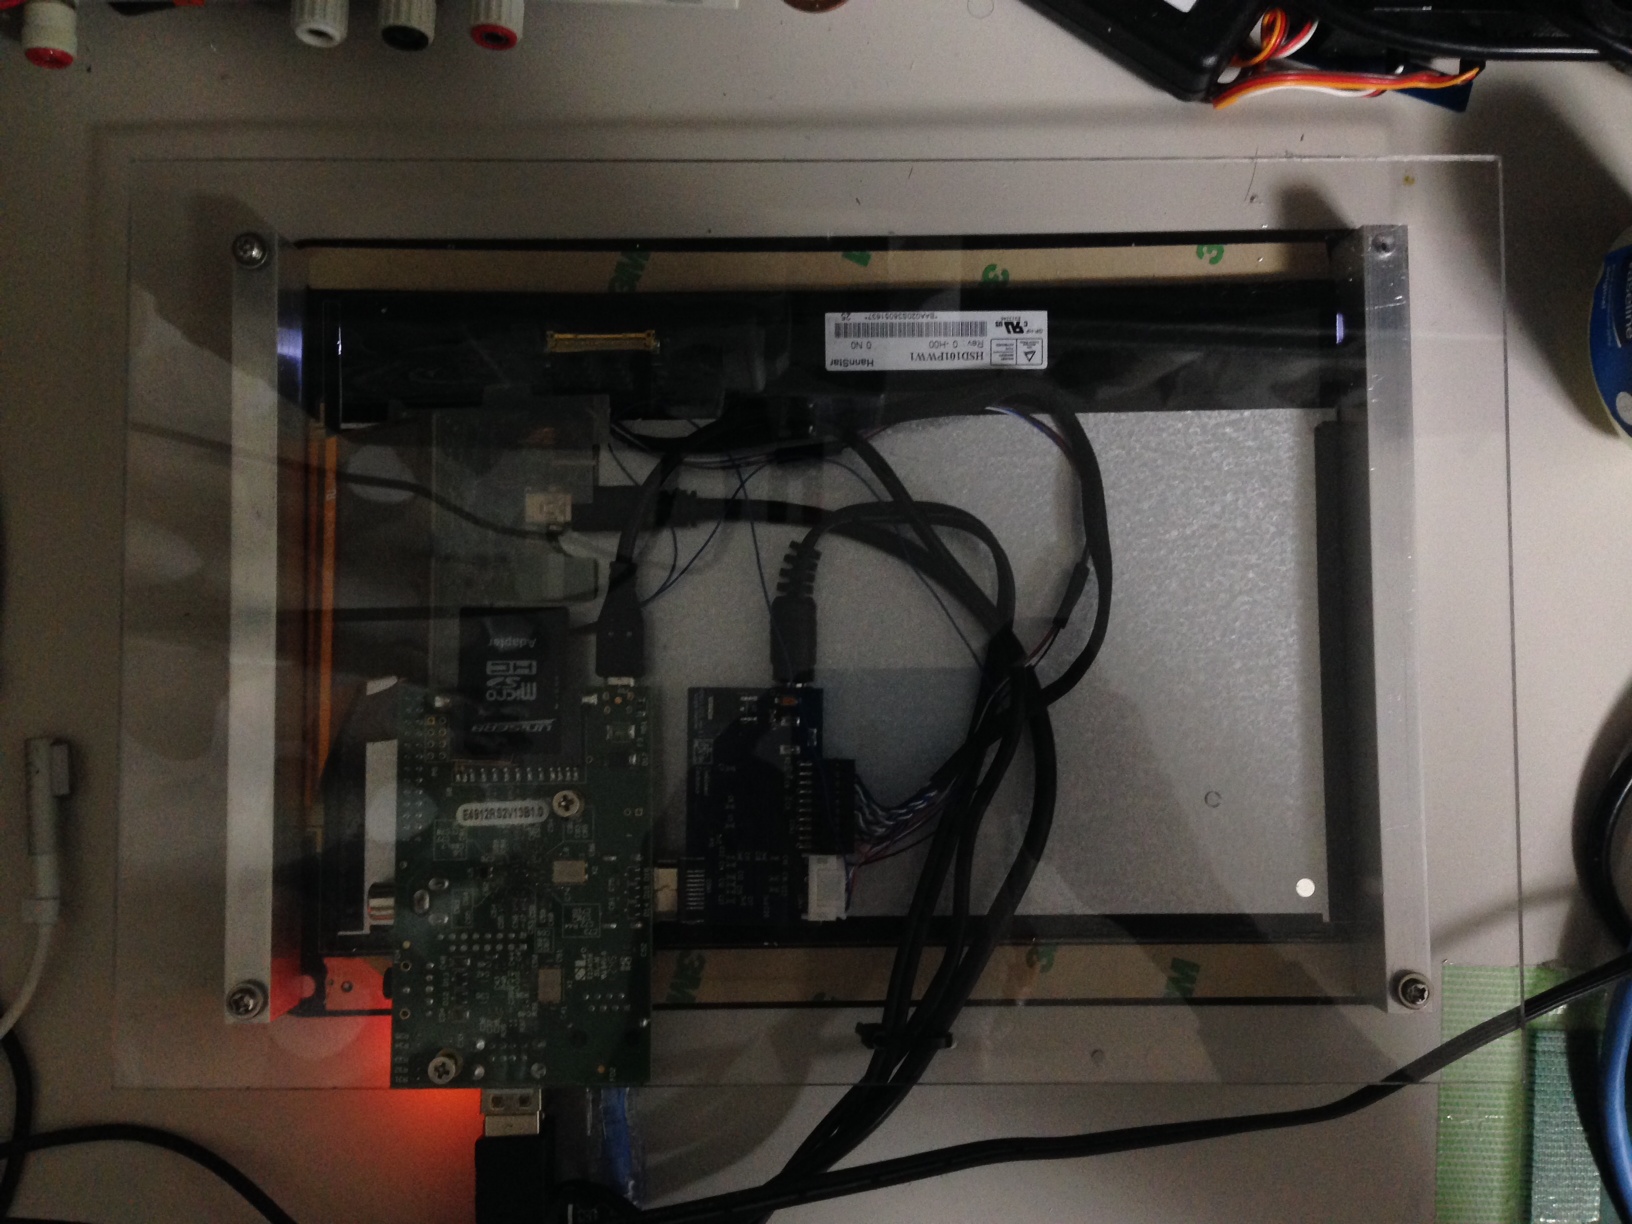
I picked up a 10inch captouch display from Chalkboard electronics, the display comes with a HDMI converter board, and the captouch interfaces over USB. Overall this makes it an easy platform to play with. I rigged it up to a Raspberry Pi (because it can do native, X-less OpenGL woohoo!). Here’s a quick video:
The display and Pi were mounted on a piece of PET plastic like so:

Random notes for later:
Chalkboard driver info:
http://www.chalk-elec.com/?p=1592
OpenGL ES without X Windows:
http://benosteen.wordpress.com/2012/04/27/using-opengl-es-2-0-on-the-raspberry-pi-without-x-windows/
Checking multitouch from the commandline on Linux:
https://wiki.ubuntu.com/Multitouch/Testing/CheckingMTDevice
Source for above?:
https://github.com/rydberg/mtdev/blob/master/test/mtdev-test.c
mtdev_idle
https://gitorious.org/multitouch/mtdev/source/309df849b8ad3772b912d498eacda9f38a6e4f1e:src/iobuf.c
gl tutorial: http://www.arcsynthesis.org/gltut
On rounded rectangles and buttons:
http://www.uiandus.com/blog/2009/7/26/realizations-of-rounded-rectangles.html
http://ux.stackexchange.com/questions/11150/how-do-rounded-corners-affect-usability
July 2, 2014, 9:24 am
This is some very simple hipchat bot code in golang. It will tell you the time in a few locations when you mention it.
package main

import "github.com/daneharrigan/hipchat"
import "fmt"
import "time"
import "strings"
import "log"

func main() {
user := "NNNNN_NNNNNN"
pass := "password"
resource := "bot" //should be bot
roomJid := "[email protected]"
fullName := "mr bot" //seems to need to be lowercase
mentionName := "mrbot"

client, err := hipchat.NewClient(user, pass, resource)
if err != nil {
  fmt.Printf("client error: %s\n", err)
  return
}
fmt.Printf("Connected\n")

rooms := client.Rooms()
for _, element := range rooms {
  fmt.Printf("Room: %s\n", element.Id)
  client.Join(element.Id, fullName)
}

client.Status("chat")
// for _,element := range rooms {
// client.Say(element.Id, fullName, "Hello")
// }

for message := range client.Messages() {
  if strings.HasPrefix(message.Body, "@"+mentionName) {
    t := time.Now()
    gmt, er1 := time.LoadLocation("Europe/London")
    sf, er2 := time.LoadLocation("America/Los_Angeles")
    if er1 != nil {
      log.Panic(err)
    }
    if er2 != nil {
      log.Panic(err)
    }

    timestr := t.Format("Jan 2, 2006 at 3:04pm (MST)")
    client.Say(roomJid, fullName, "The time in Japan is:"+timestr)

    t = t.In(gmt)
    timestr = t.Format("Jan 2, 2006 at 3:04pm (MST)")
    client.Say(roomJid, fullName, "The time in London (and Dublin) is:"+timestr)

    t = t.In(sf)
    timestr = t.Format("Jan 2, 2006 at 3:04pm (MST)")
    client.Say(roomJid, fullName, "The time in San Francisco is:"+timestr)
  }
}

select {}
}
June 18, 2014, 8:12 am
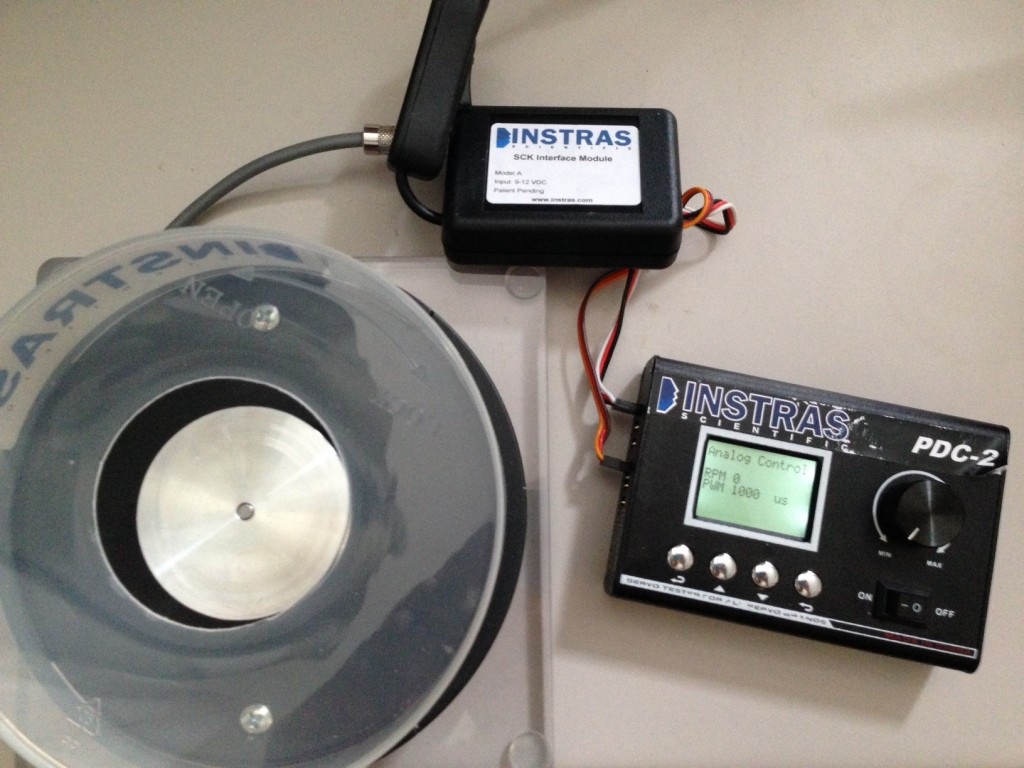
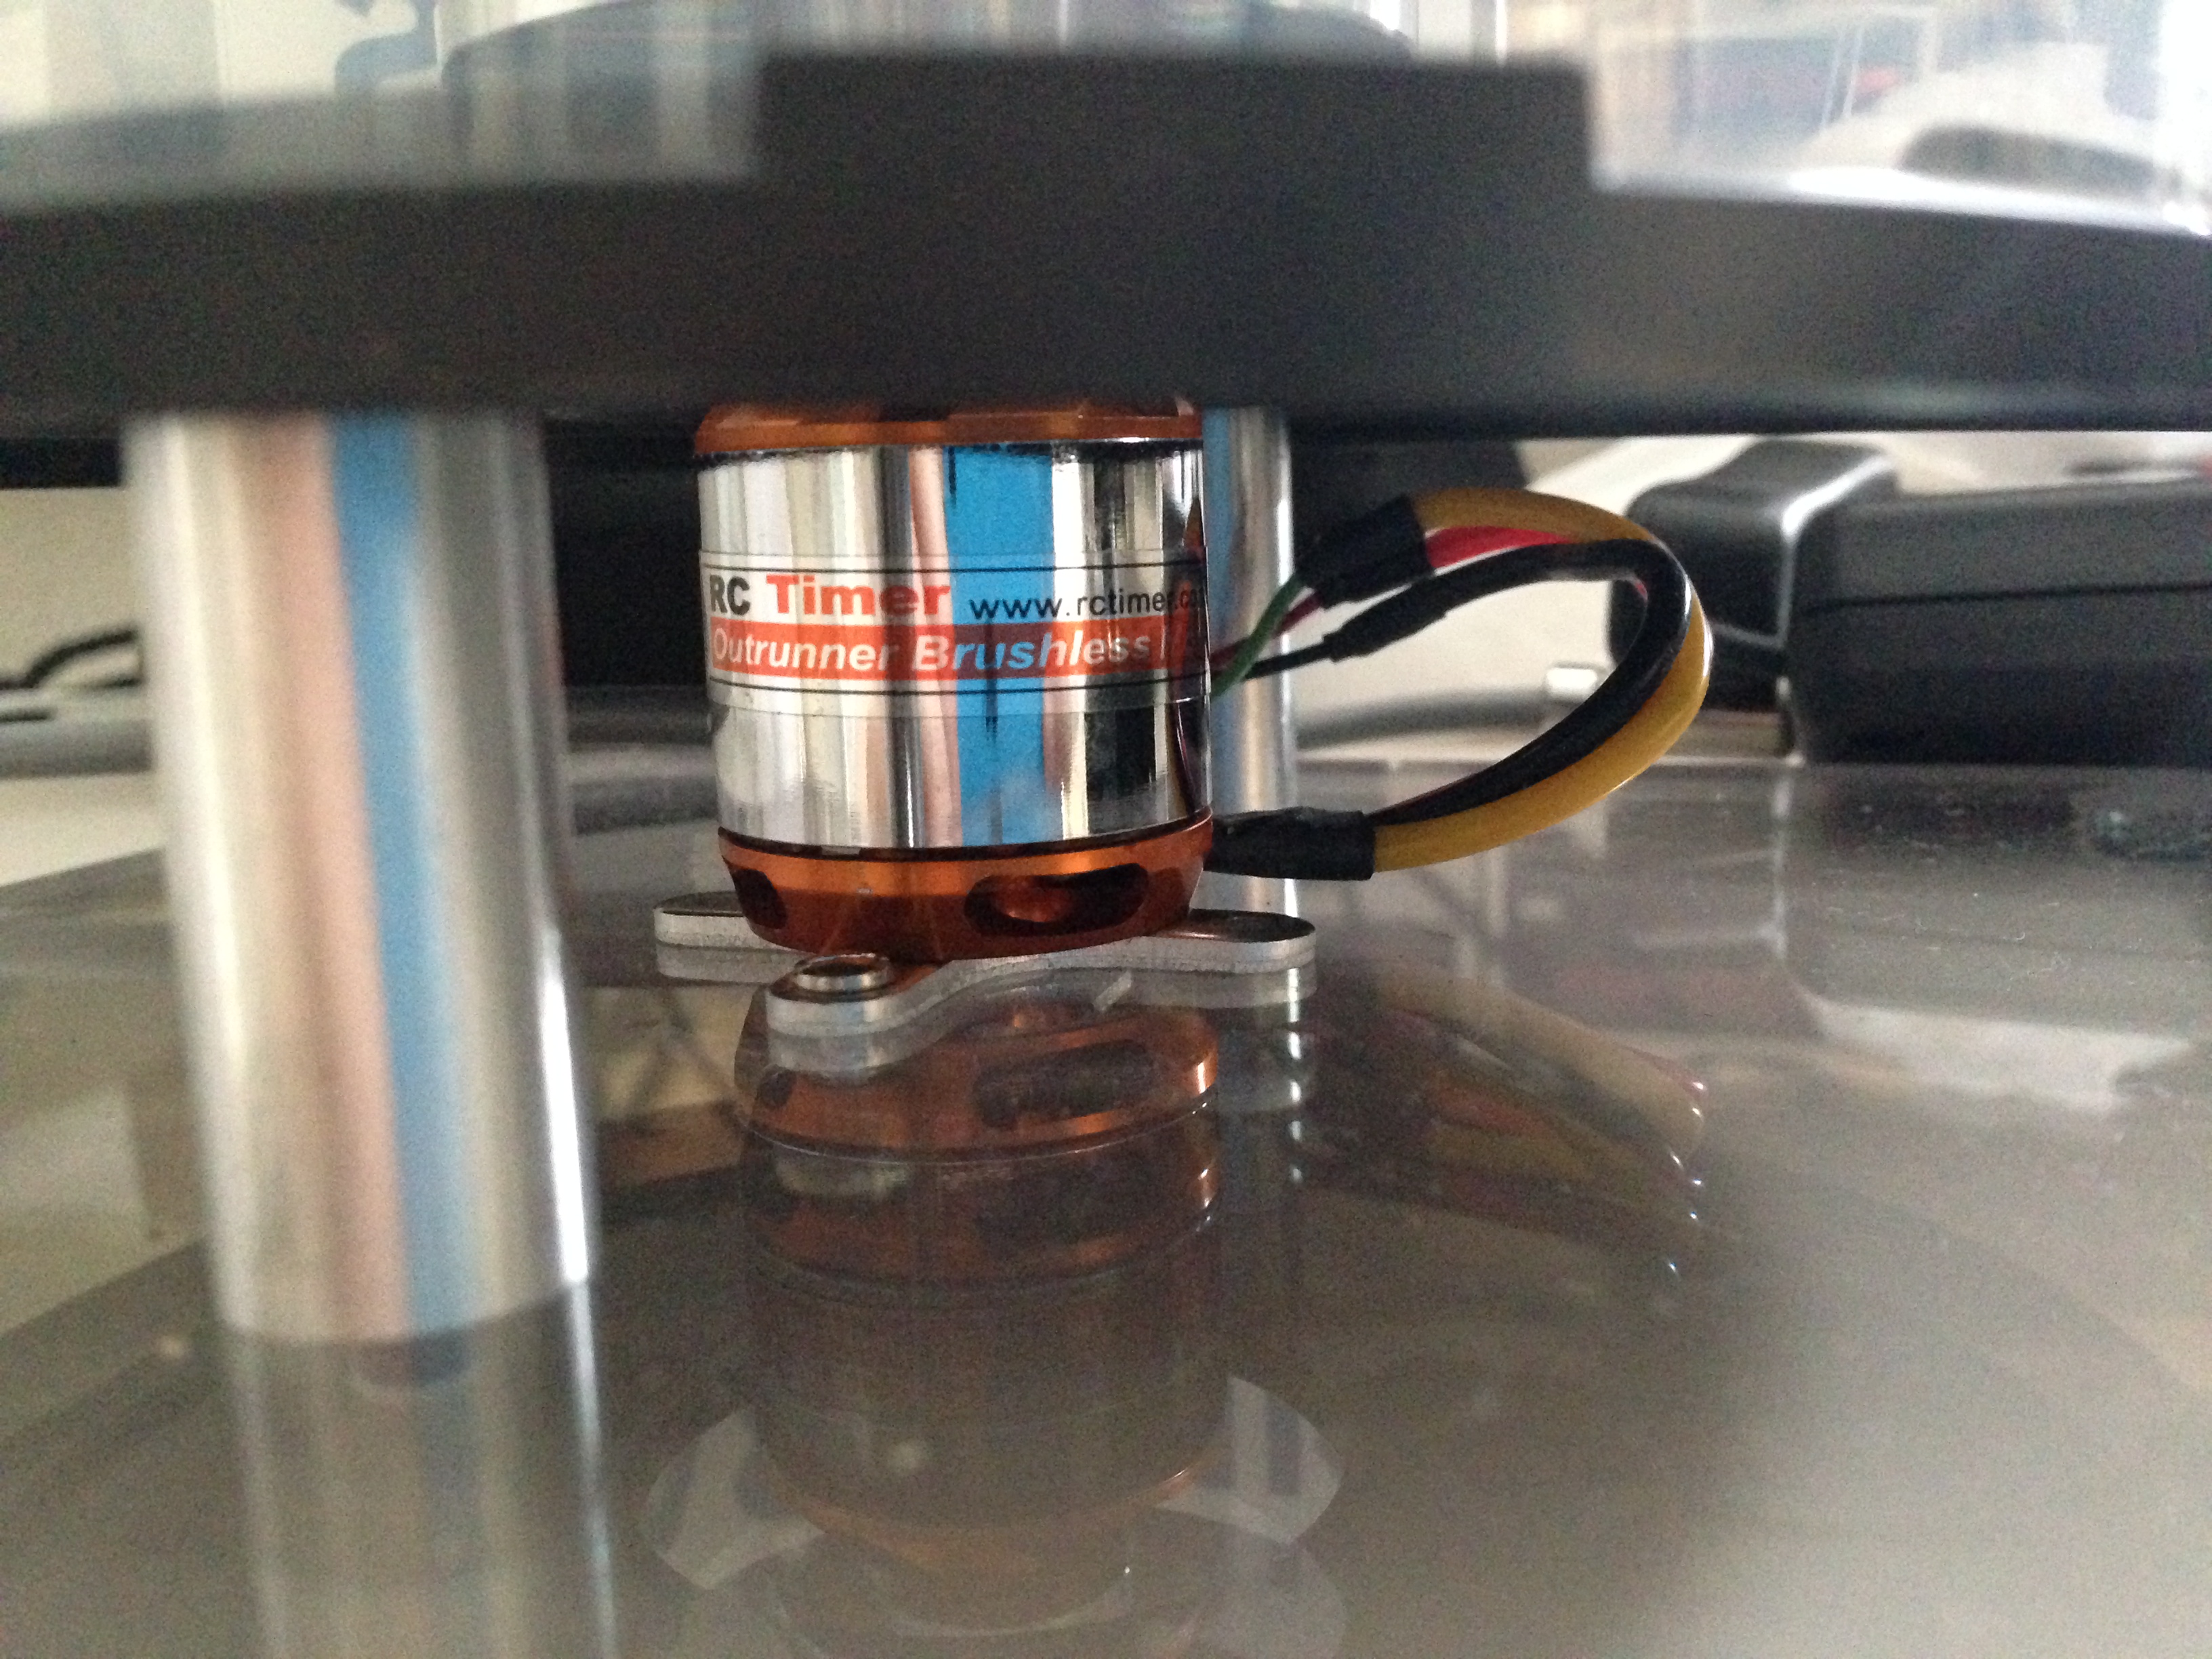
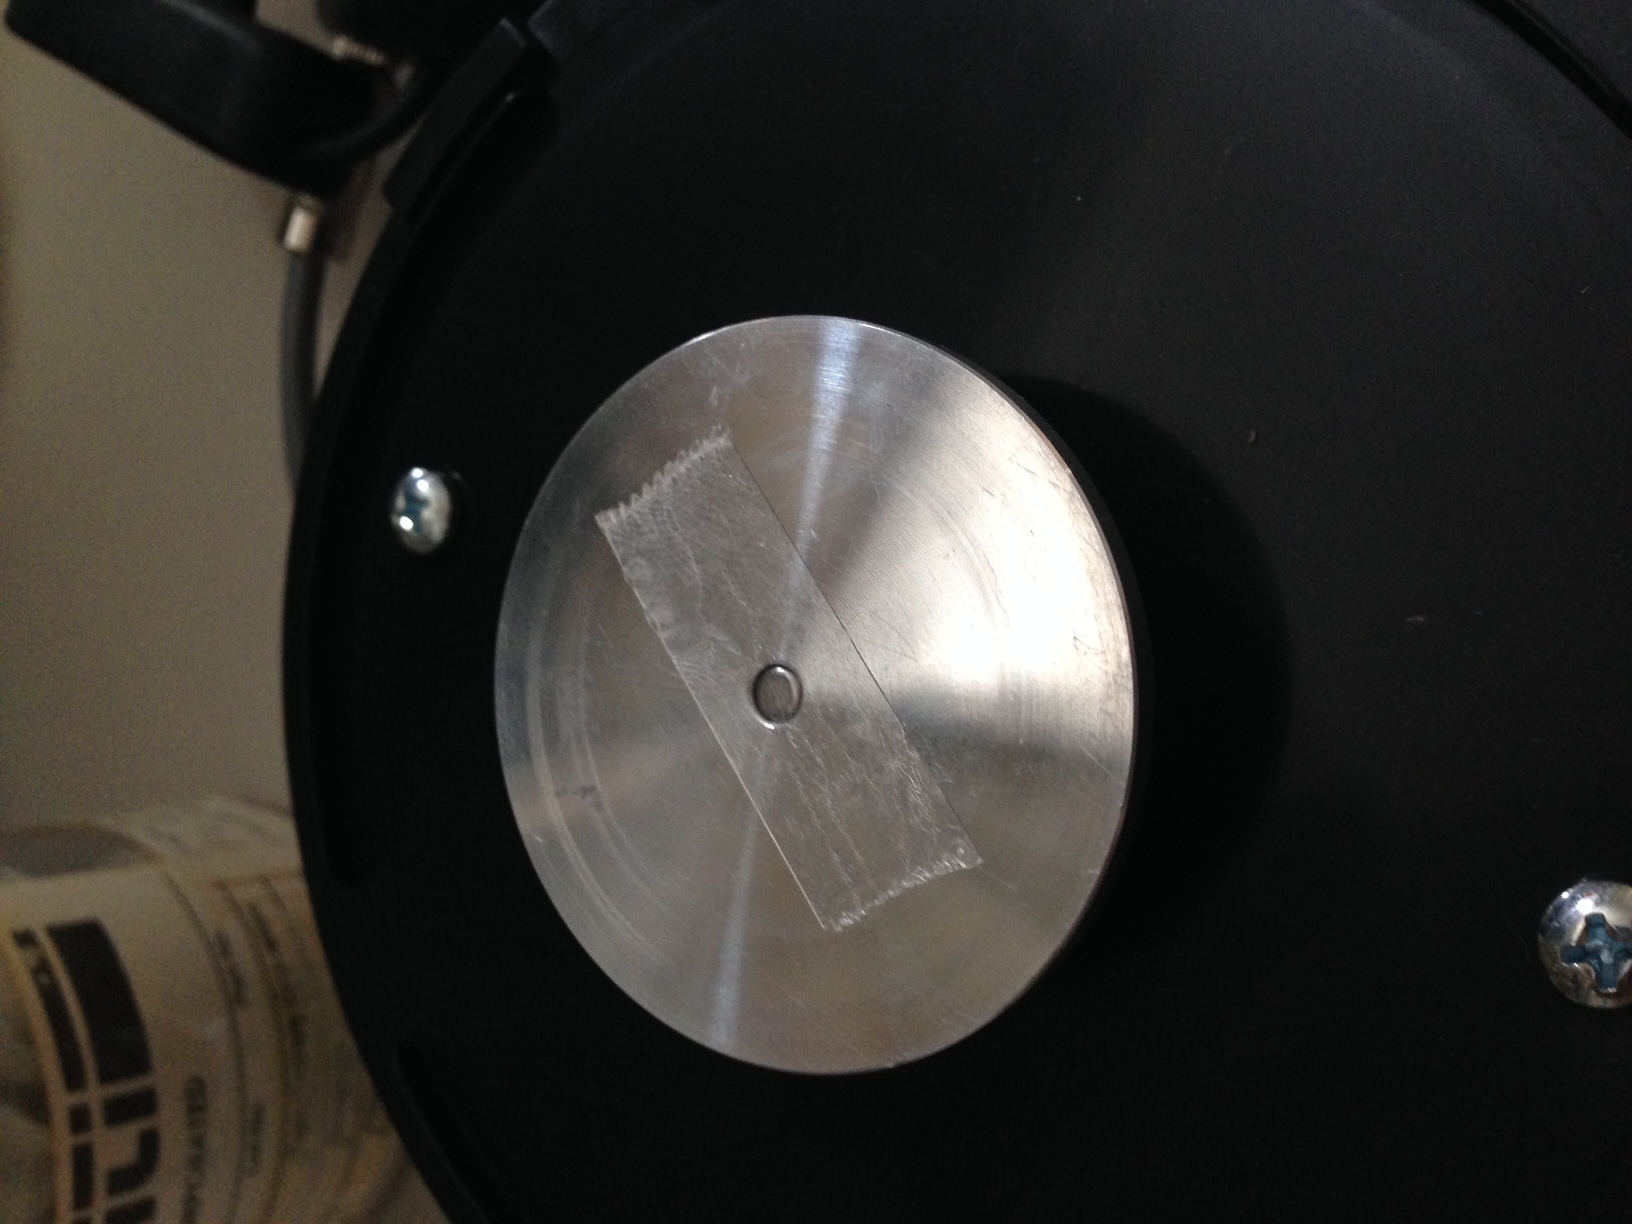
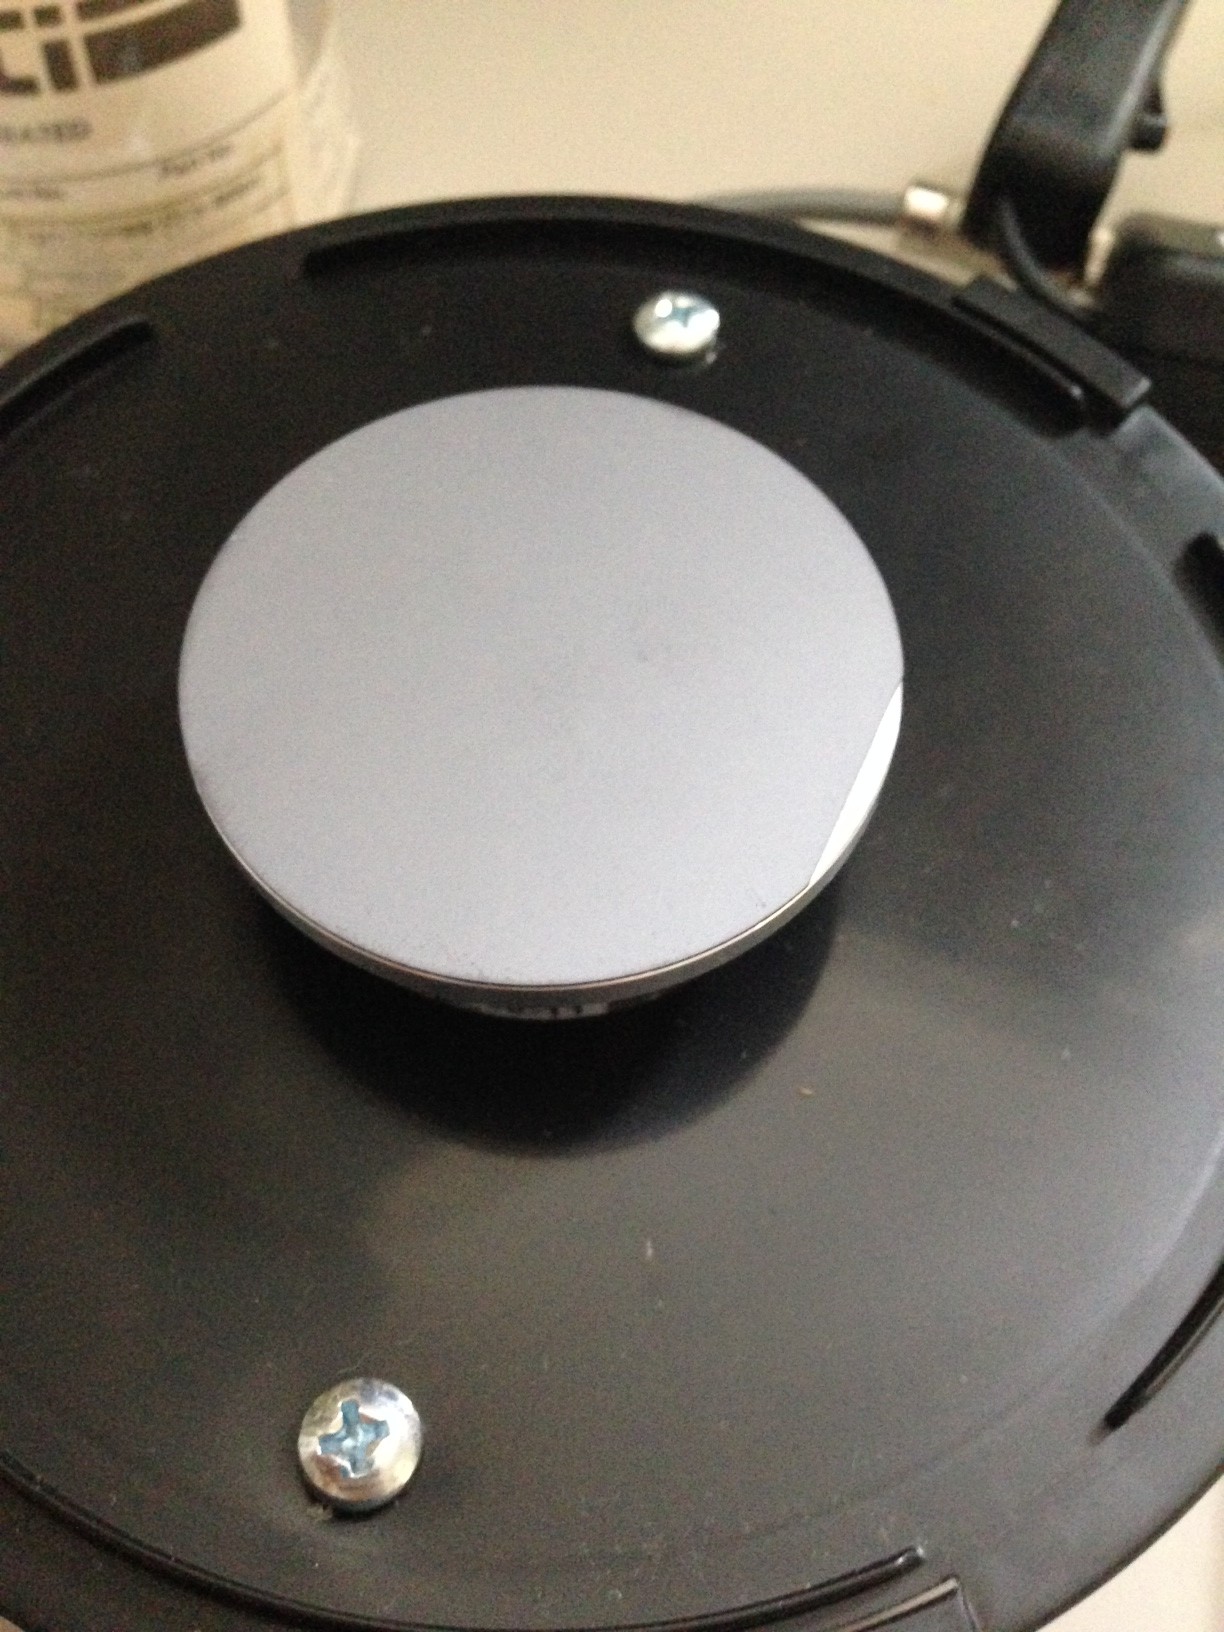
I picked up an SCK200P Spincoater on ebay. It’s a pretty cheap setup but it’s a kind of neat design. Here are my first quick impressions and a bunch of pictures.
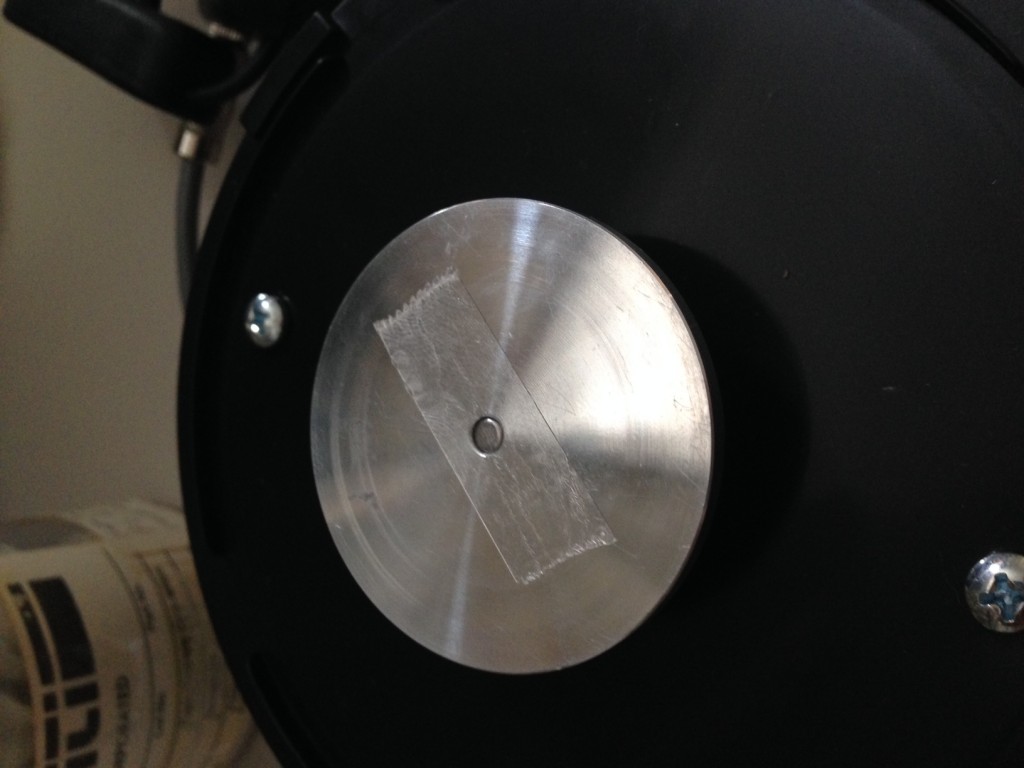
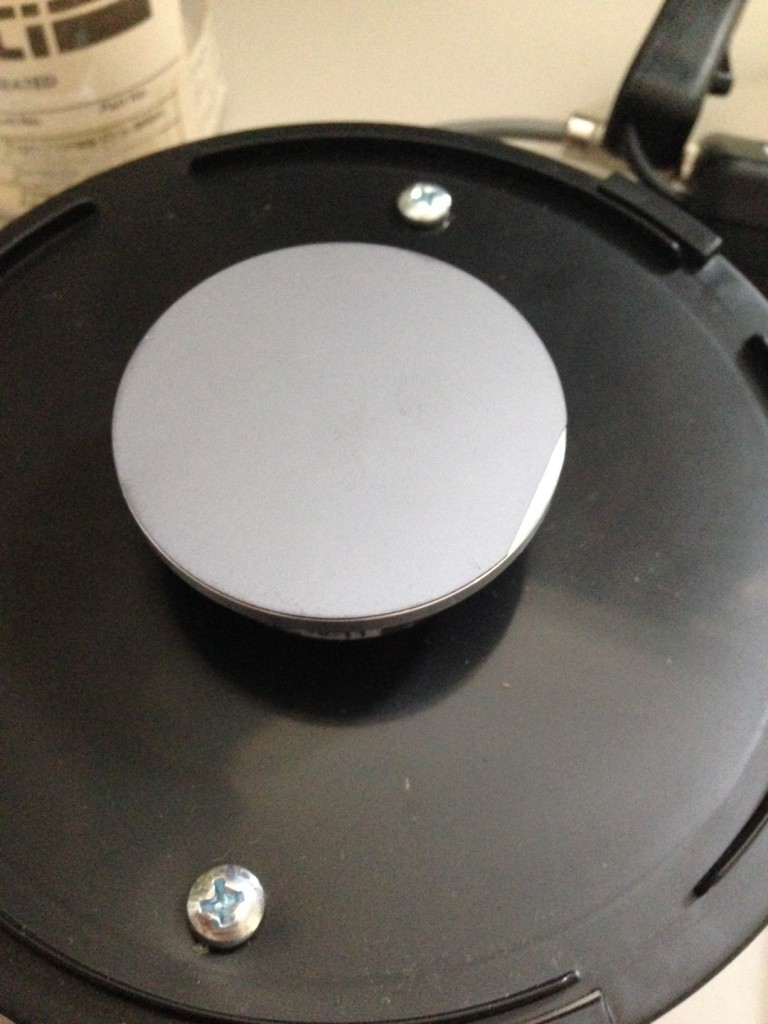
It’s basically, it’s made from off shelf parts, the main controller is a “Fly-dream RC multi-functional tester”. It’s box designed for testing the brushless DC motors they use. The tester and the motor were both designed for the hobbiest radio controlled vehicle market. The spin unit itself is has the motor mounted on a block of thick acrylic. The the chuck attached to the motor is then mounted inside a CD case, the kind of case they use when you buy a bunch of CDRs. That’s actually a nice feature as I can see it being easy to replace. The chuck is exactly 2inches, and the 2inch wafers I have fit on it exactly.
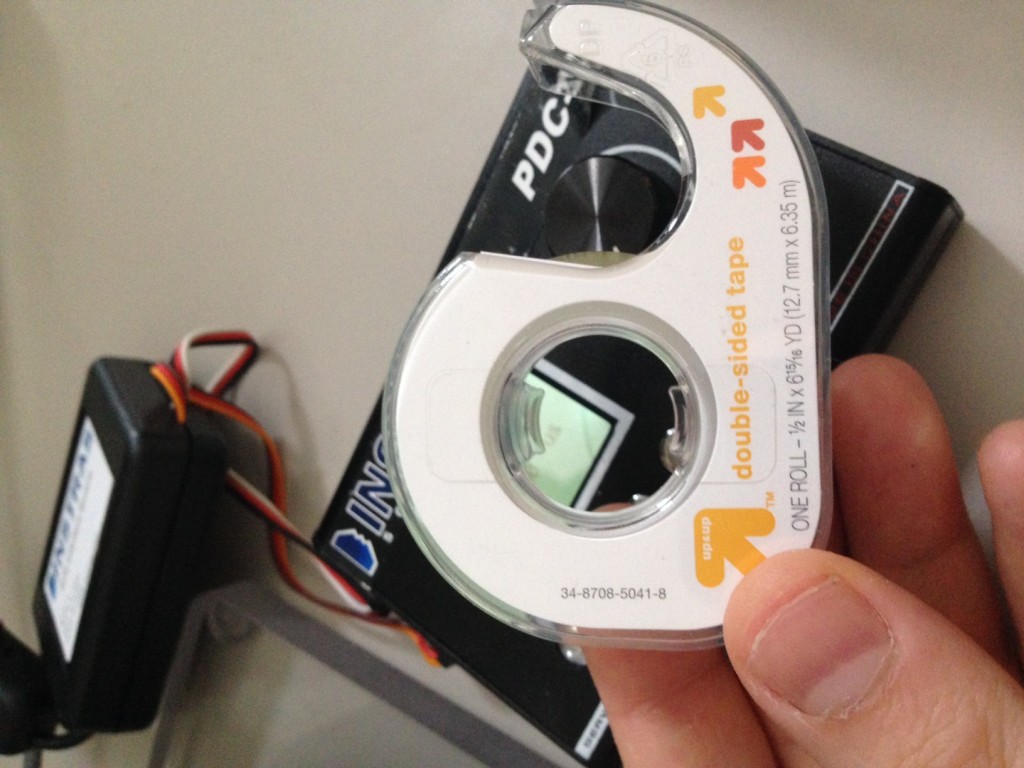
Spinning was pretty easy as you can see in the video above. They provide double sided tape to stick the substrate down (more on this later). The substrate was pretty dirty which caused some issues, but the process otherwise worked well. The biggest problem was removing it! I couldn’t get it off the double sided tape without breaking it. I’ll have to think about how to get round that. I think a jig to hold the substrate in place would be ideal.
Overall I’m reasonably pleased with it so far. That fact that it’s made from standard parts is rather nice, and makes the whole thing quite hackable.