Dyeing 3D Printed Parts

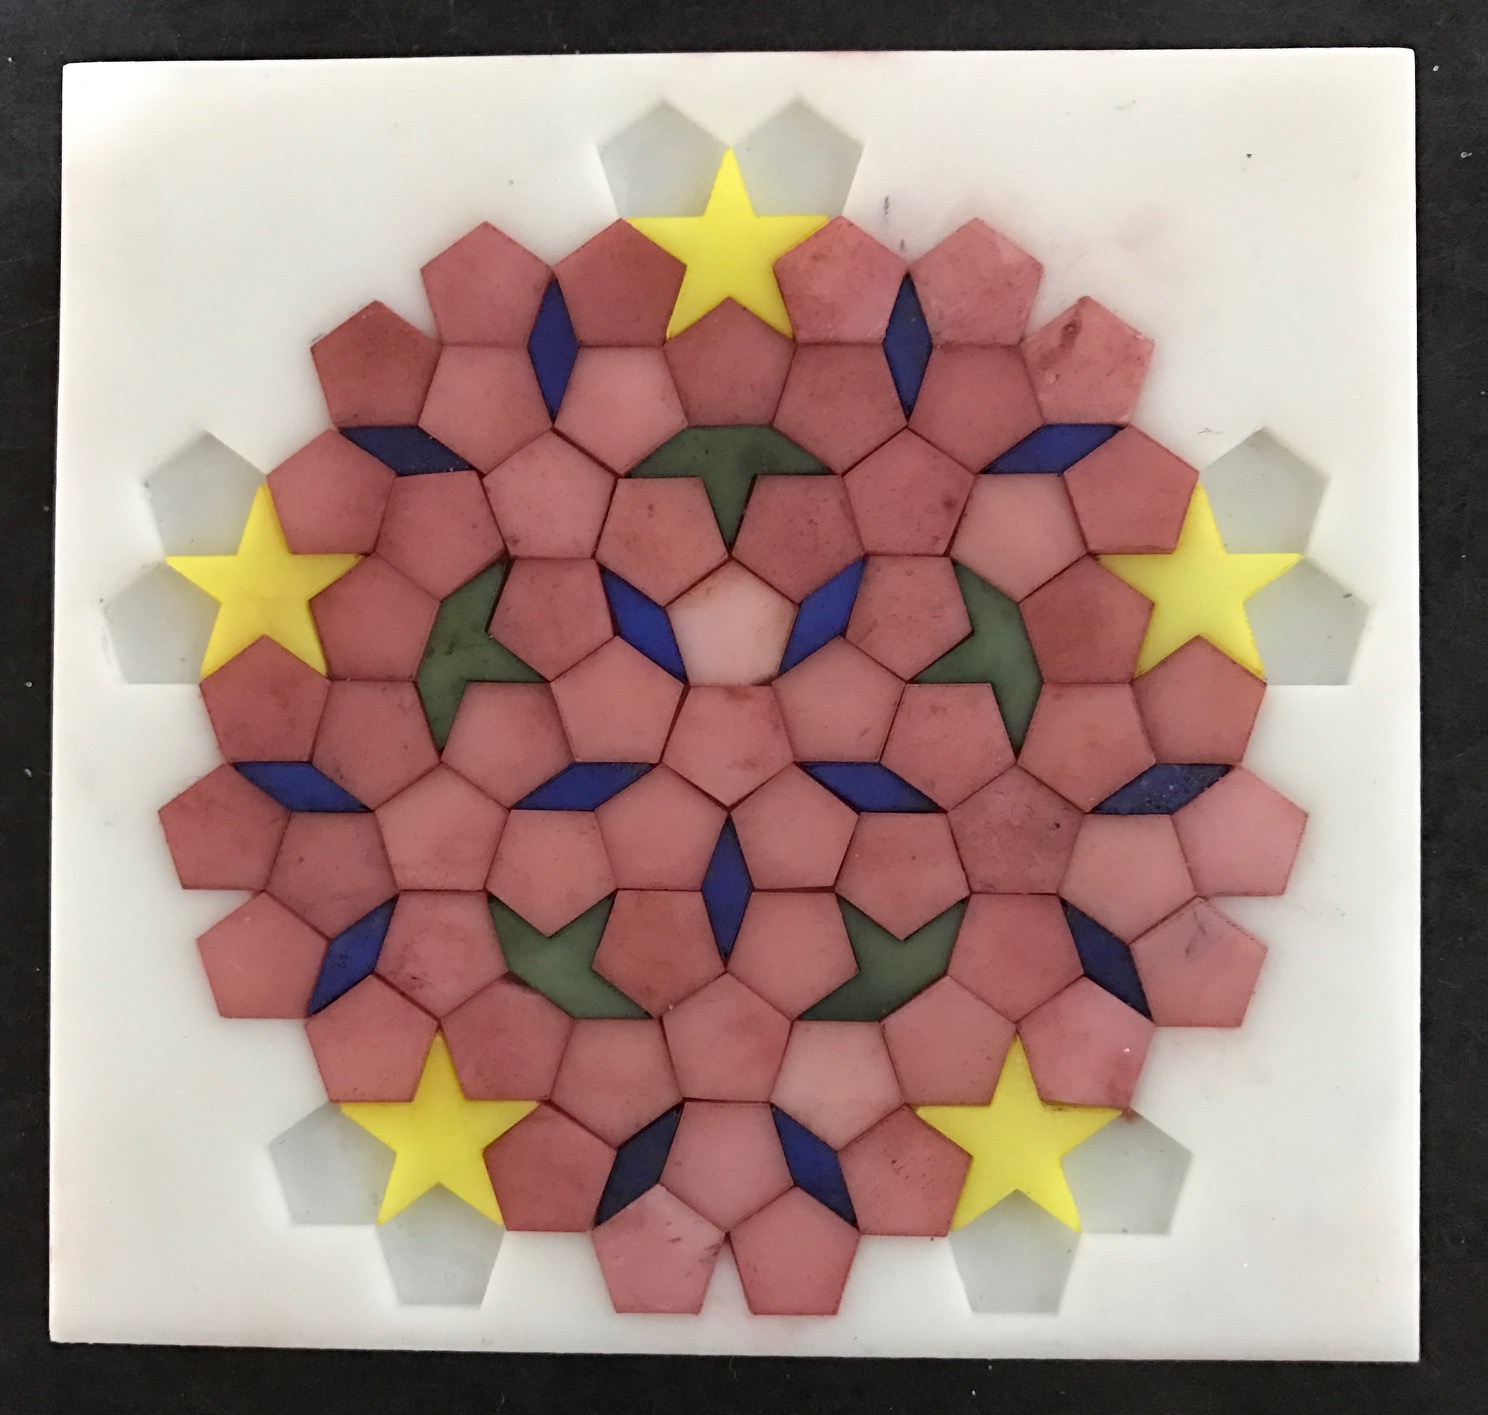
 I wanted to color some 3D printed parts for the project shown above. This post documents my first crack at dying SLA printed parts, and what I plan to try next time. Overall, the results were reasonable, however some colors worked better than others. The parts I used were SLA printed by Itead studios.
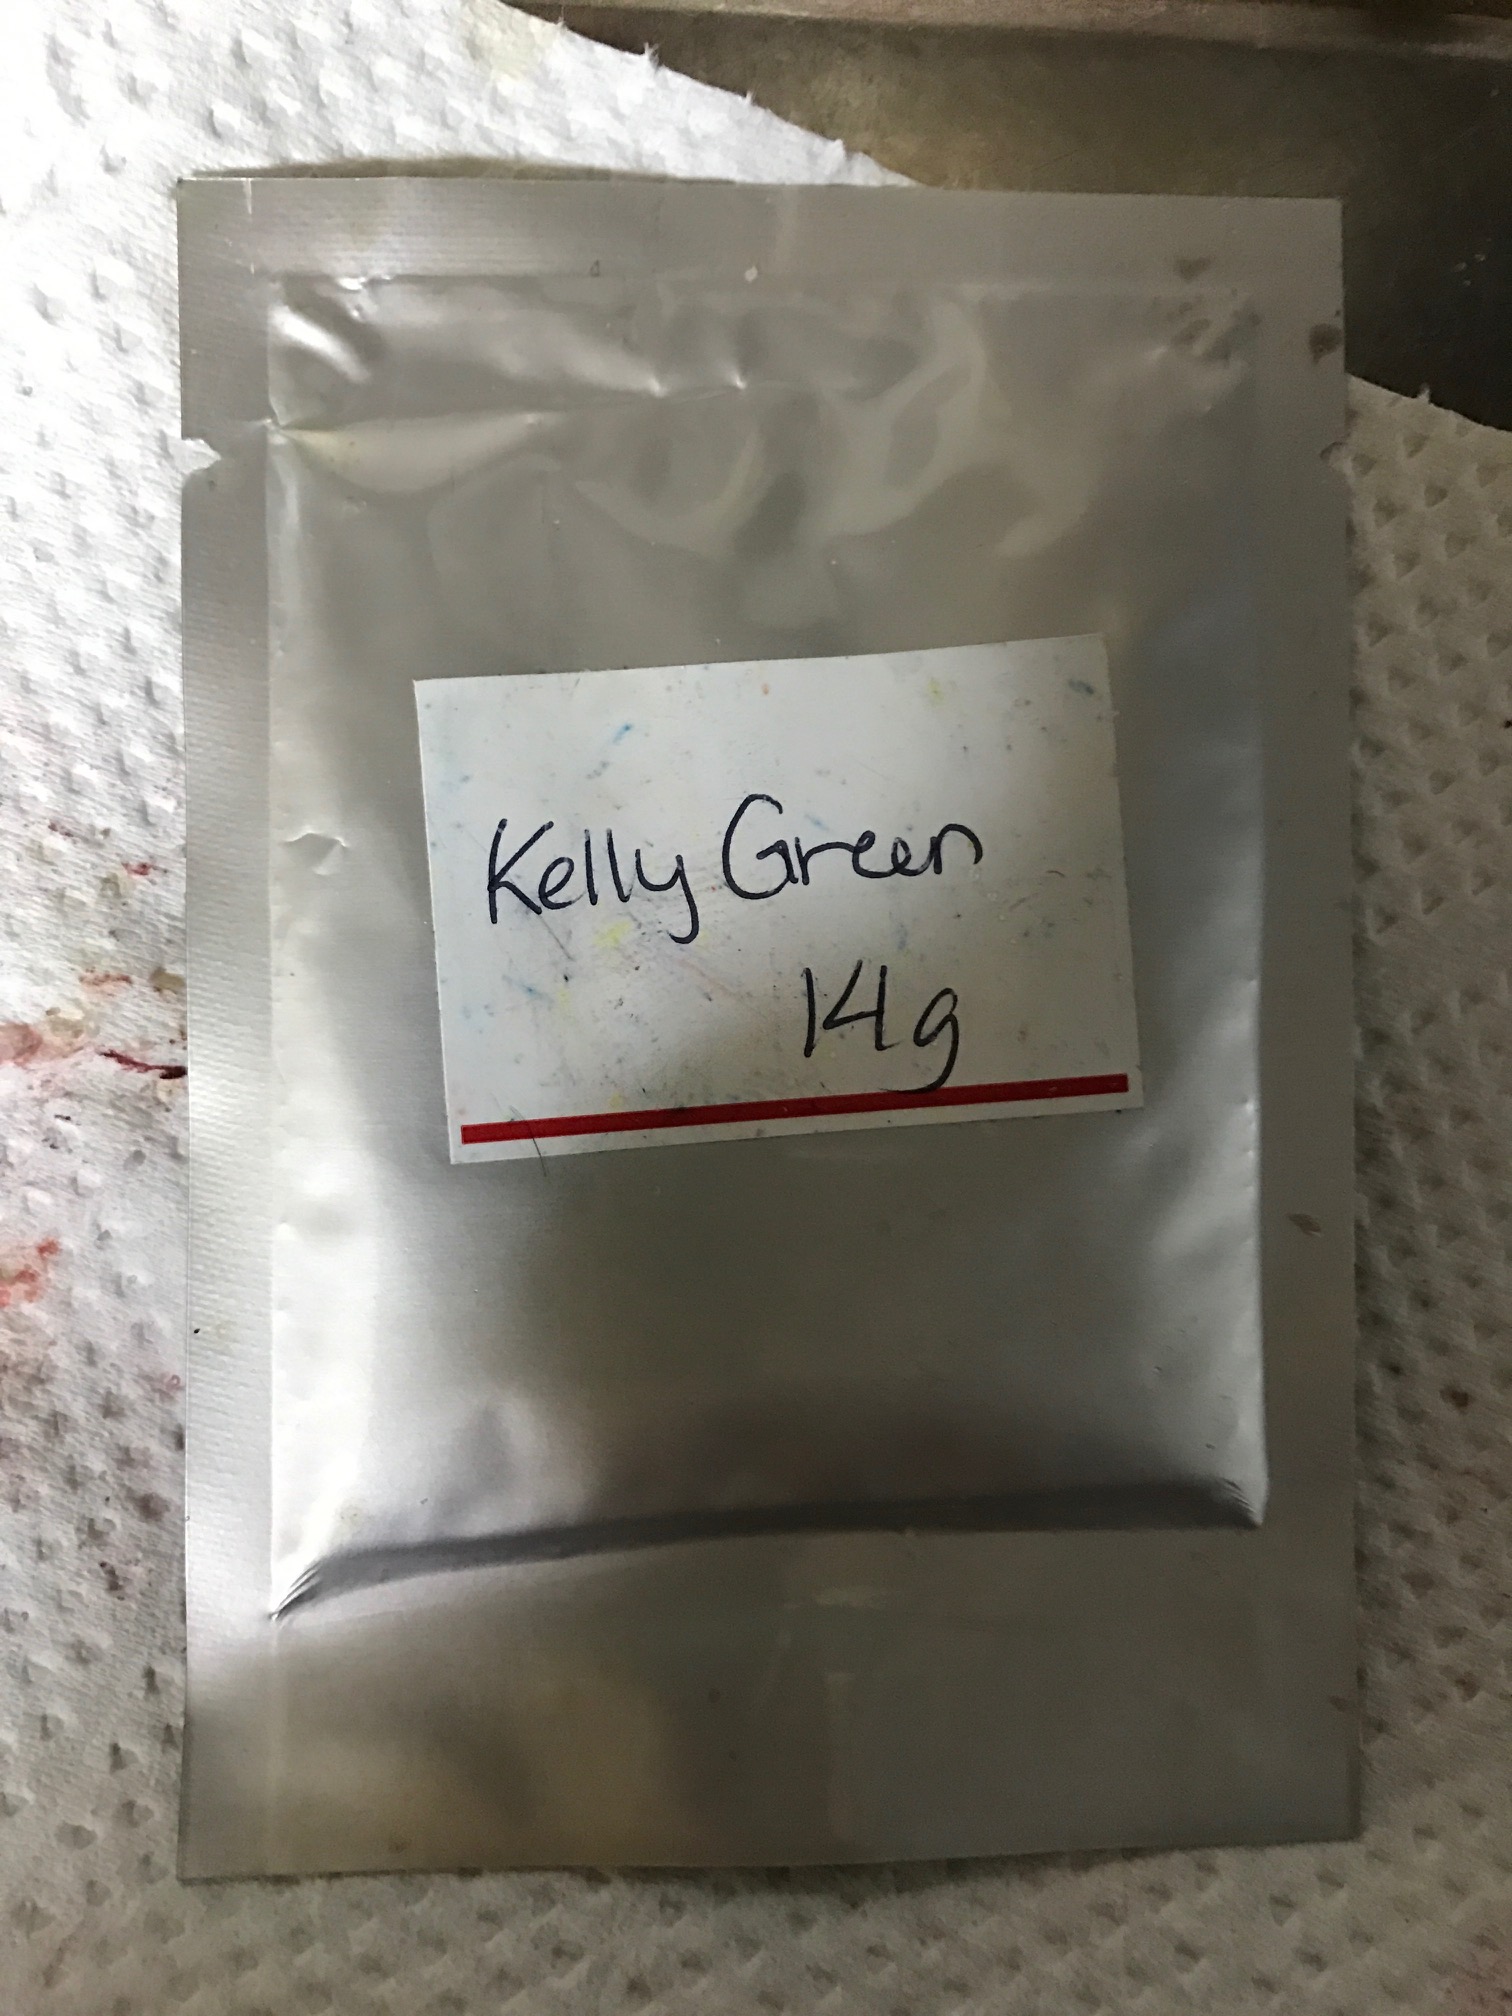
I used “rit” fabric dying powder, which I purchased on eBay. The power came in 14g packets. I used Cardinal Red, Kelly Green, Yellow and Navy Blue. The instructions provided were naturally designed for use with fabric, so I mostly just guessed. I used half the packet in a small beaker with 28ml of boiling water.
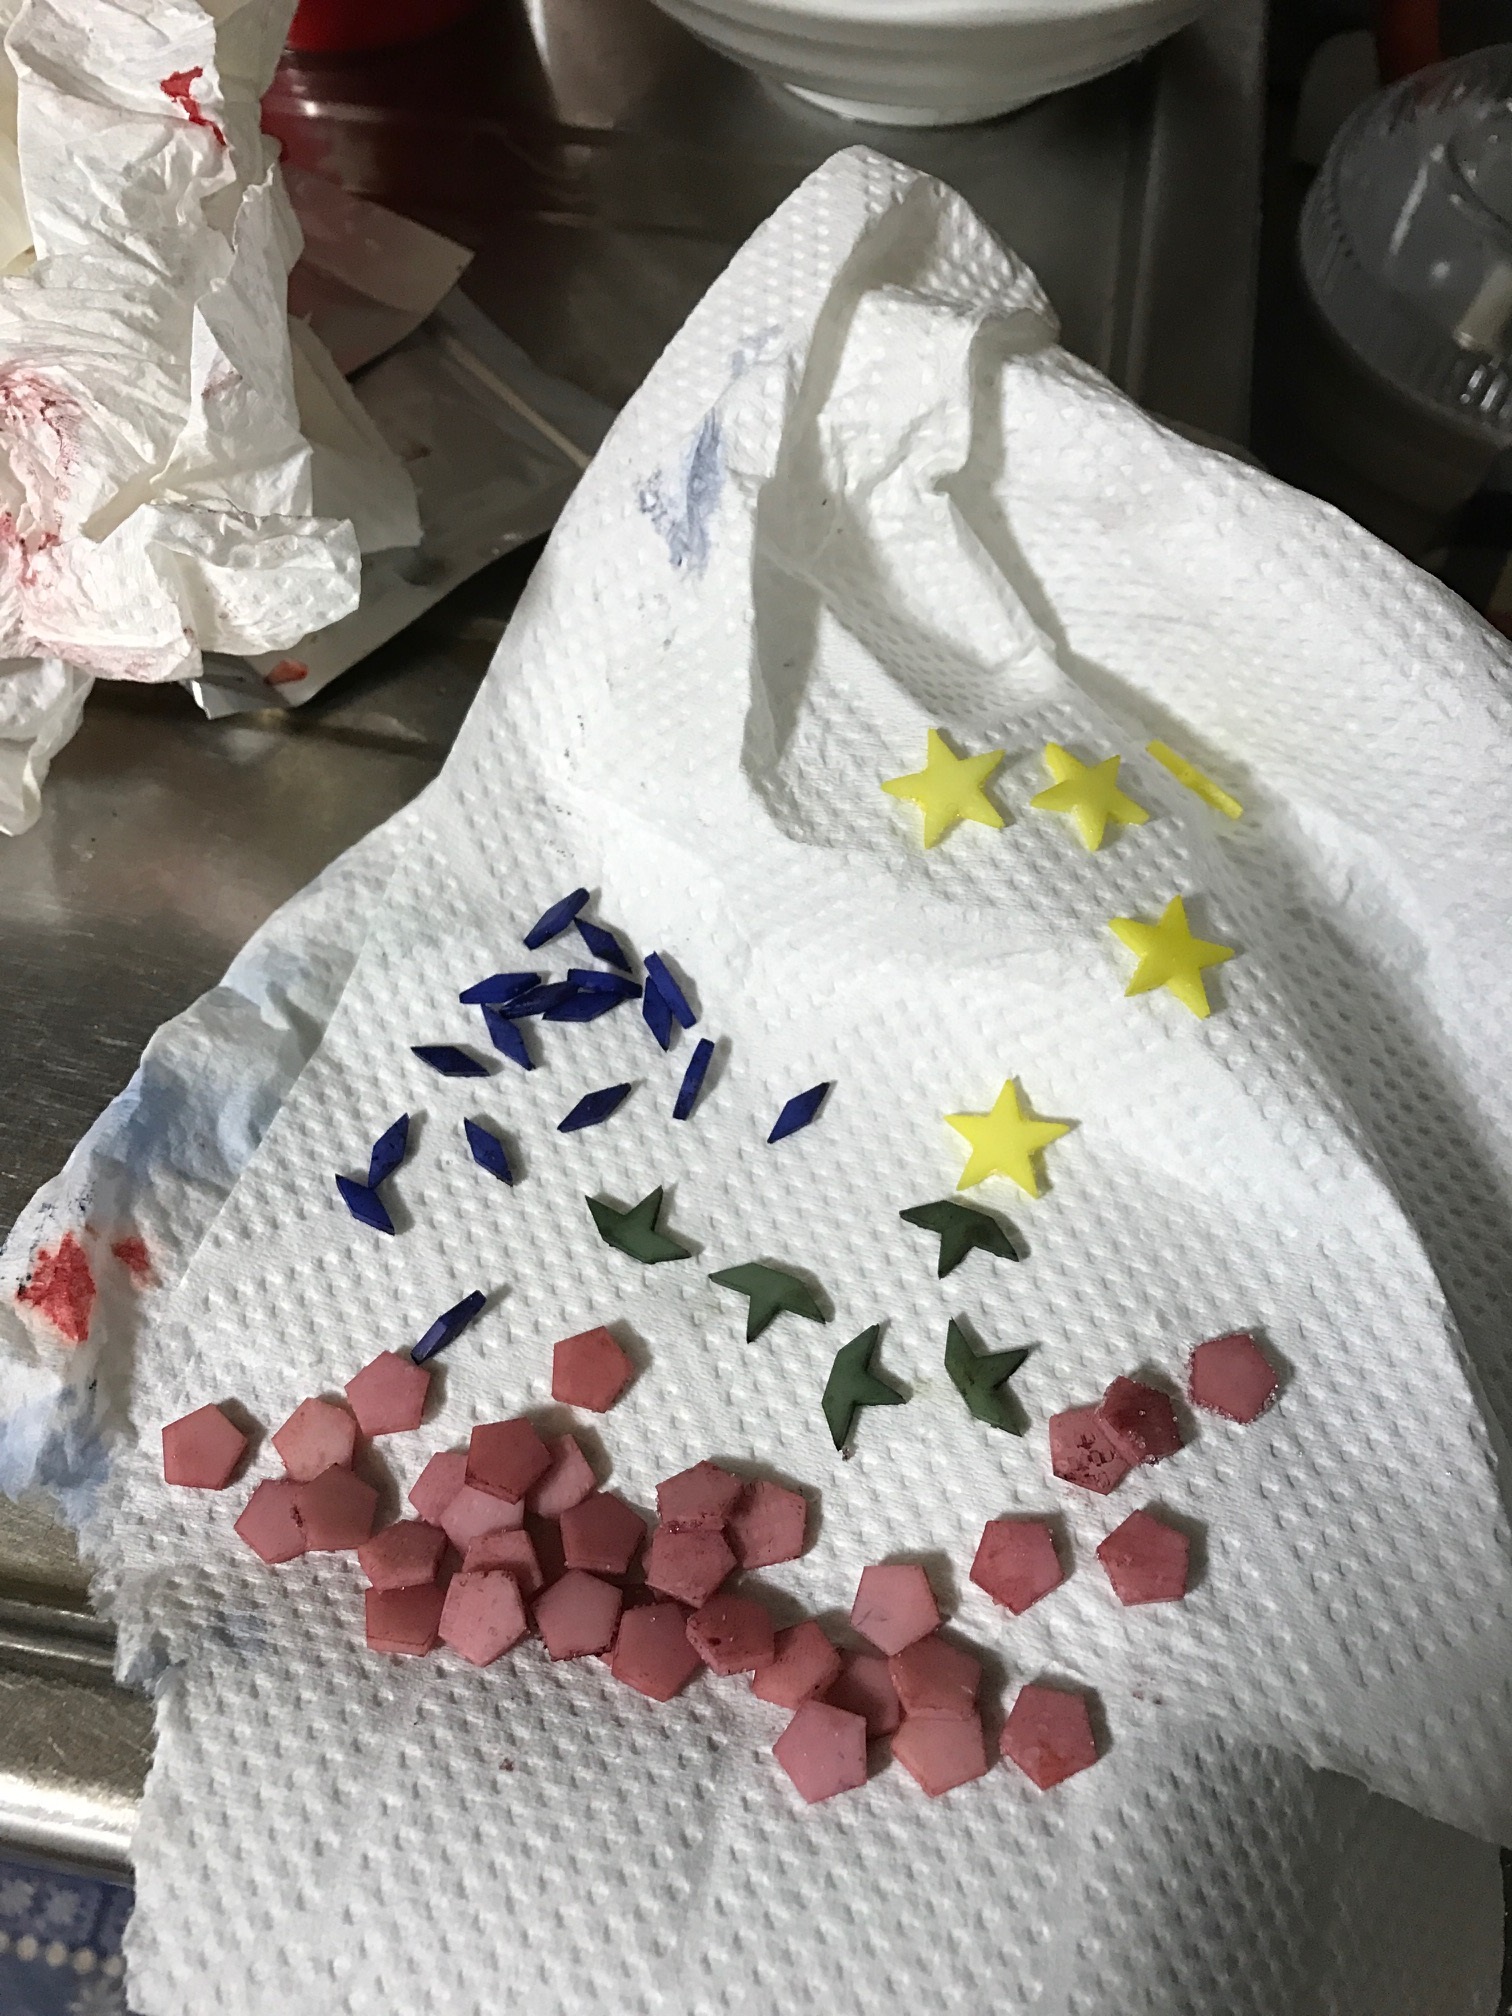
I threw the parts in stirred them around a bit with a tooth pick. In all cases there was some dye powder left in the bottom. I left the parts for about an hour. The navy blue and green parts seemed to dye really well. The yellow and red less so. I added the rest of the powder to the red and yellow parts and some more hot water. However the red parts never seemed to really absorb sufficient dye. This might be because there were 4 or 5 times the quantity of parts. Or it could just be that the parts absorb the red dye poorly…
After I was reasonably satisfied that the parts had absorbed all the dye they were going to I emptied the parts out on to some kitchen towel. I rubbed them clean of the remaining dye powder and left them for a couple of minutes to dry before working with them further.
The process feels like its a partial success. I’m going to try some different dyes (hopefully ones I don’t have to order from Canada on eBay). One thing I was concerned about was that heating and cooling the parts would cause them to absorb water, warp, or otherwise deform. This doesn’t seem to be the case, and least if it is, it’s not significant with in the dimensions I’m working with.
