Keyence VE7800 Operating Procedure
- Turn on the keyence ve7800, the chamber should be closed, and have partial vacuum from the last time it was operated.
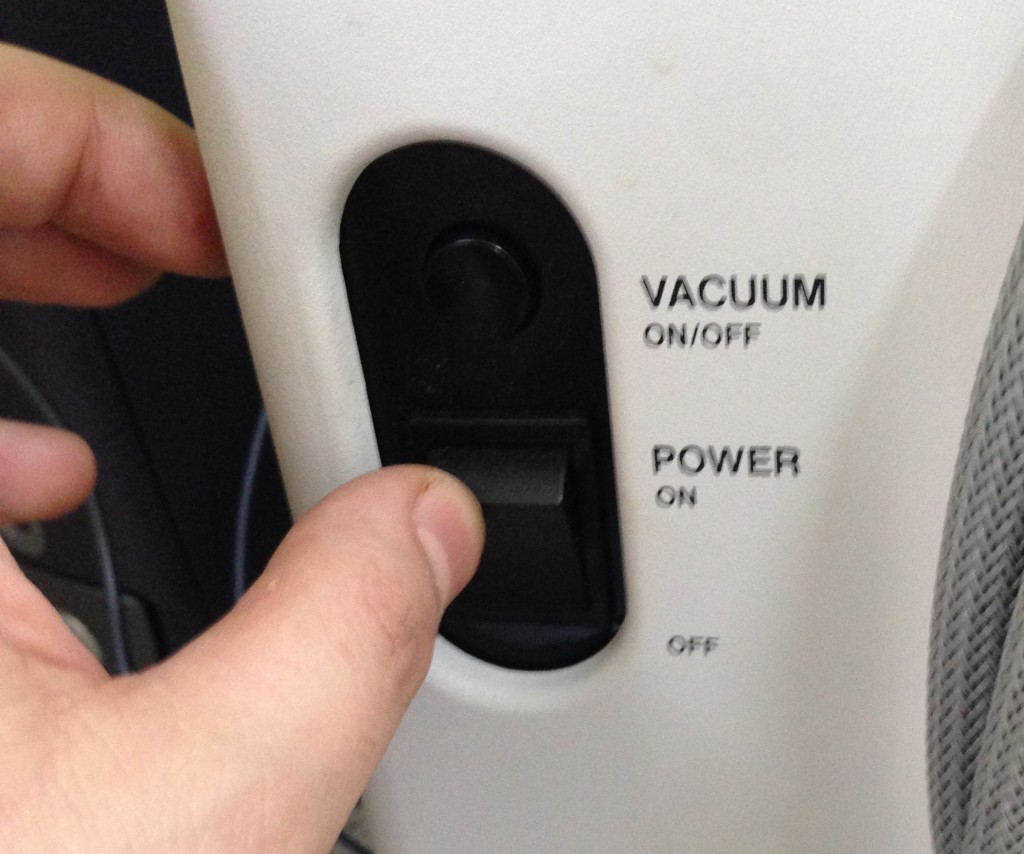
- Turn on PC.
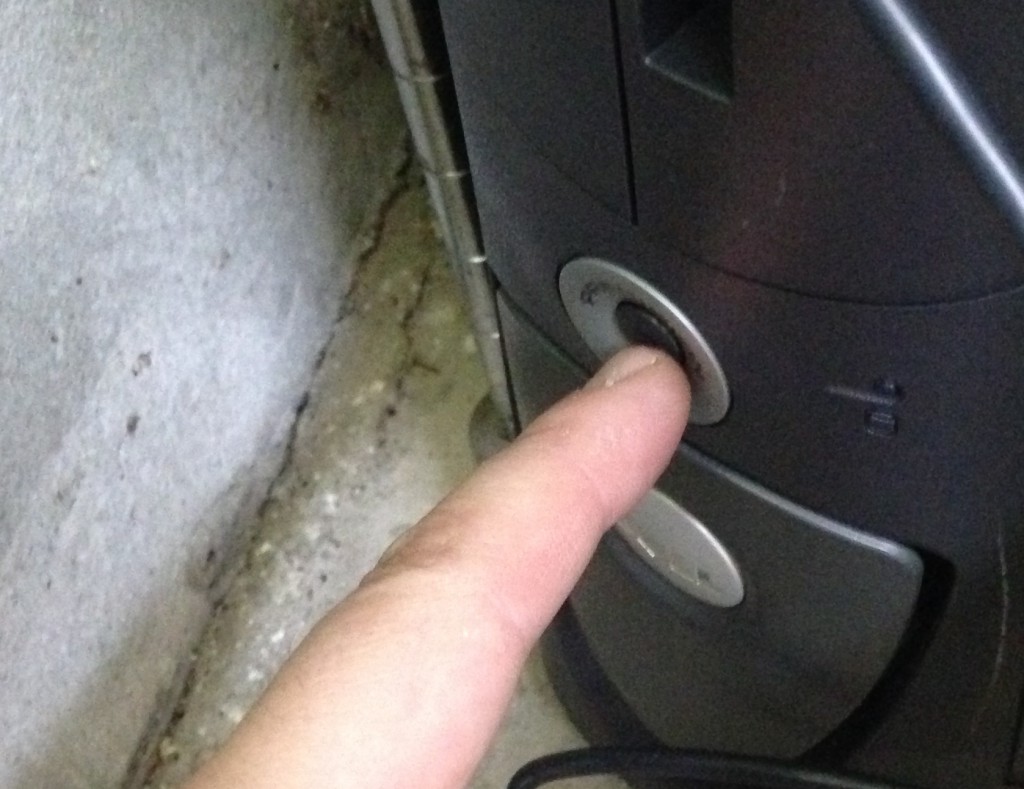
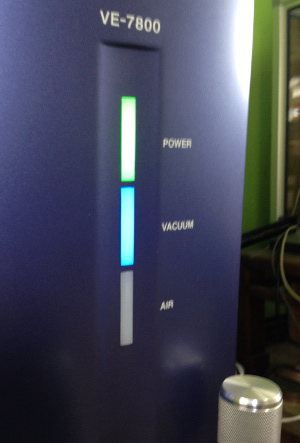
- Wait to vacuum light on the VE7800 to stop flashing. The vacuum light should be solid blue. This will take approximately 5 minutes.
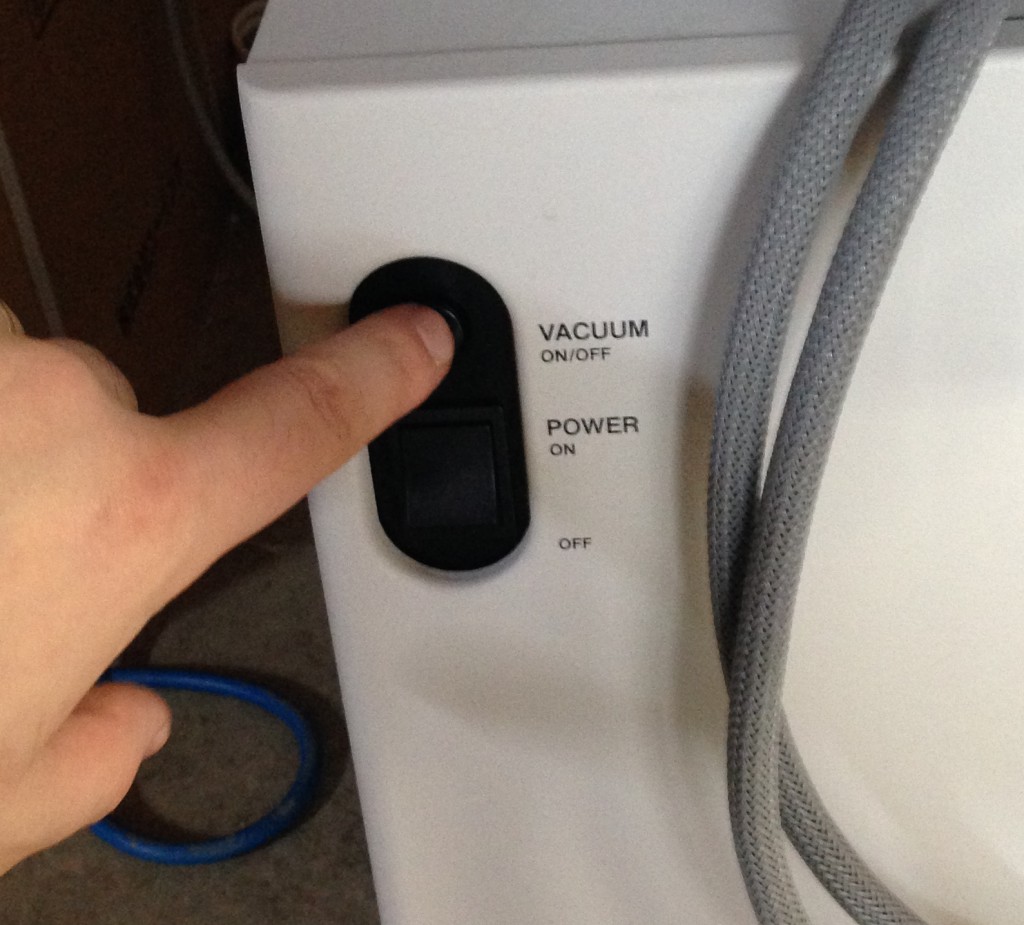
- Press and hold the “Vacuum on/off” button for 2 seconds.
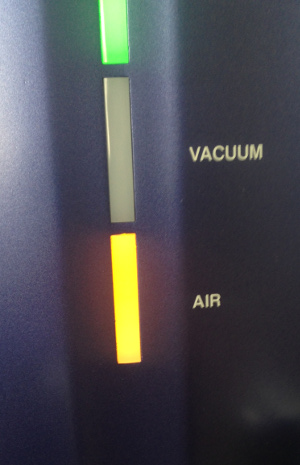
- Wait ~45 seconds while the vacuum bleeds. During this process the air light should be illuminated.
- Open the chamber using the handle DO NOT USE ANY OTHER FIXTURES
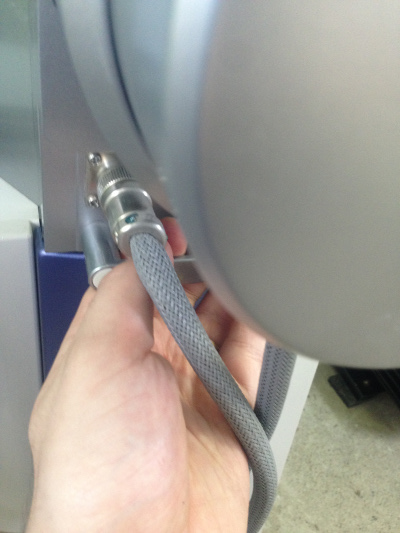
- Remove the specimen table (it is not fixed in place and can easy be removed)
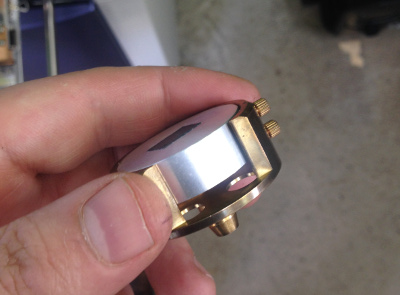
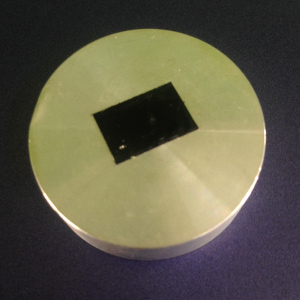
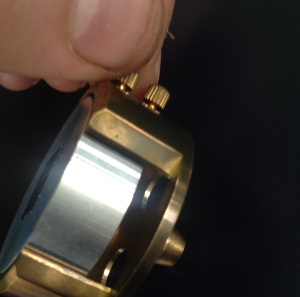
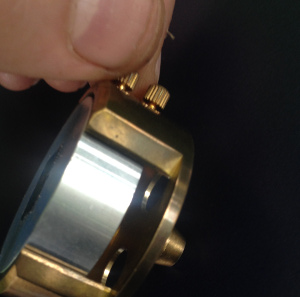
- Remove the stub (aluminum disc) the thumb screws should only be hand tight.
- Replace the carbon tape if required (a roll should be in the SEM consumables box by the SEM).
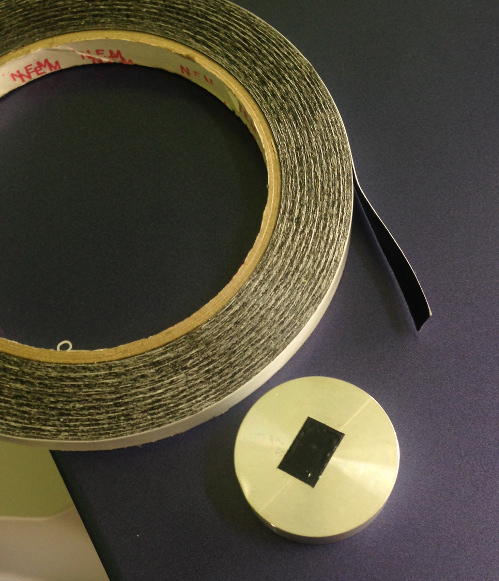
- Firmly attach the sample to the aluminum stub. Ideally the conductive layer of the sample should make contact with the carbon tape.
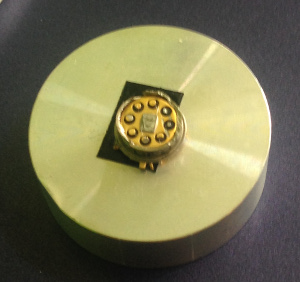
- Place the aluminum stub in the sample table. Make should the top of the stub is level with the top of the table and use the thumb screws to screw the stub in place.
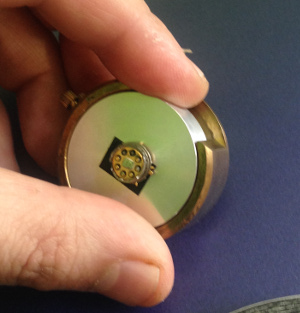
- Place the sample table in the device.
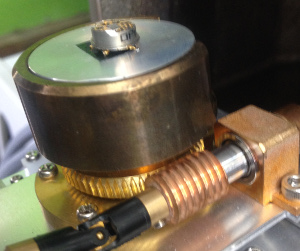
- Close the chamber use the handle, do not use other fixtures
- Press and hold the “Vacuum on/off” button for 2 seconds.

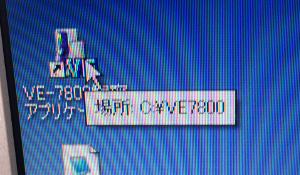
- Start the ve-7800 software (the icon is on the desktop)
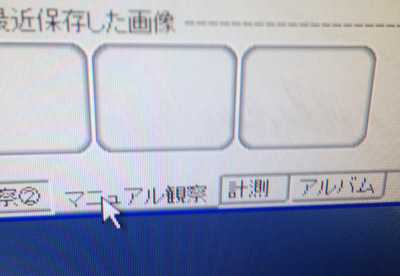
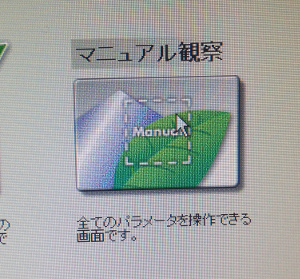
- Select manual mode in the software (other modes require more Japanese language skills).
- Wait for the blue vacuum light on the ve7800 to stop flashing.
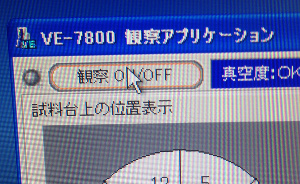
- Click the “Beam on/off” toggle button in the application software
- Firmly attach the sample to the aluminum stub. Ideally the conductive layer of the sample should make contact with the carbon tape.
- Select 50x magnification
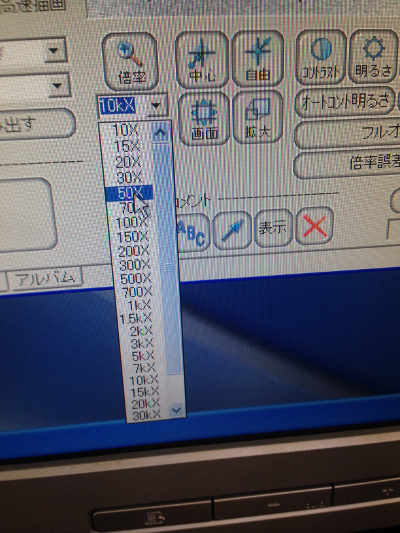
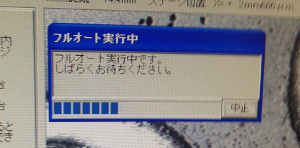
- Press the “full auto” button.
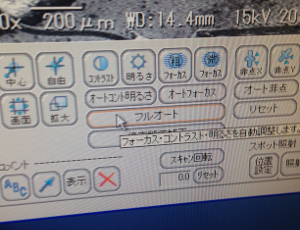
- The following dialog will appear, wait for the parameter optimization process to complete. Full auto will attempt to algorithmically determine the optimal voltage,focus and contrast for the sample.
- Use the X and Y dial on the interface pad to move to a region of interest.
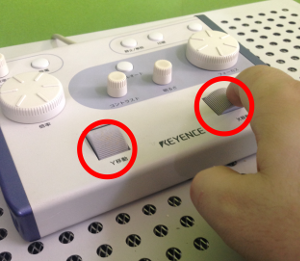
- When moving though the image, press “full auto” when the image quality appears poor.
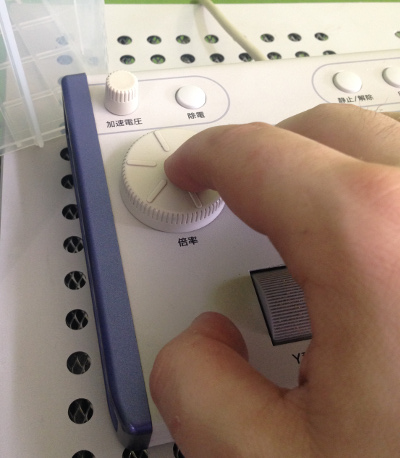
- To increase magnification, either use the pulldown menu, or the dial on the rotary pad shown below.
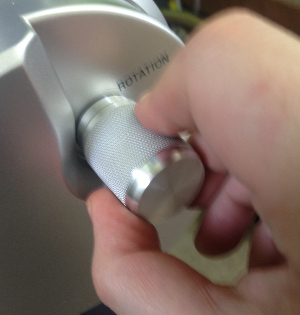
- During observation you may wish to rotate or tilt the sample. These operations can be performed directly using the knobs on the SEM.
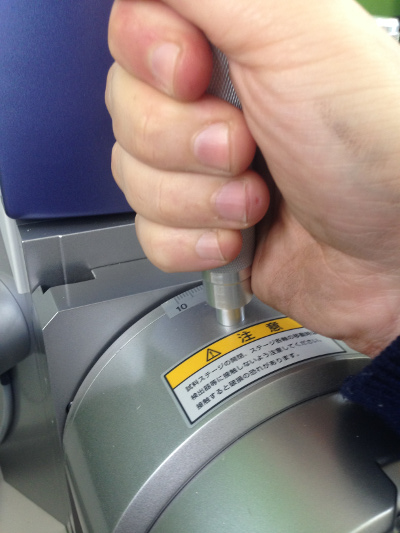
- See further instructions below or acquiring and saving a high resolution image
Shutdown procedure
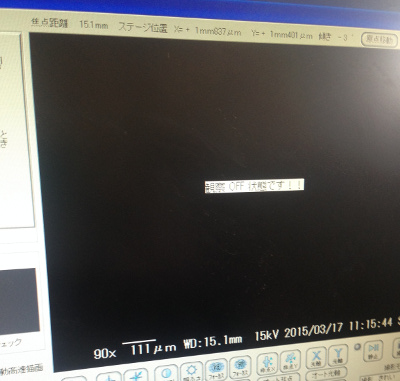
- Click the top left button to turn off the beam. The imaging area will go dark and display the message shown below.
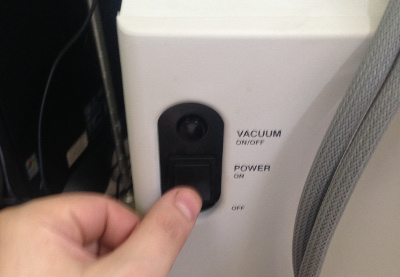
- Press “vacuum on/off” on the ve7800 for approximately 2 seconds.
- Press and hold the “Vacuum on/off” button for 2 seconds.

- Wait 45 seconds for the vacuum to bleed.
- Open the sample chamber. only use the handle not the fixtures of knobs to open the chamber
- Remove the sample
- Close the chamber
- Press “vacuum on/off” for approximately 2 seconds. The vacuum light should start of blink. Wait until the vacuum light stops flashing and is illuminated solid blue.
- Turn off the ve7800.
- Shutdown the software and turn off the PC
Saving an image
- One you have located a region where you like to acquire a high resolution image click the “take picture” button.
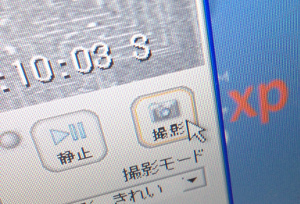
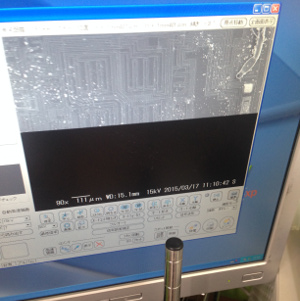
- You’ll need to wait approximately 1 minute for acquisition. The image will slowly appear on the screen during acquisition. Try not to knock the SEM, as vibration will cause more issues at this point.
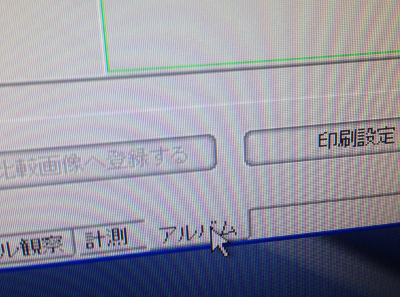
- Select the album tab
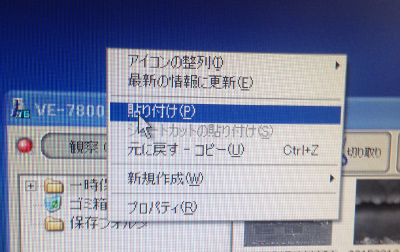
- Select the image you just acquire and right click “copy” (コピー).

- Right click on the desktop or a USB drive and click “paste”:
- Click the manual tab to return to the main view:
