Proxxon MF70 CNC Kit
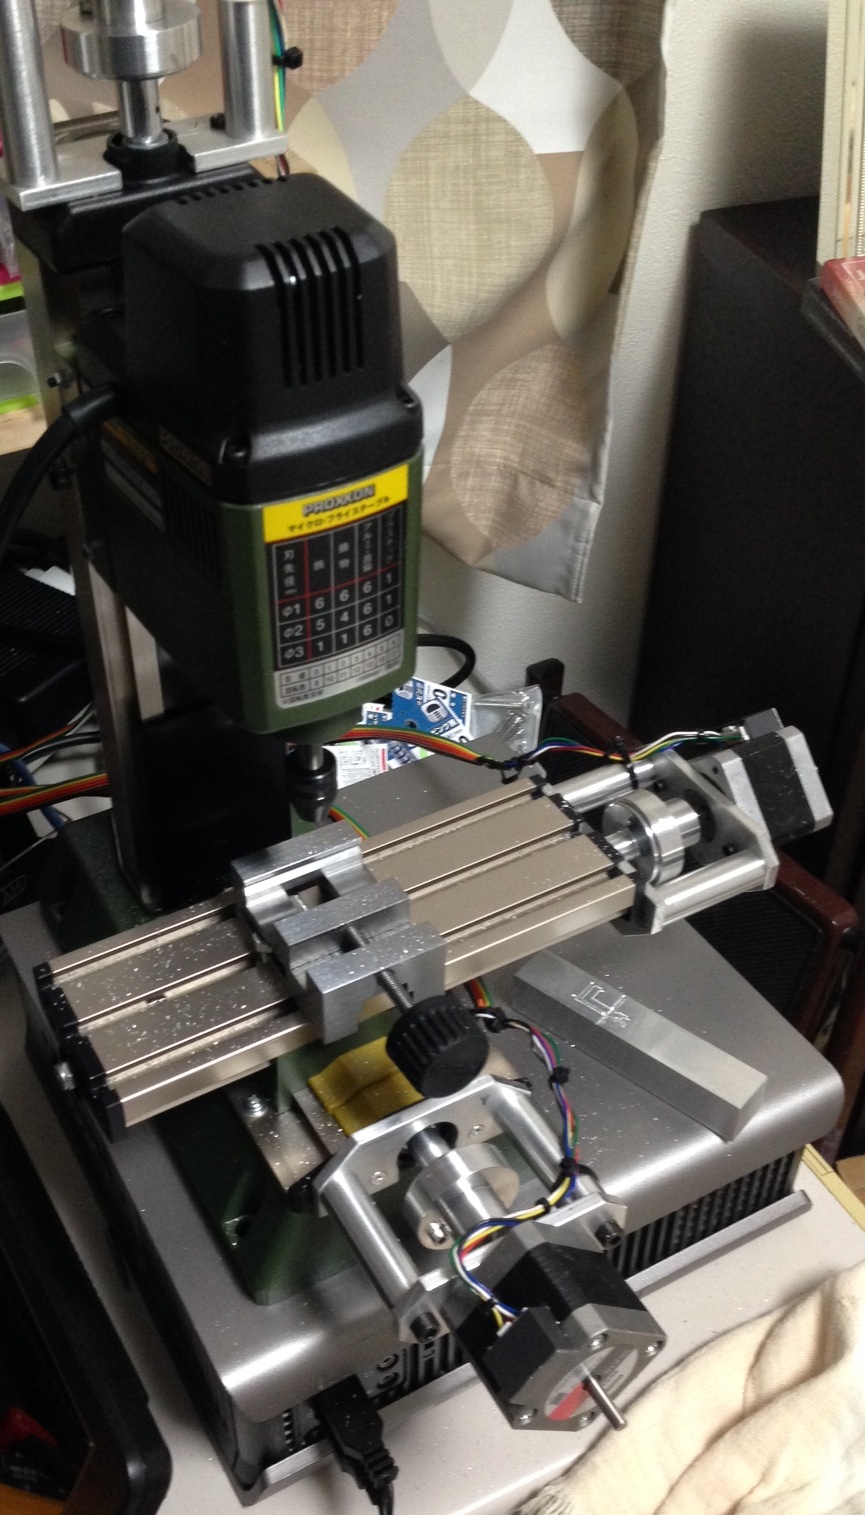
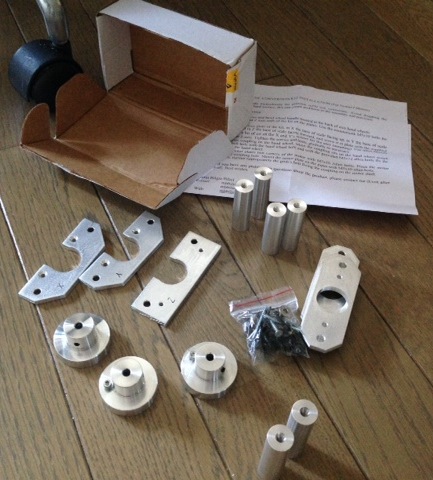
I’ve been playing with a Proxxon MF70 CNC conversion, these are my notes in case I ever need to revisit the project, or if they’re useful for anyone else. I purchased the stepper fittings on ebay from seller mbbilici. He has two versions, and I used the NEMA17 kit. Here’s the kit as it arrived:
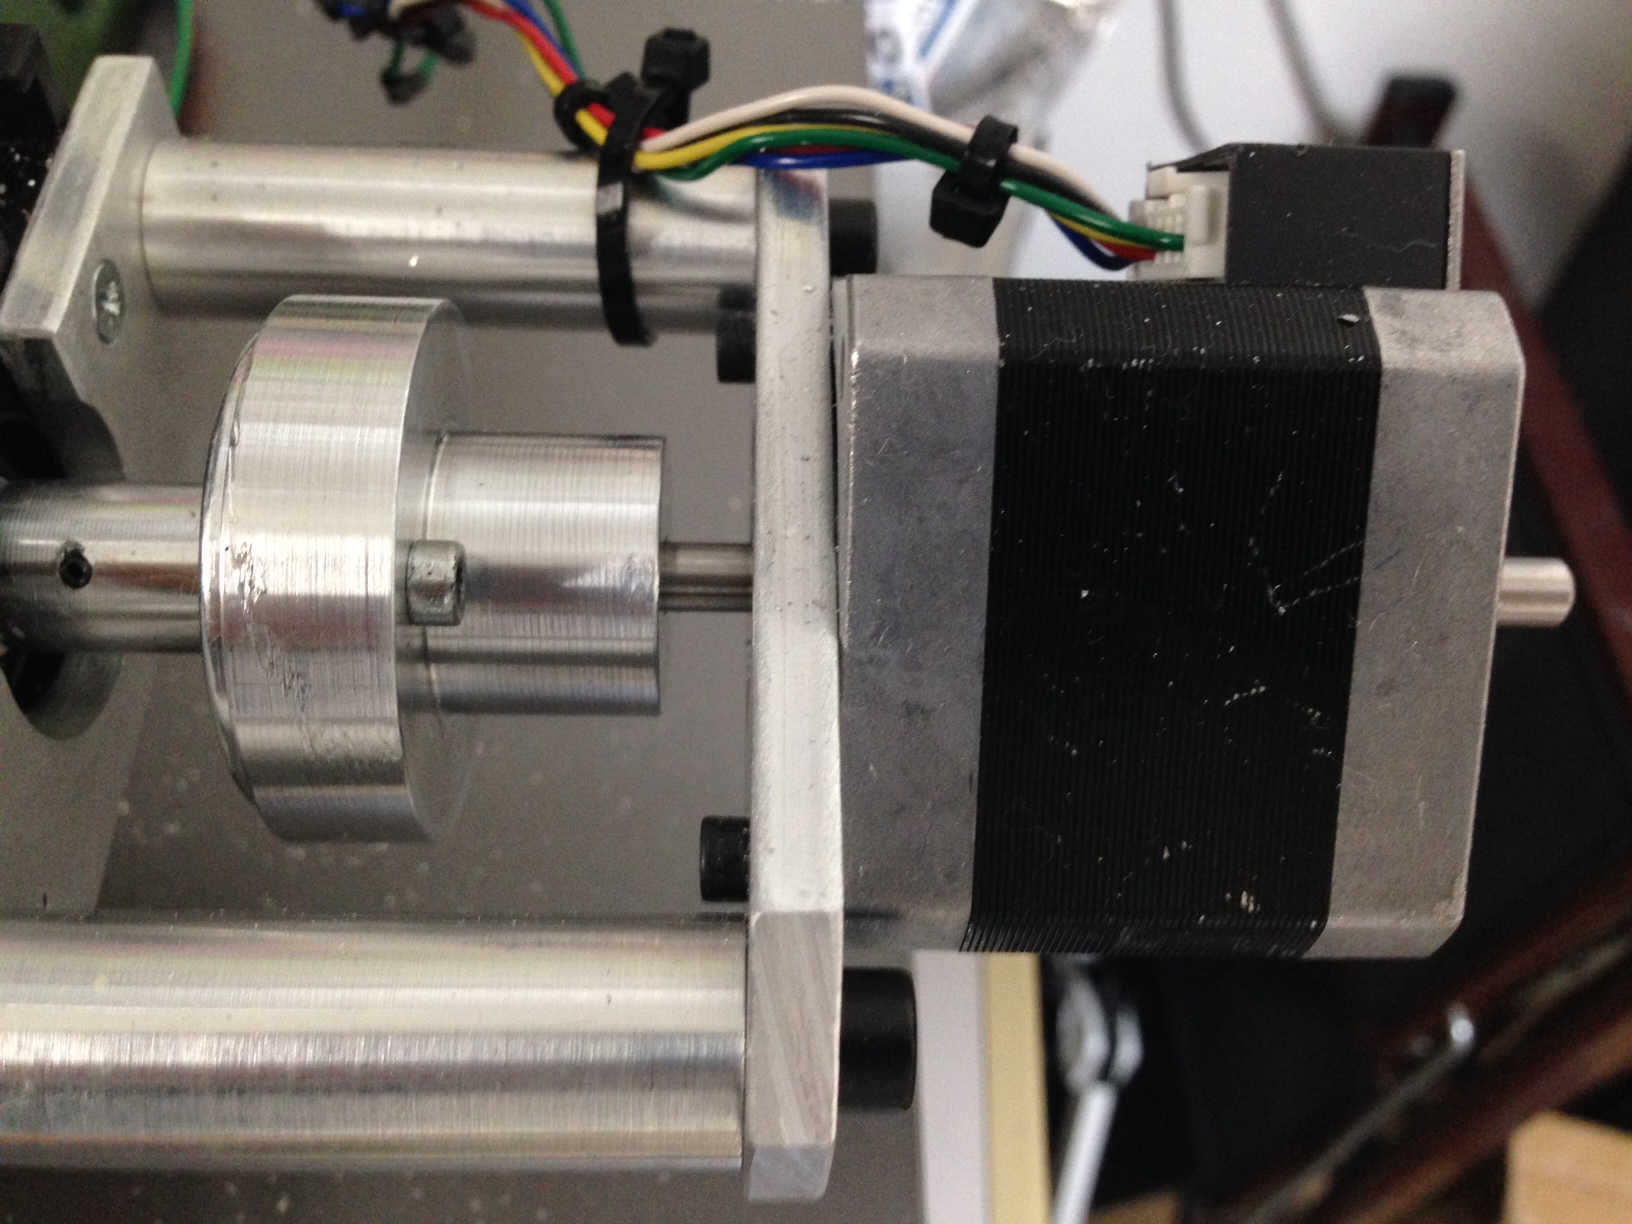
There are a couple of problems with it, the first is that the instructions are awful, and this kit seems different (actually nicer in a lot of ways) than many others on the Internet. This means that if you google for instructions you get confused. I ended up pulling apart half the XY stage before realizing that the kit only requires you to remove the handles and screw into the hole where the handle sits. This is actually really nice, because you can make a non-permanent modification to the Proxxon and return the mill to it’s stock configuration quite easily. This second issue is that the Z-axis stepper mount doesn’t fit on my Proxxon. The kit comes with Torx screws which simply don’t fit the holes in the plastic at the top of the mill, they’re too small and fall though.
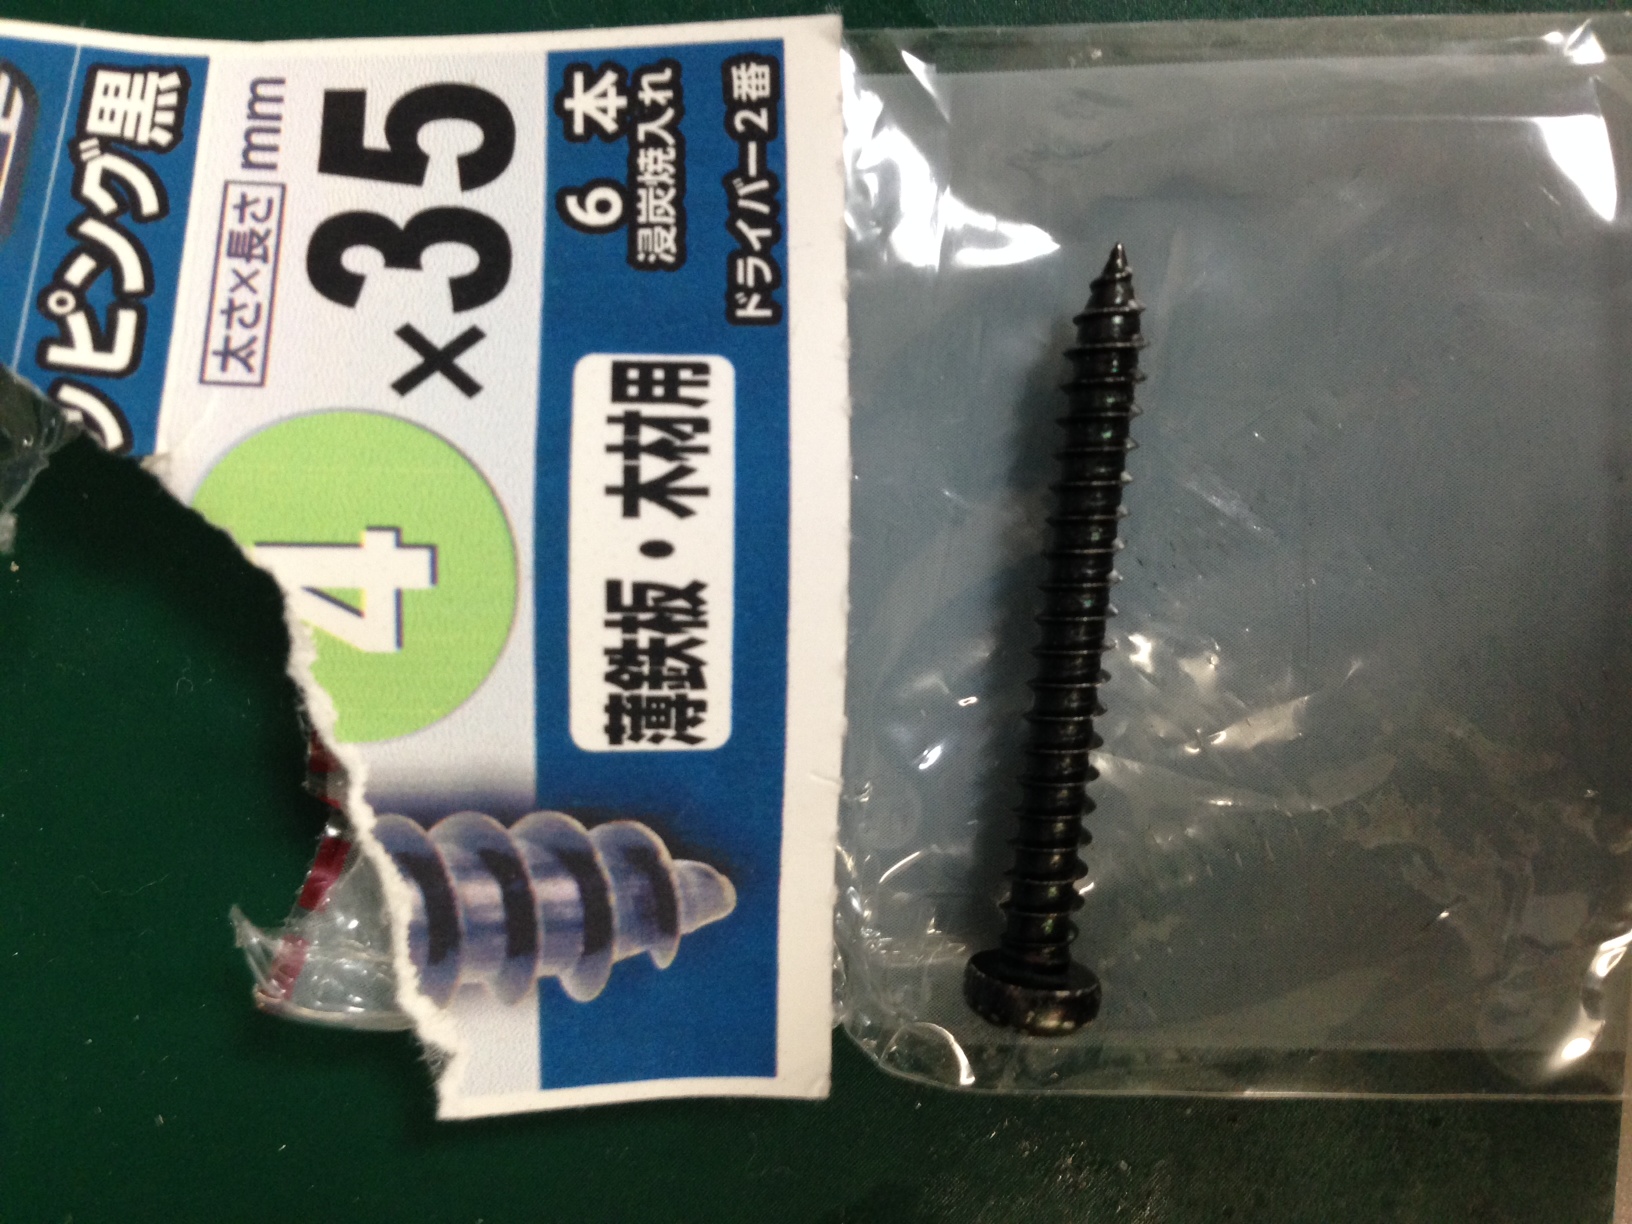
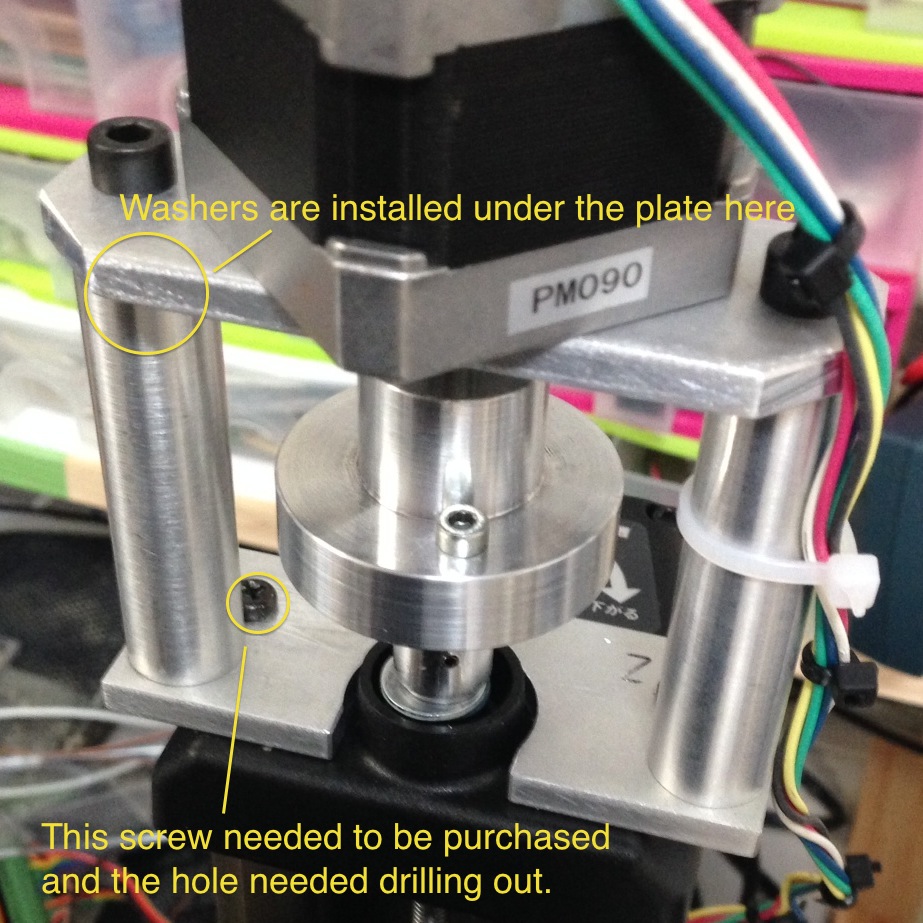
I therefore needed to buy new screws (the ones that come with the Proxxon are too short) and drill out the mounting plate as the hole in the plate wasn’t big enough for the screws. These are the screws I bought:
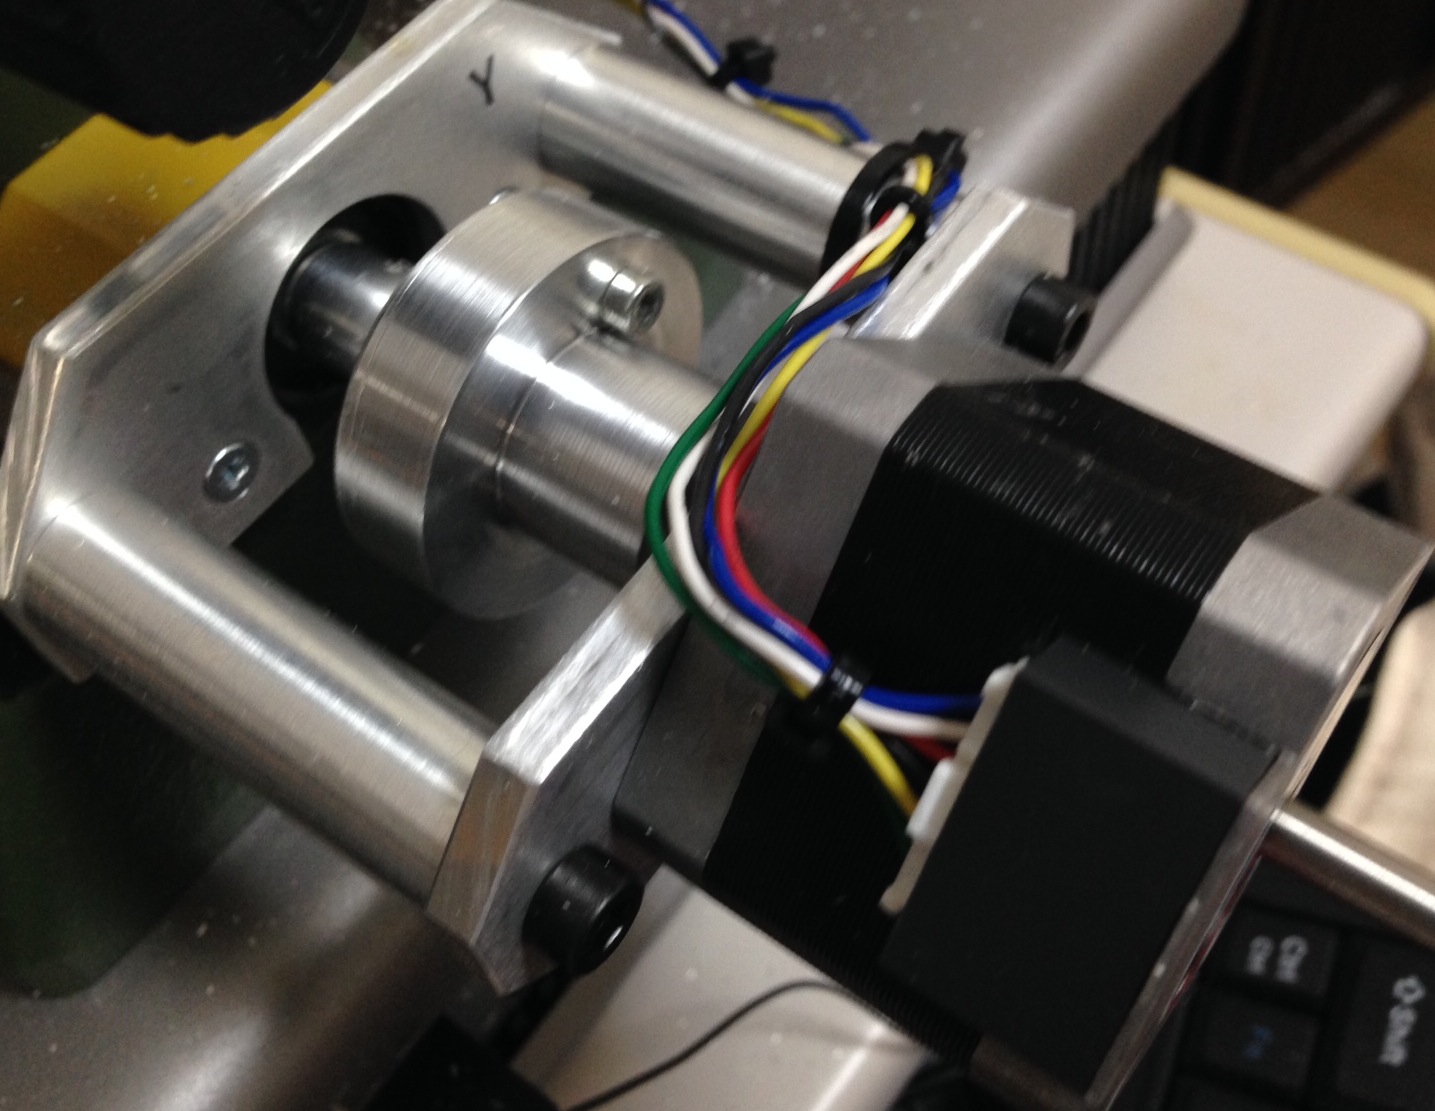
The Z-axis also seemed slightly too short. I had to add a couple of washers so that the Stepper spindle wasn’t push in:
Those were the only serious modifications, everything else was pretty easy to install. I used the steppers mentioned in a 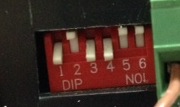
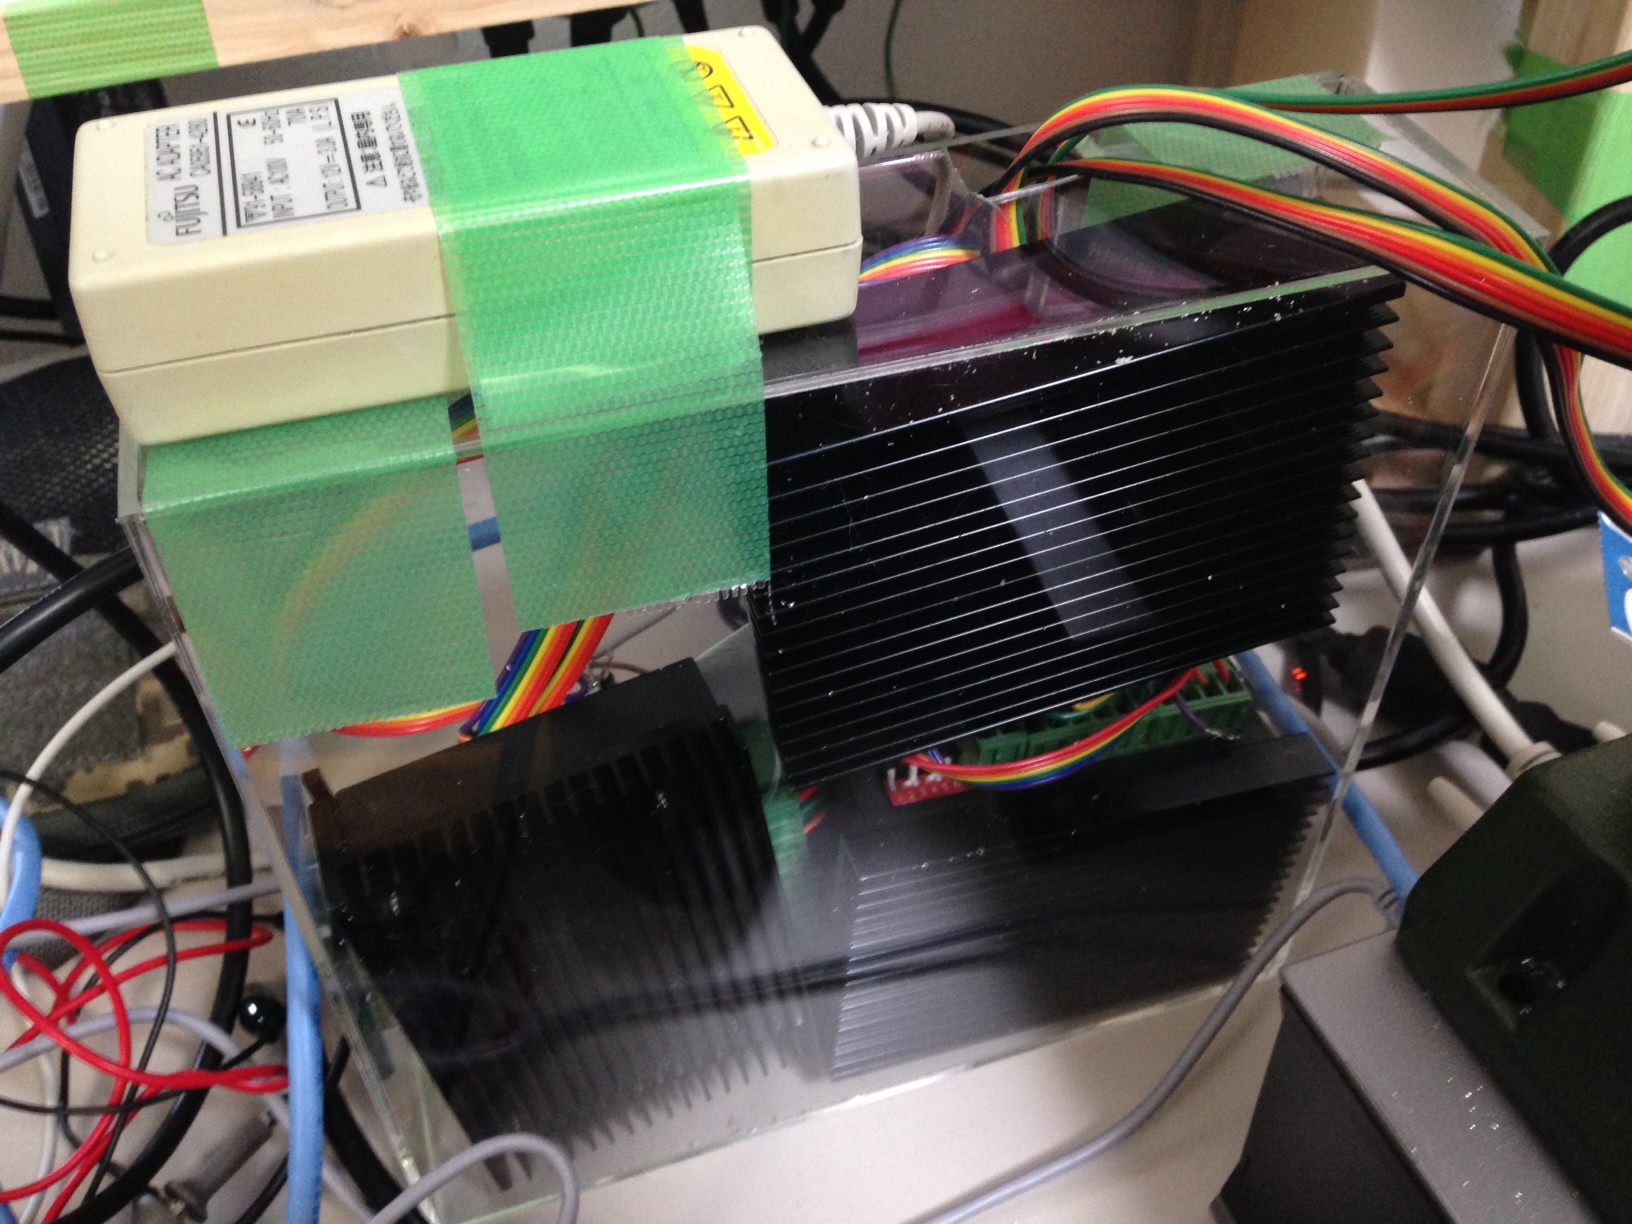
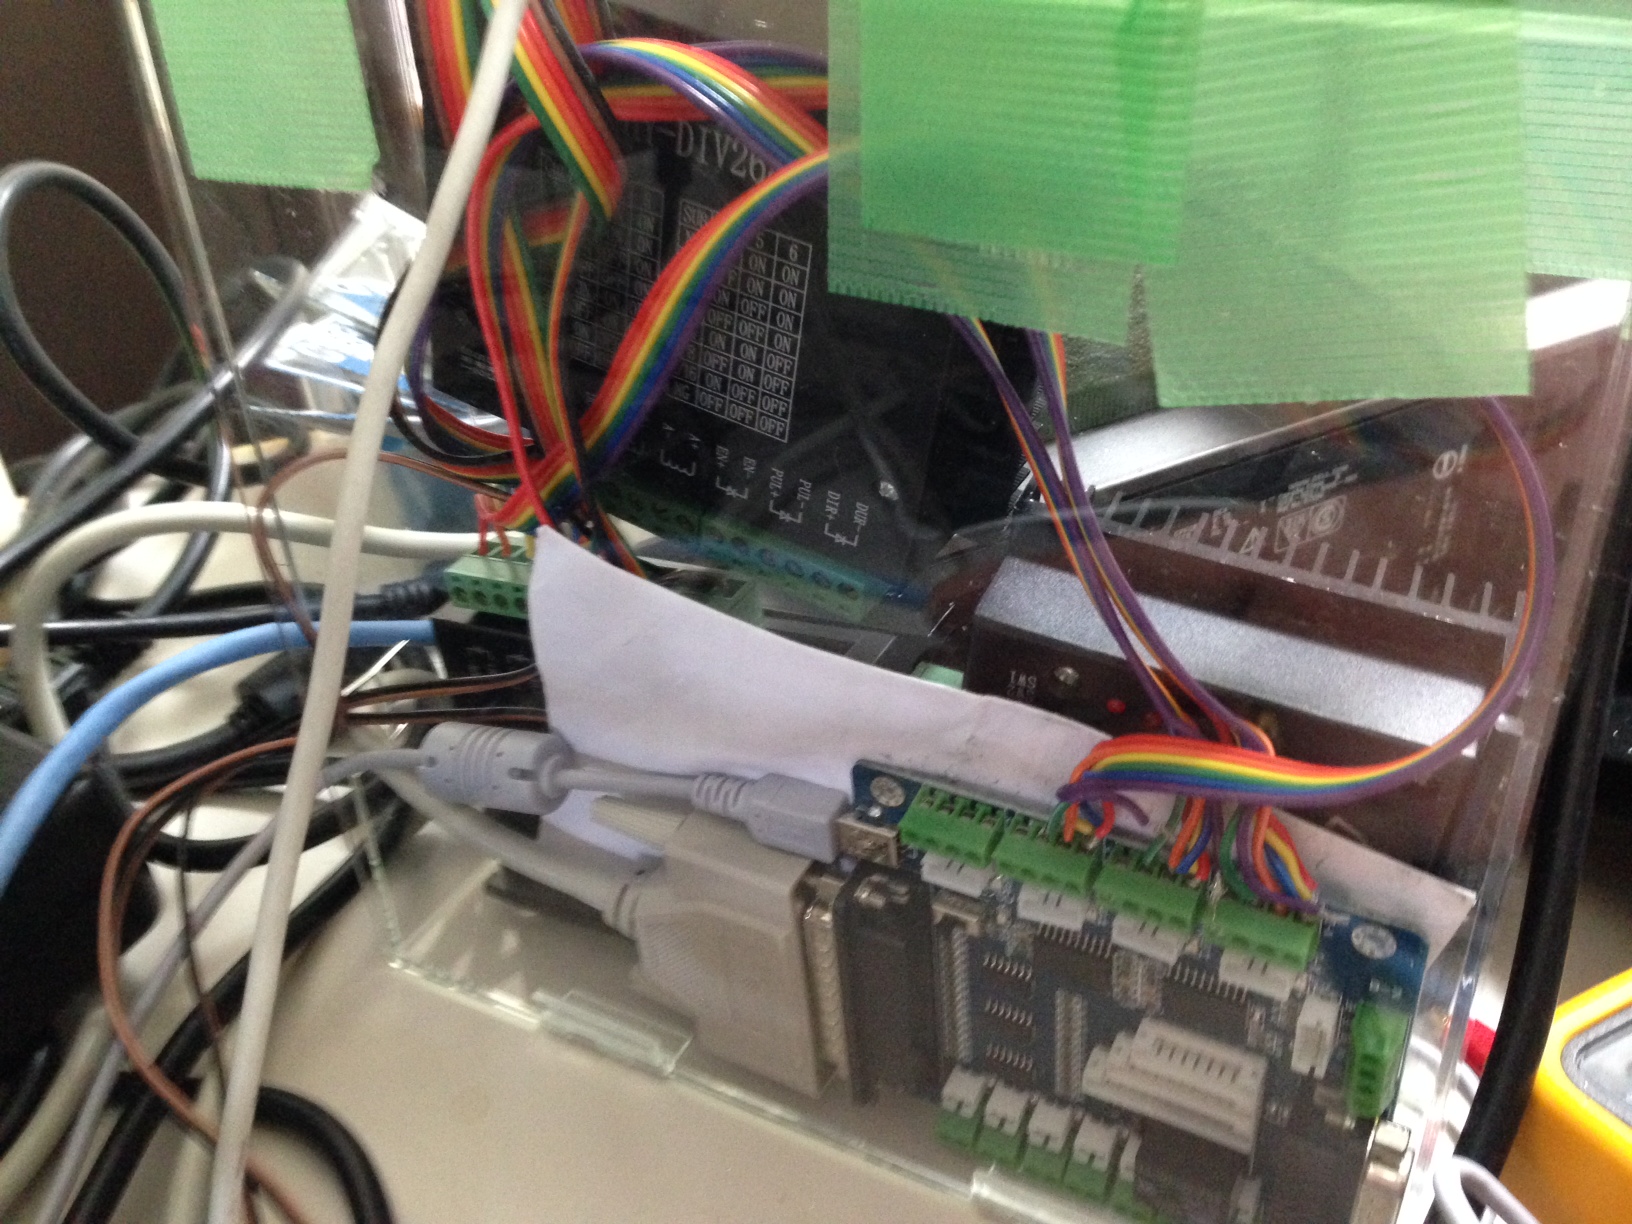
In addition to this, I also purchase the chuck attachment for the mill, and the steal vise. These are not strictly required. The motors were wired up to the driver controller and drivers. I did not connect the enable lines, they are active low, and when connected should you wire them to a physical estop switch. I may do that at some point. I’m using a 12V 3A switching powersupply from my junk pile as the power source for the stepper drivers. The controller board can be powered over USB (though this is not used for control signals).
The driverboard comes with instructions for MACH3 so that’s the software I’ve been using so far. I’d like to try EMC2. The driverboard talks to the PC via an old style parallel port. Almost all CNC controller boards seem to use parallel ports, what’s more USB parallel port adapters wont work. For this reason I picked up an old 30USD PC to use as a mill workstation. The trial version of MACH3 and Lazycam only supports 50 GCode instructions. So you wont get far without the getting the full version. This is annoying, because the demo doesn’t tell you it has this limitation, it just stops. So you I spent a bunch of time debugging this before I realized it was a demo limit.
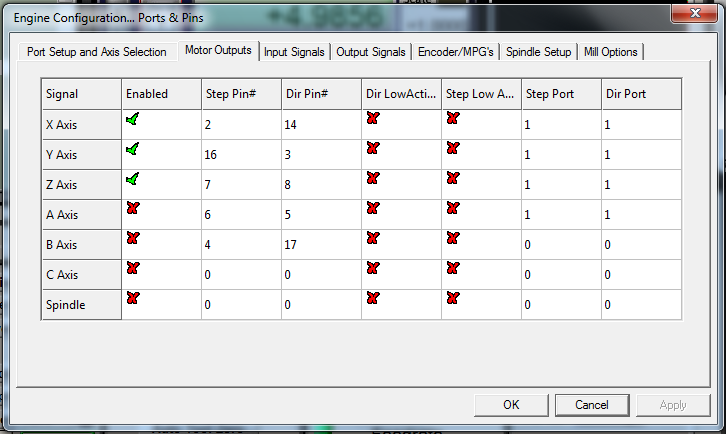
You need to configure the parallel port pins in MACH3, here are my settings:
And you also need to configure the motor parameters. There is likely some tweaking to do, but I used the following values which seem to work at the moment:
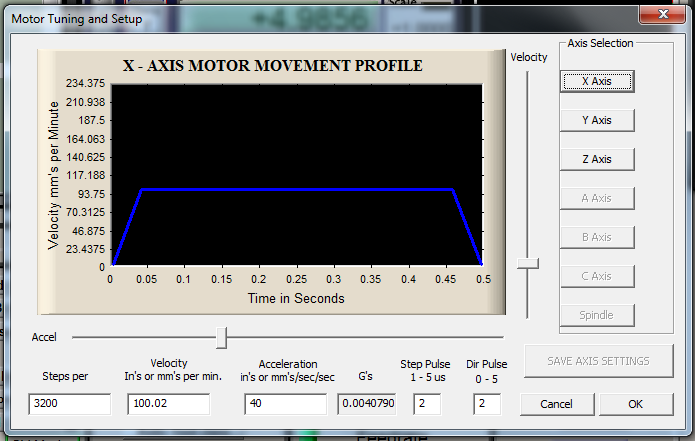
Be careful to click “Save Axis Settings” here. Once everything is configured you can test it out. Power up the steppers (obviously don’t turn on the mill yet). You can now press tab and and bring up the jog whell. This lets you manually control the mill, you should test the motion of the X/Y/Z axis. I’d also recommend trying some manual milling via the steppers.
After all this you should be ready to go. MACH3 comes with LazyCam, you can export dxf’s from something like Solidworks and important them into LazyCam, this will prepare GCode for MACH3 Mill to use.
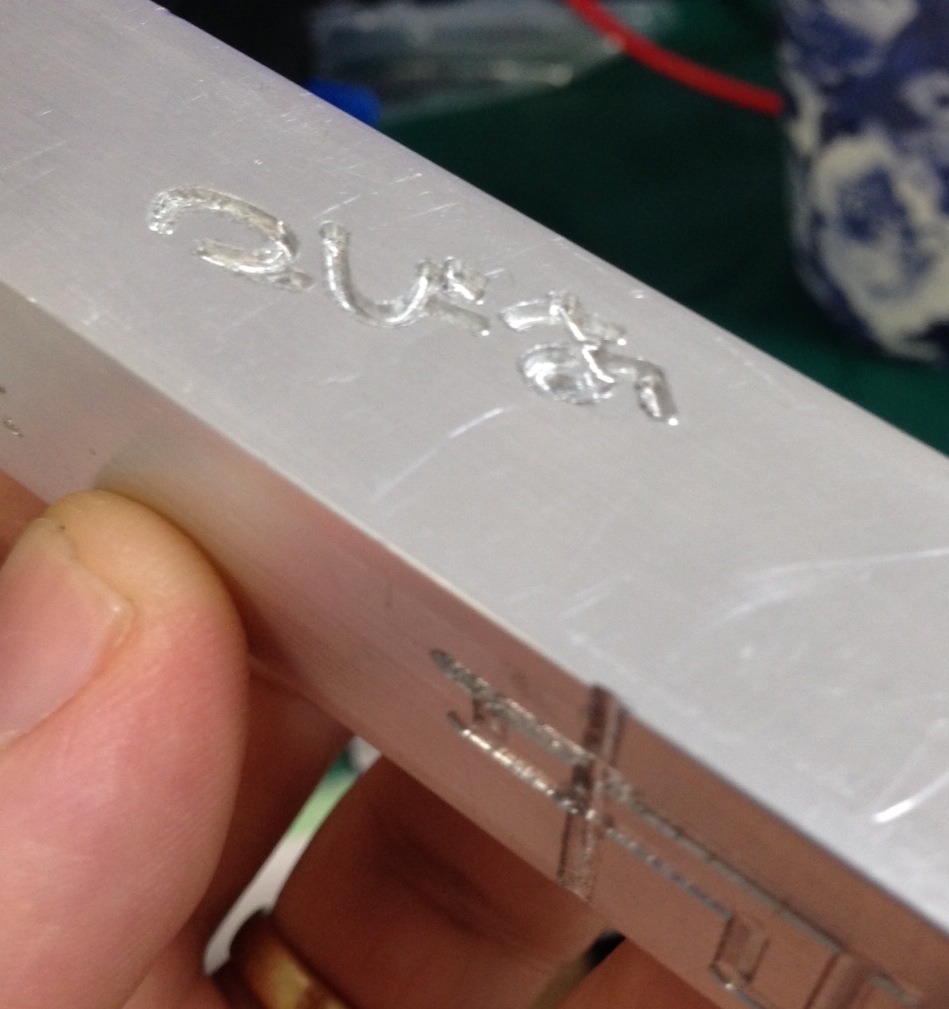
I’ve only just completed the first test cut, here it is:
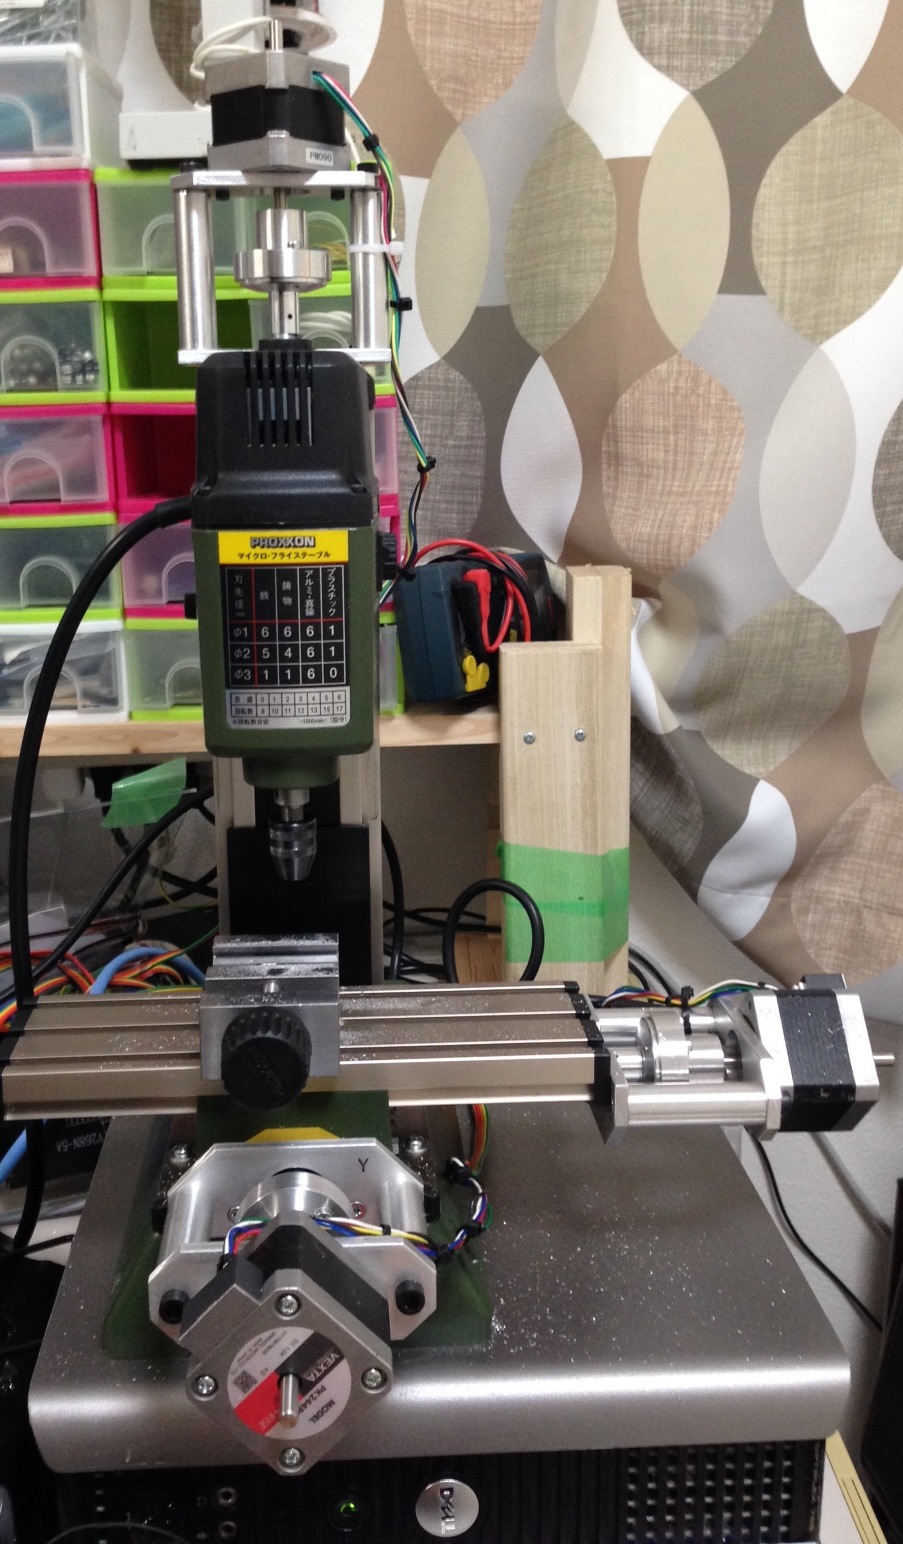
That’s it so far! Here are some additional pictures of the driver board and completed rig: