January 11, 2015, 12:33 am
I’ve been working on some code that accepts incoming connections on the esp8266, if your looking for a full HTTP server take a look at sprite_tm’s code. But these are my notes on accepting a TCP connection.
As with TCP transmissions, you register a bunch of callbacks which process connections. So the first step is to initialize the TCP system with your connect callback:
#include "ets_sys.h"
#include "osapi.h"
#include "os_type.h"

static struct espconn httpconfig_conn;
static esp_tcp httpconfig_tcp_conn;

void ICACHE_FLASH_ATTR httpconfig_conn_init() {

        httpconfig_conn.type=ESPCONN_TCP;
        httpconfig_conn.state=ESPCONN_NONE;
        httpconfig_tcp_conn.local_port=80;
        httpconfig_conn.proto.tcp=&httpconfig_tcp_conn;

        espconn_regist_connectcb(&httpconfig_conn, httpconfig_connected_cb);
        espconn_accept(&httpconfig_conn);
}
When a connection is received on the specified port, httpconfig_connected_cb will be called. In this function you can send data to the client, and register other functions to trigger when data is received/disconnect etc.
static void ICACHE_FLASH_ATTR httpconfig_recv_cb(void *arg, char *data, unsigned short len) {
  struct espconn *conn=(struct espconn *)arg;

  espconn_disconnect(conn);
}

static void ICACHE_FLASH_ATTR httpconfig_recon_cb(void *arg, sint8 err) {
}

static void ICACHE_FLASH_ATTR httpconfig_discon_cb(void *arg) {
}

static void ICACHE_FLASH_ATTR httpconfig_sent_cb(void *arg) {
}

static void ICACHE_FLASH_ATTR httpconfig_connected_cb(void *arg) {
  struct espconn *conn=arg;

  espconn_regist_recvcb  (conn, httpconfig_recv_cb);
  espconn_regist_reconcb (conn, httpconfig_recon_cb);
  espconn_regist_disconcb(conn, httpconfig_discon_cb);
  espconn_regist_sentcb  (conn, httpconfig_sent_cb);

  char *transmission = "OK\r\n\r\nOK!\n";
  sint8 d = espconn_sent(conn,transmission,strlen(transmission));
}
I currently don’t fully understand what the reconnect callback does. If you know, please mail me.
January 10, 2015, 1:51 am
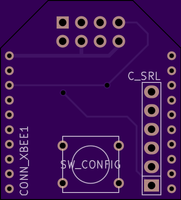
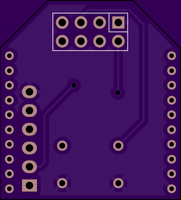
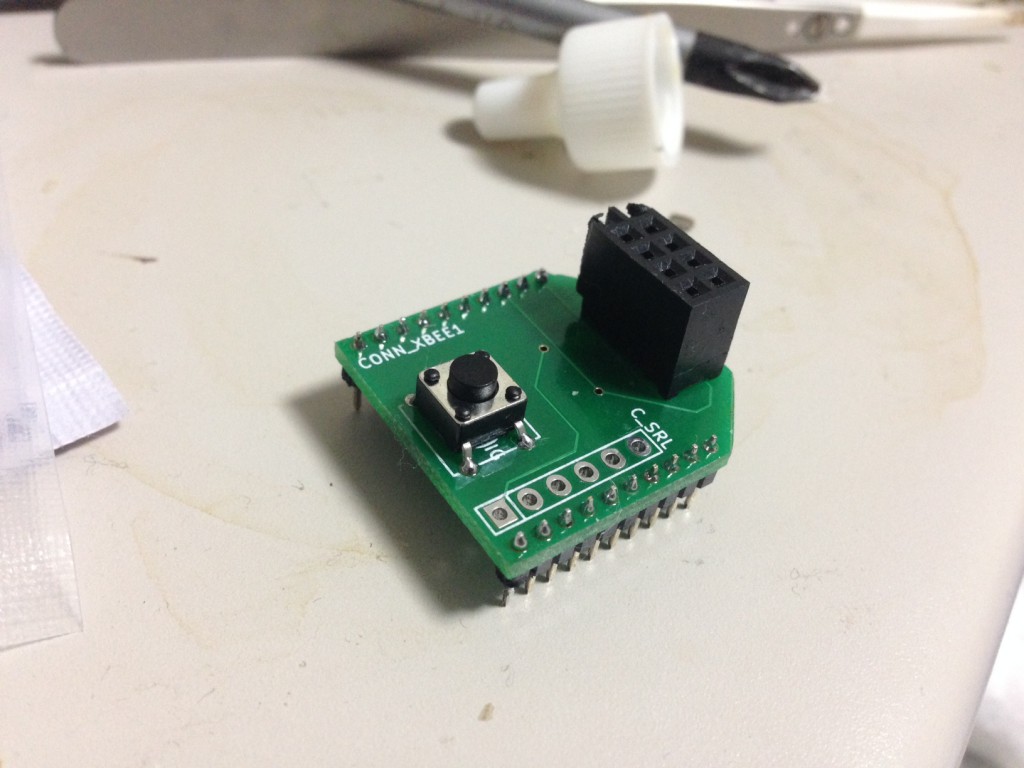
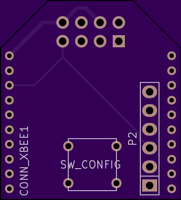
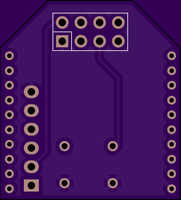
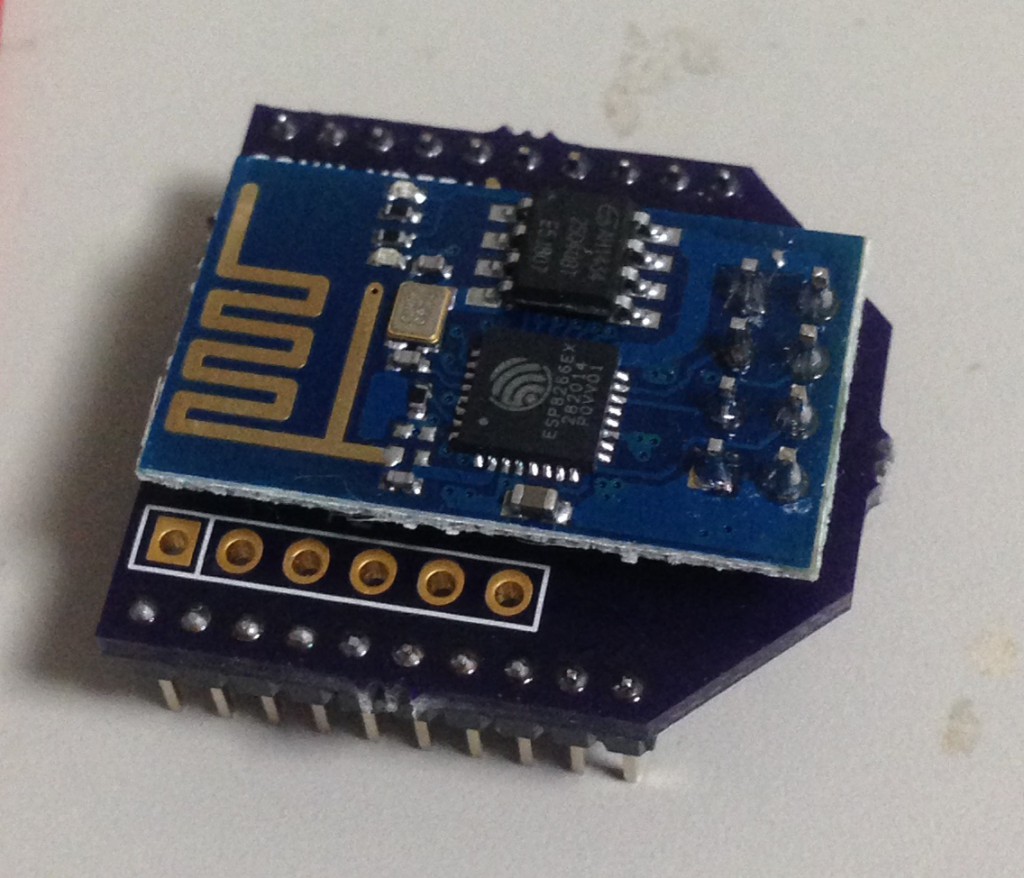
I’ve been putting together a small carrier board to allow a esp8266 board to sit on an XBee connector. The design is shown above (as yet untested). The gerbers and Kicad design files are available for download below.
XBee_esp8266 Gerbers
Kicad files (and gerbers)
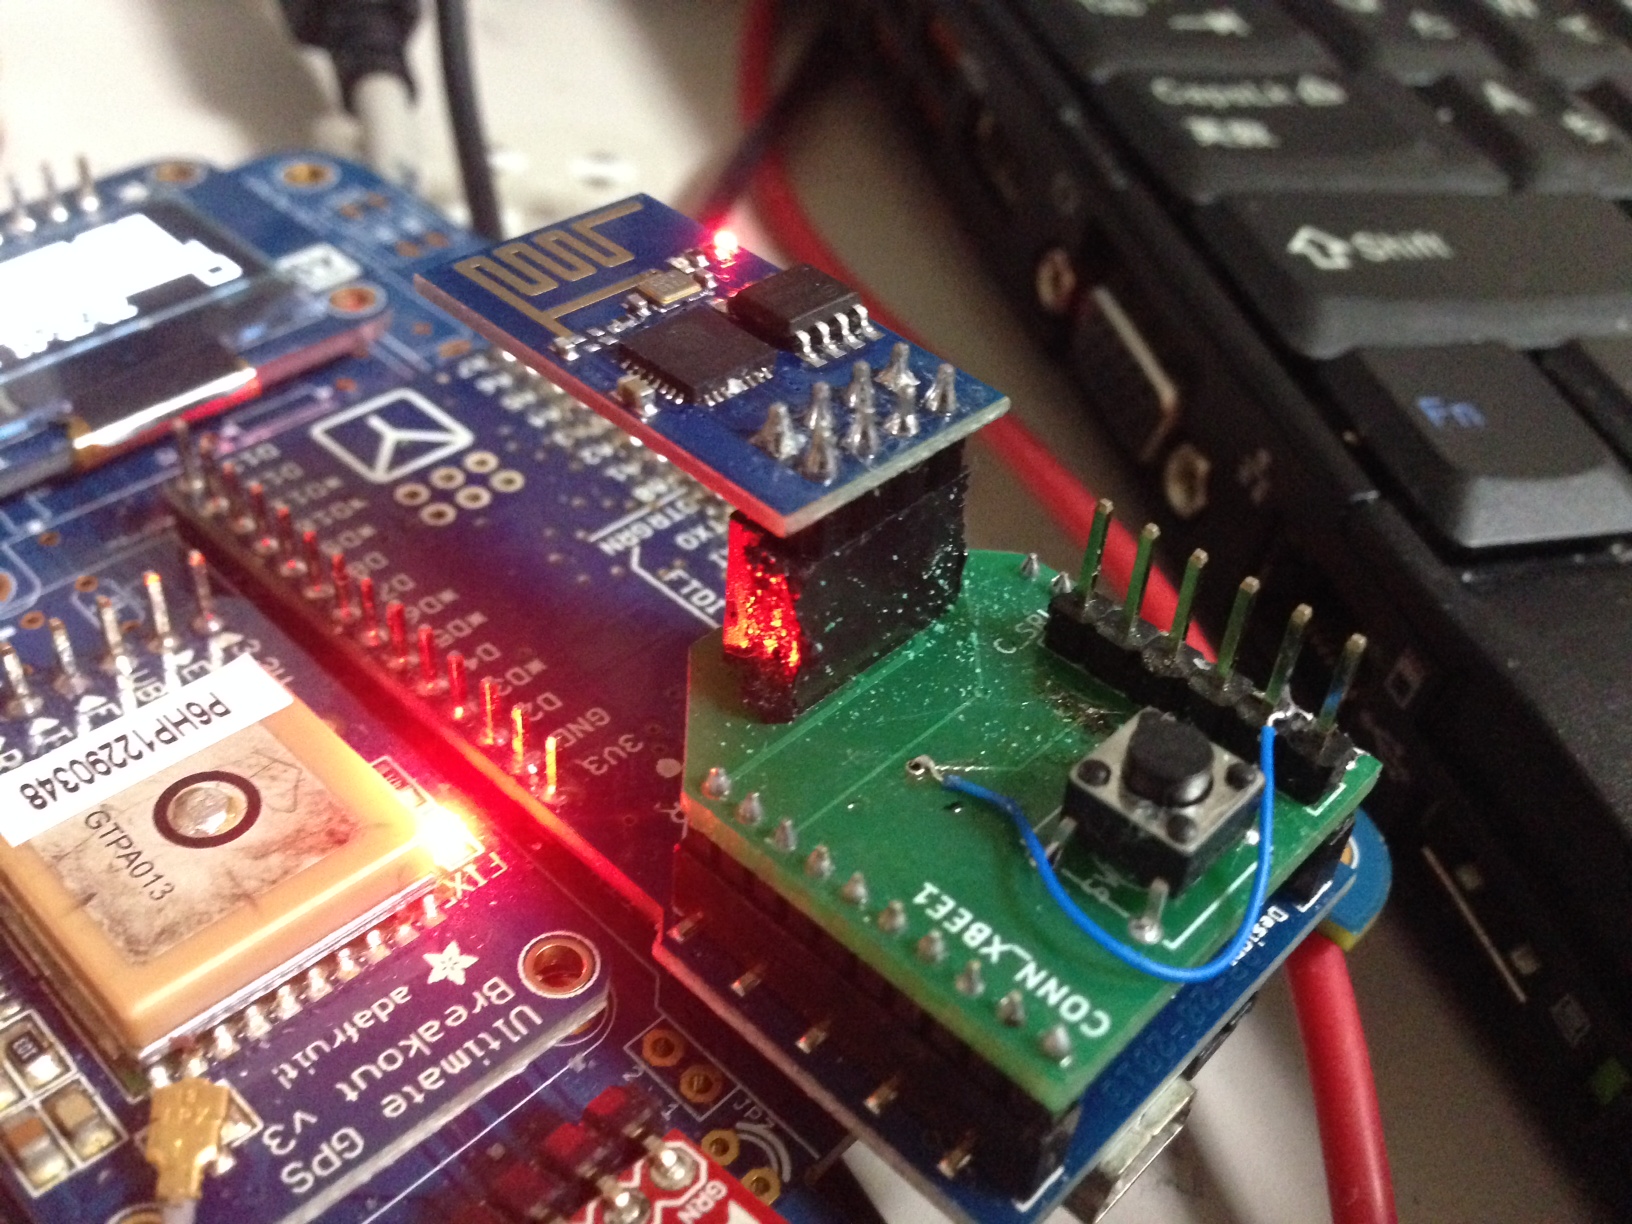
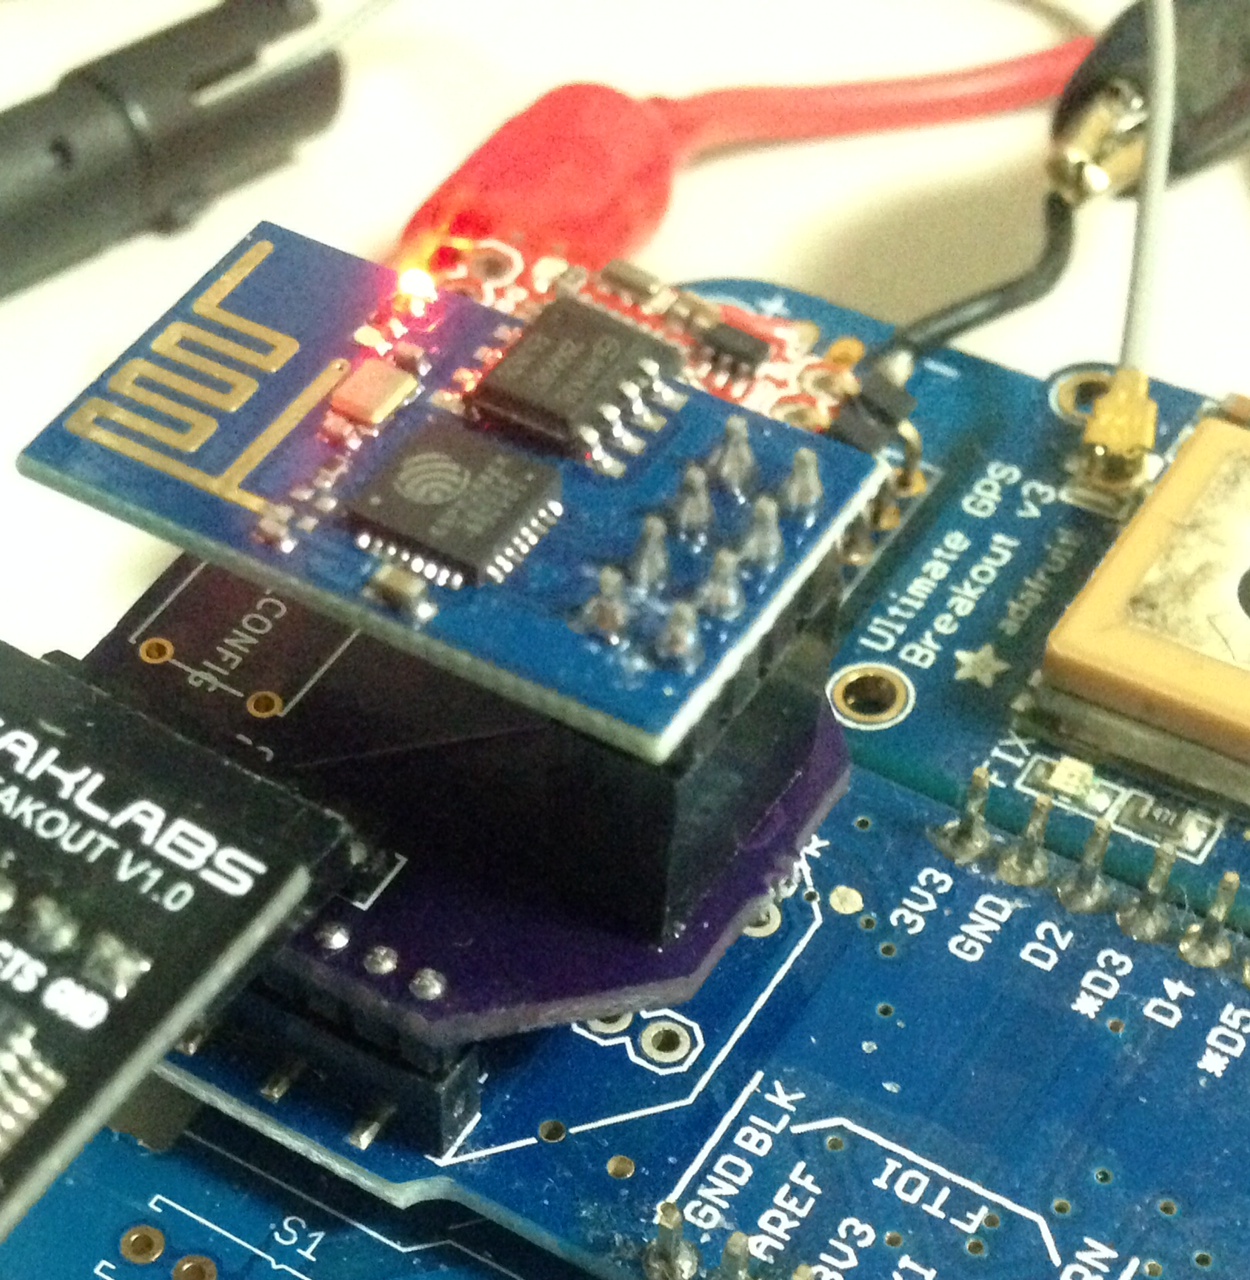
UPDATE: The first rev of these boards came though, I’ll be needing to update the design. The esp1 faces in the opposite direction to what I’d like. The serial TX and RX connections are connected the wrong way to the FTDI header (which doesn’t matter too much as it’s just there for debugging). The fit into the XBee header also seems poor, I’m not sure if this is just because I’ve killed the header I’m using by jamming 2.54mm pins into it. Here the a couple of pics in any case:
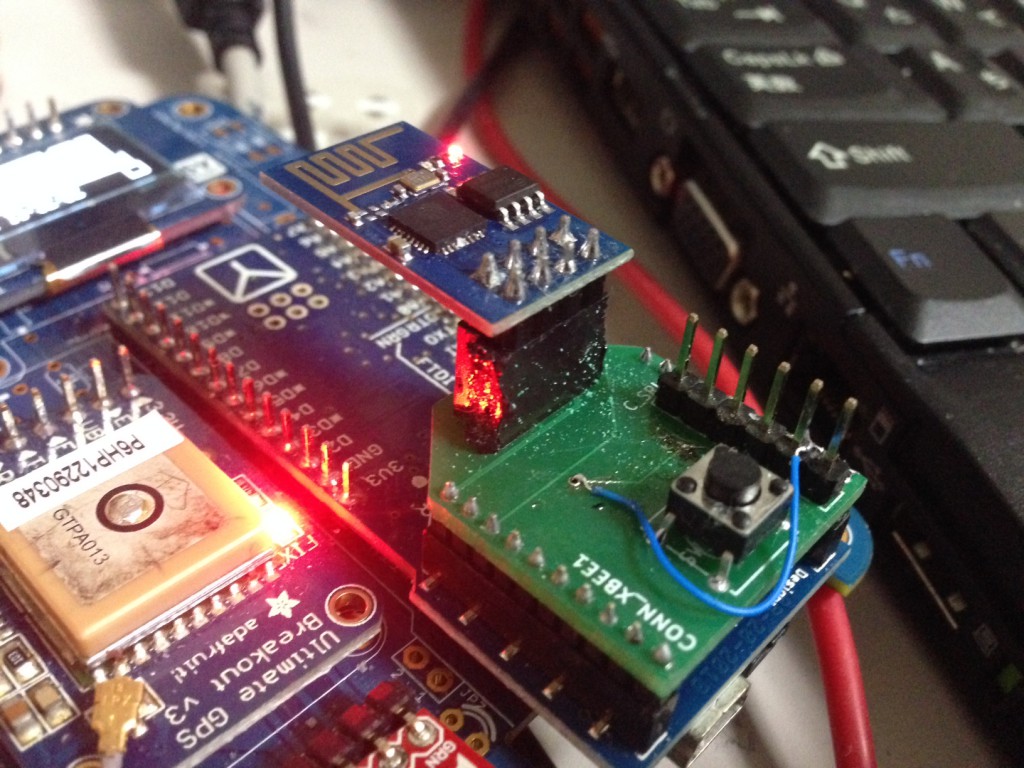
UPDATE: Sent out a rev with the header flipped. Wanted to get it out before I go away to China. Here are the pics:
And the new gerbers: gerbers
UPDATE2: The new boards came back, and I’ve now tested them all looks good! Pics below:

This is a continuation of my notes on the esp8266 microcontroller, you can find a complete list of my esp8266 posts here
January 9, 2015, 10:11 pm
The following code, when used in user_init() will enable the internal pullup on GPIO0 and read it’s value. Unfortunately GPIO0 (and GPIO2) when held low at boot put the device into a non-running mode (firmware update), I’ve also been unsuccessful in using the internal pulldowns on these pins. This means these pins can not be used for user mode selection at boot, using the internal pullup/down resistors. And unfortunately, those are the only GPIOs available on the simplest modules. It maybe possible if an external pulldown is installed.
gpio_init();
PIN_FUNC_SELECT(PERIPHS_IO_MUX_GPIO0_U, FUNC_GPIO0);
PIN_PULLUP_EN(PERIPHS_IO_MUX_GPIO0_U);
os_delay_us(10000);
int config = GPIO_INPUT_GET(0);//GPIO_ID_PIN(PERIPHS_IO_MUX_GPIO0_U));
char buffer[30];
os_sprintf(buffer,"config: %d",config);
This is a continuation of my notes on the esp8266 microcontroller, you can find a complete list of my esp8266 posts here
January 9, 2015, 12:01 am
The esp8266 SDK manual and examples are pretty poor. There an example uart.c knocking around, but the receive code is incomplete. I built this out a bit so I could read serial data from the circular buffer. You can download my update files here: uart.c,
uart.h
, uart_register.h. Only uart.c has been changed significantly. (update, I’ve put a tarball which a complete echo example here. UART data can then be received as follows:
  int c = uart0_rx_one_char();

  if(c != -1) {
    char out[30];
    os_sprintf(out,"received %c",c);
    debug(out);
  }
Or if you just want to echo received characters:
  int c = uart0_rx_one_char();

  if(c != -1) {
   uart_tx_one_char(c);
  }
I’ve only built out reading a single character, but it should be easy to build more general functions on top of that. You can still use the old function to transmit:
uart0_tx_buffer(data,strlen(data));
As always you need to init the UART in user_init with something like:
uart_init(BIT_RATE_9600,BIT_RATE_9600);
Or the UART will be configured with 74KBPS (which is a pretty odd value).
Update: You may also want to take a look at my notes on messaging system in the esp8266 SDK, and how it can potentially be used for this application.
This is a continuation of my notes on the esp8266 microcontroller, you can find a complete list of my esp8266 posts here