HP t5325 thin client hacked to full Debian system

I’ve been hacking around with a HP t5325 thin client. This post describes how to convert it from a dumb terminal in to a full desktop system (for more general information see here.
The client is designed primarily to connect to Windows Terminal Servers, though it can also run ssh and XSessions natively. But basically it’s a dumb terminal… Unless it’s connected to a more powerful terminal server it can’t do anything useful.
I previously posted about the device internals here. As you can see it only has passively cooled components, which means it’s totally silent:
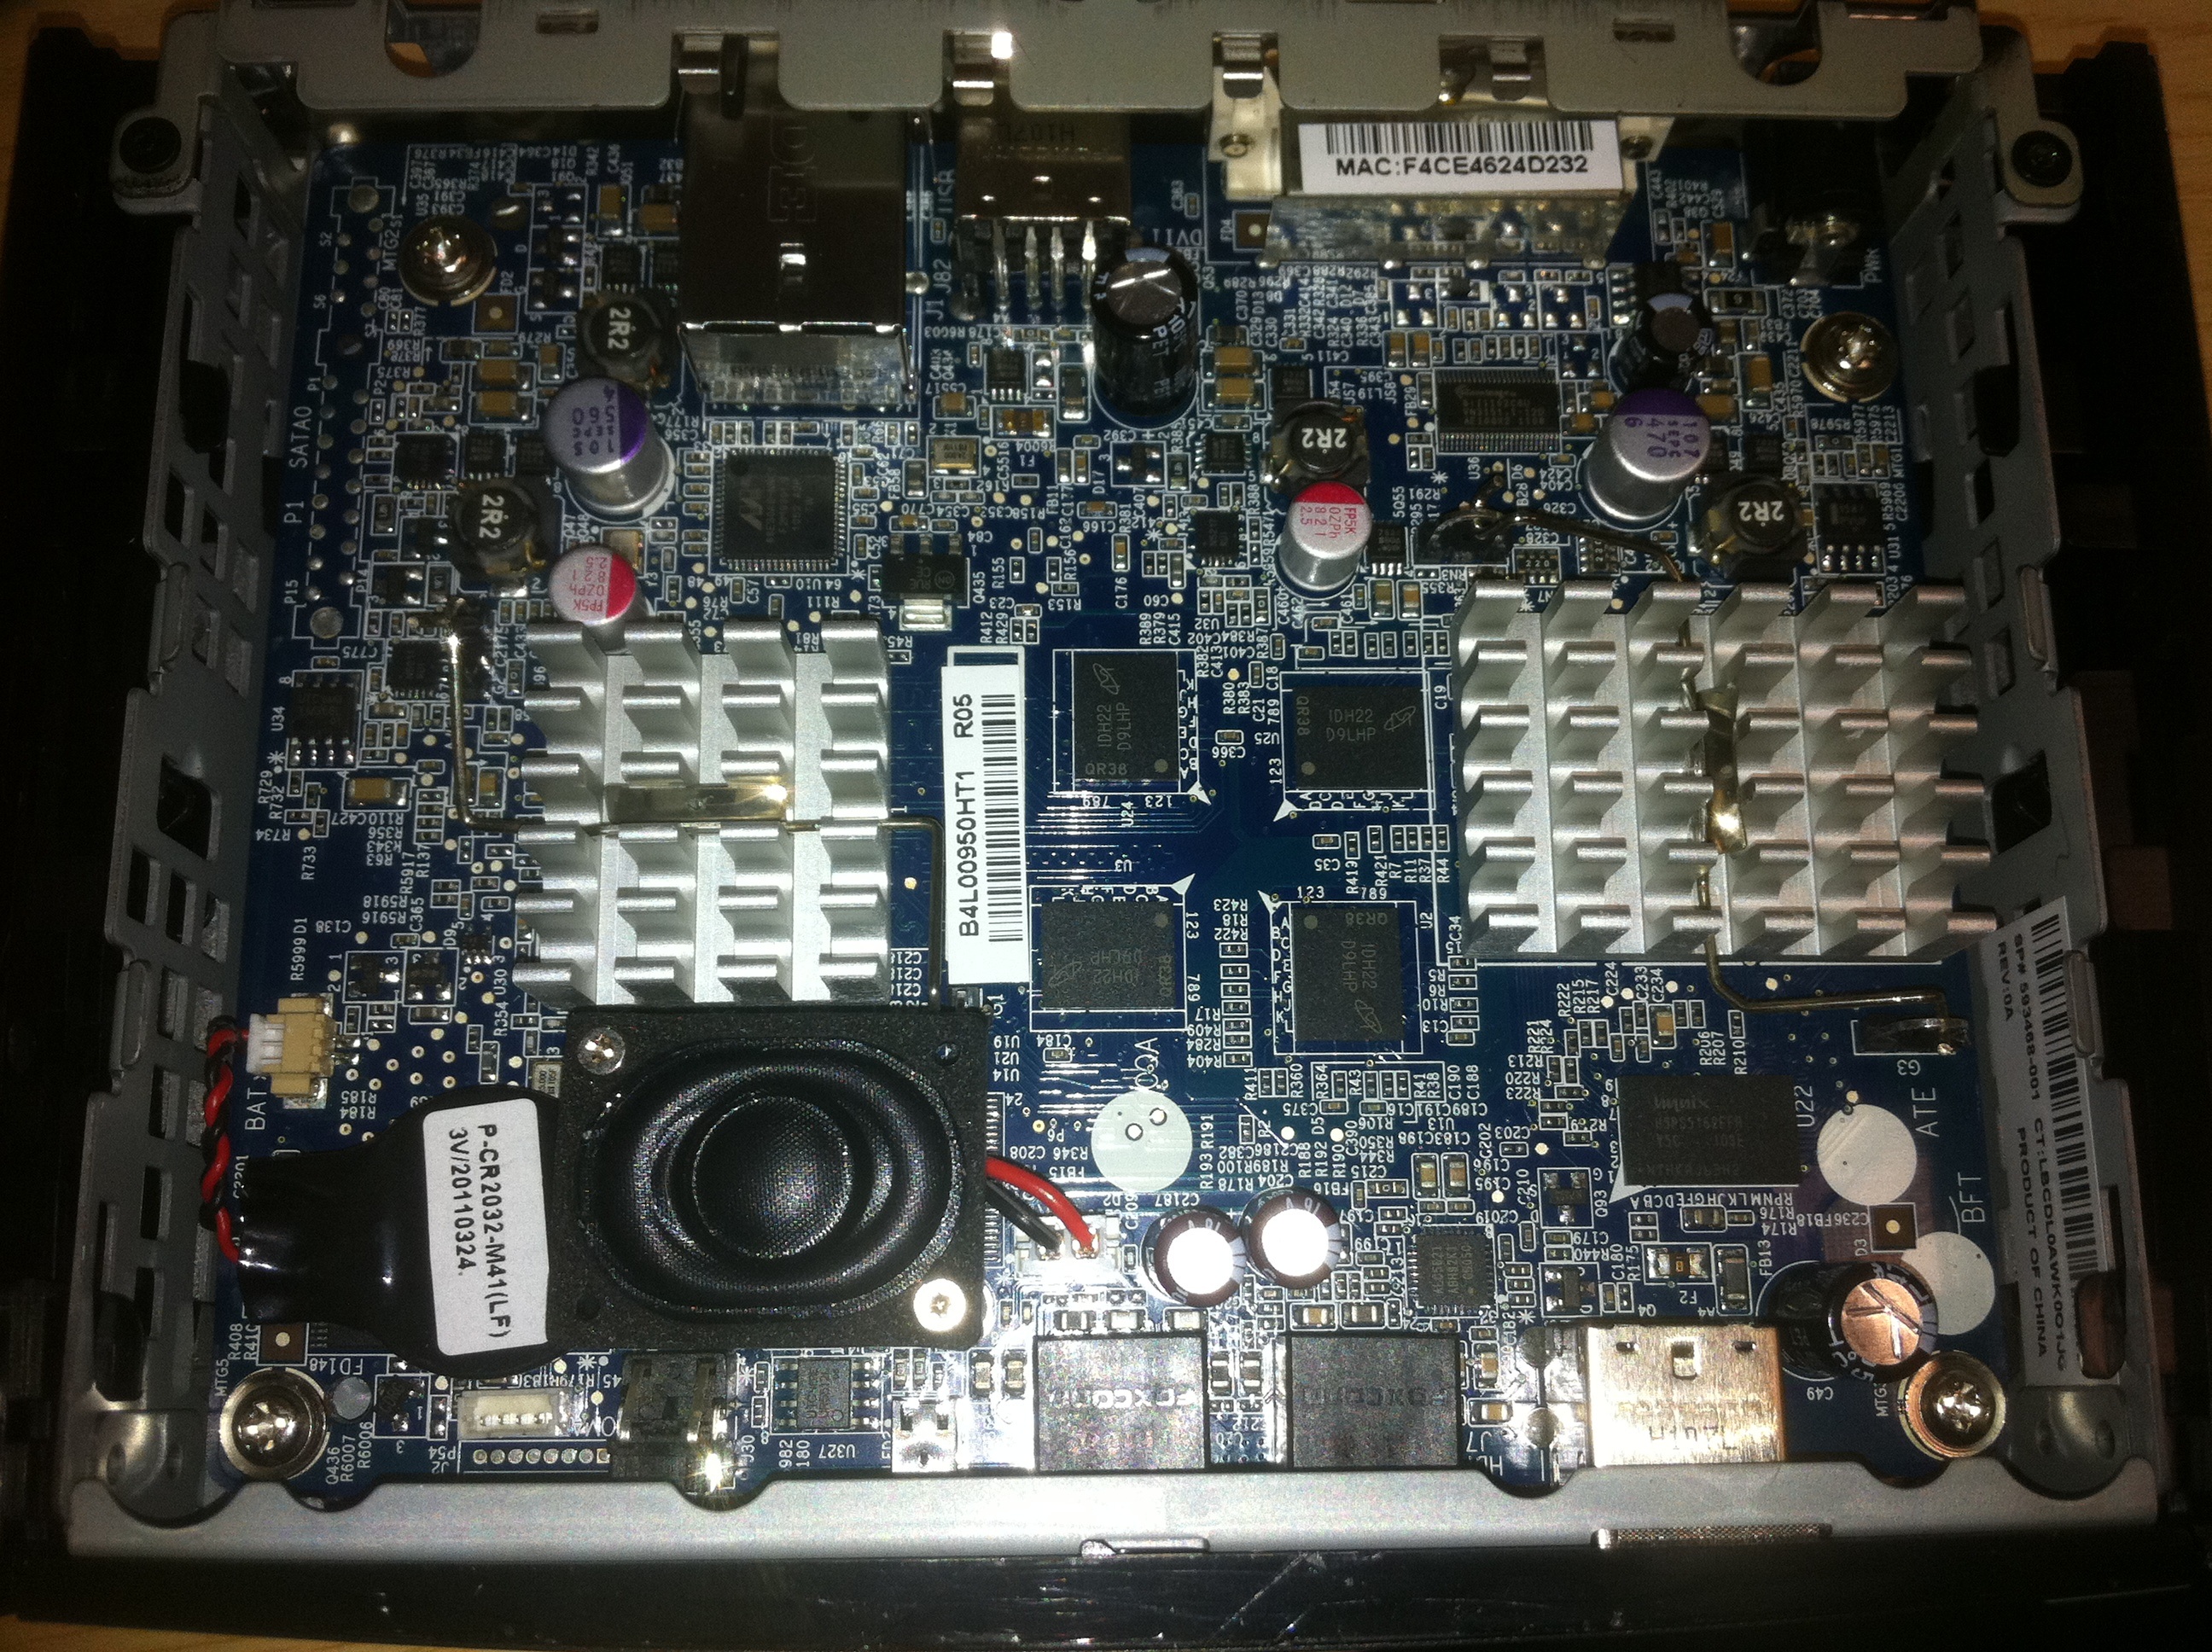
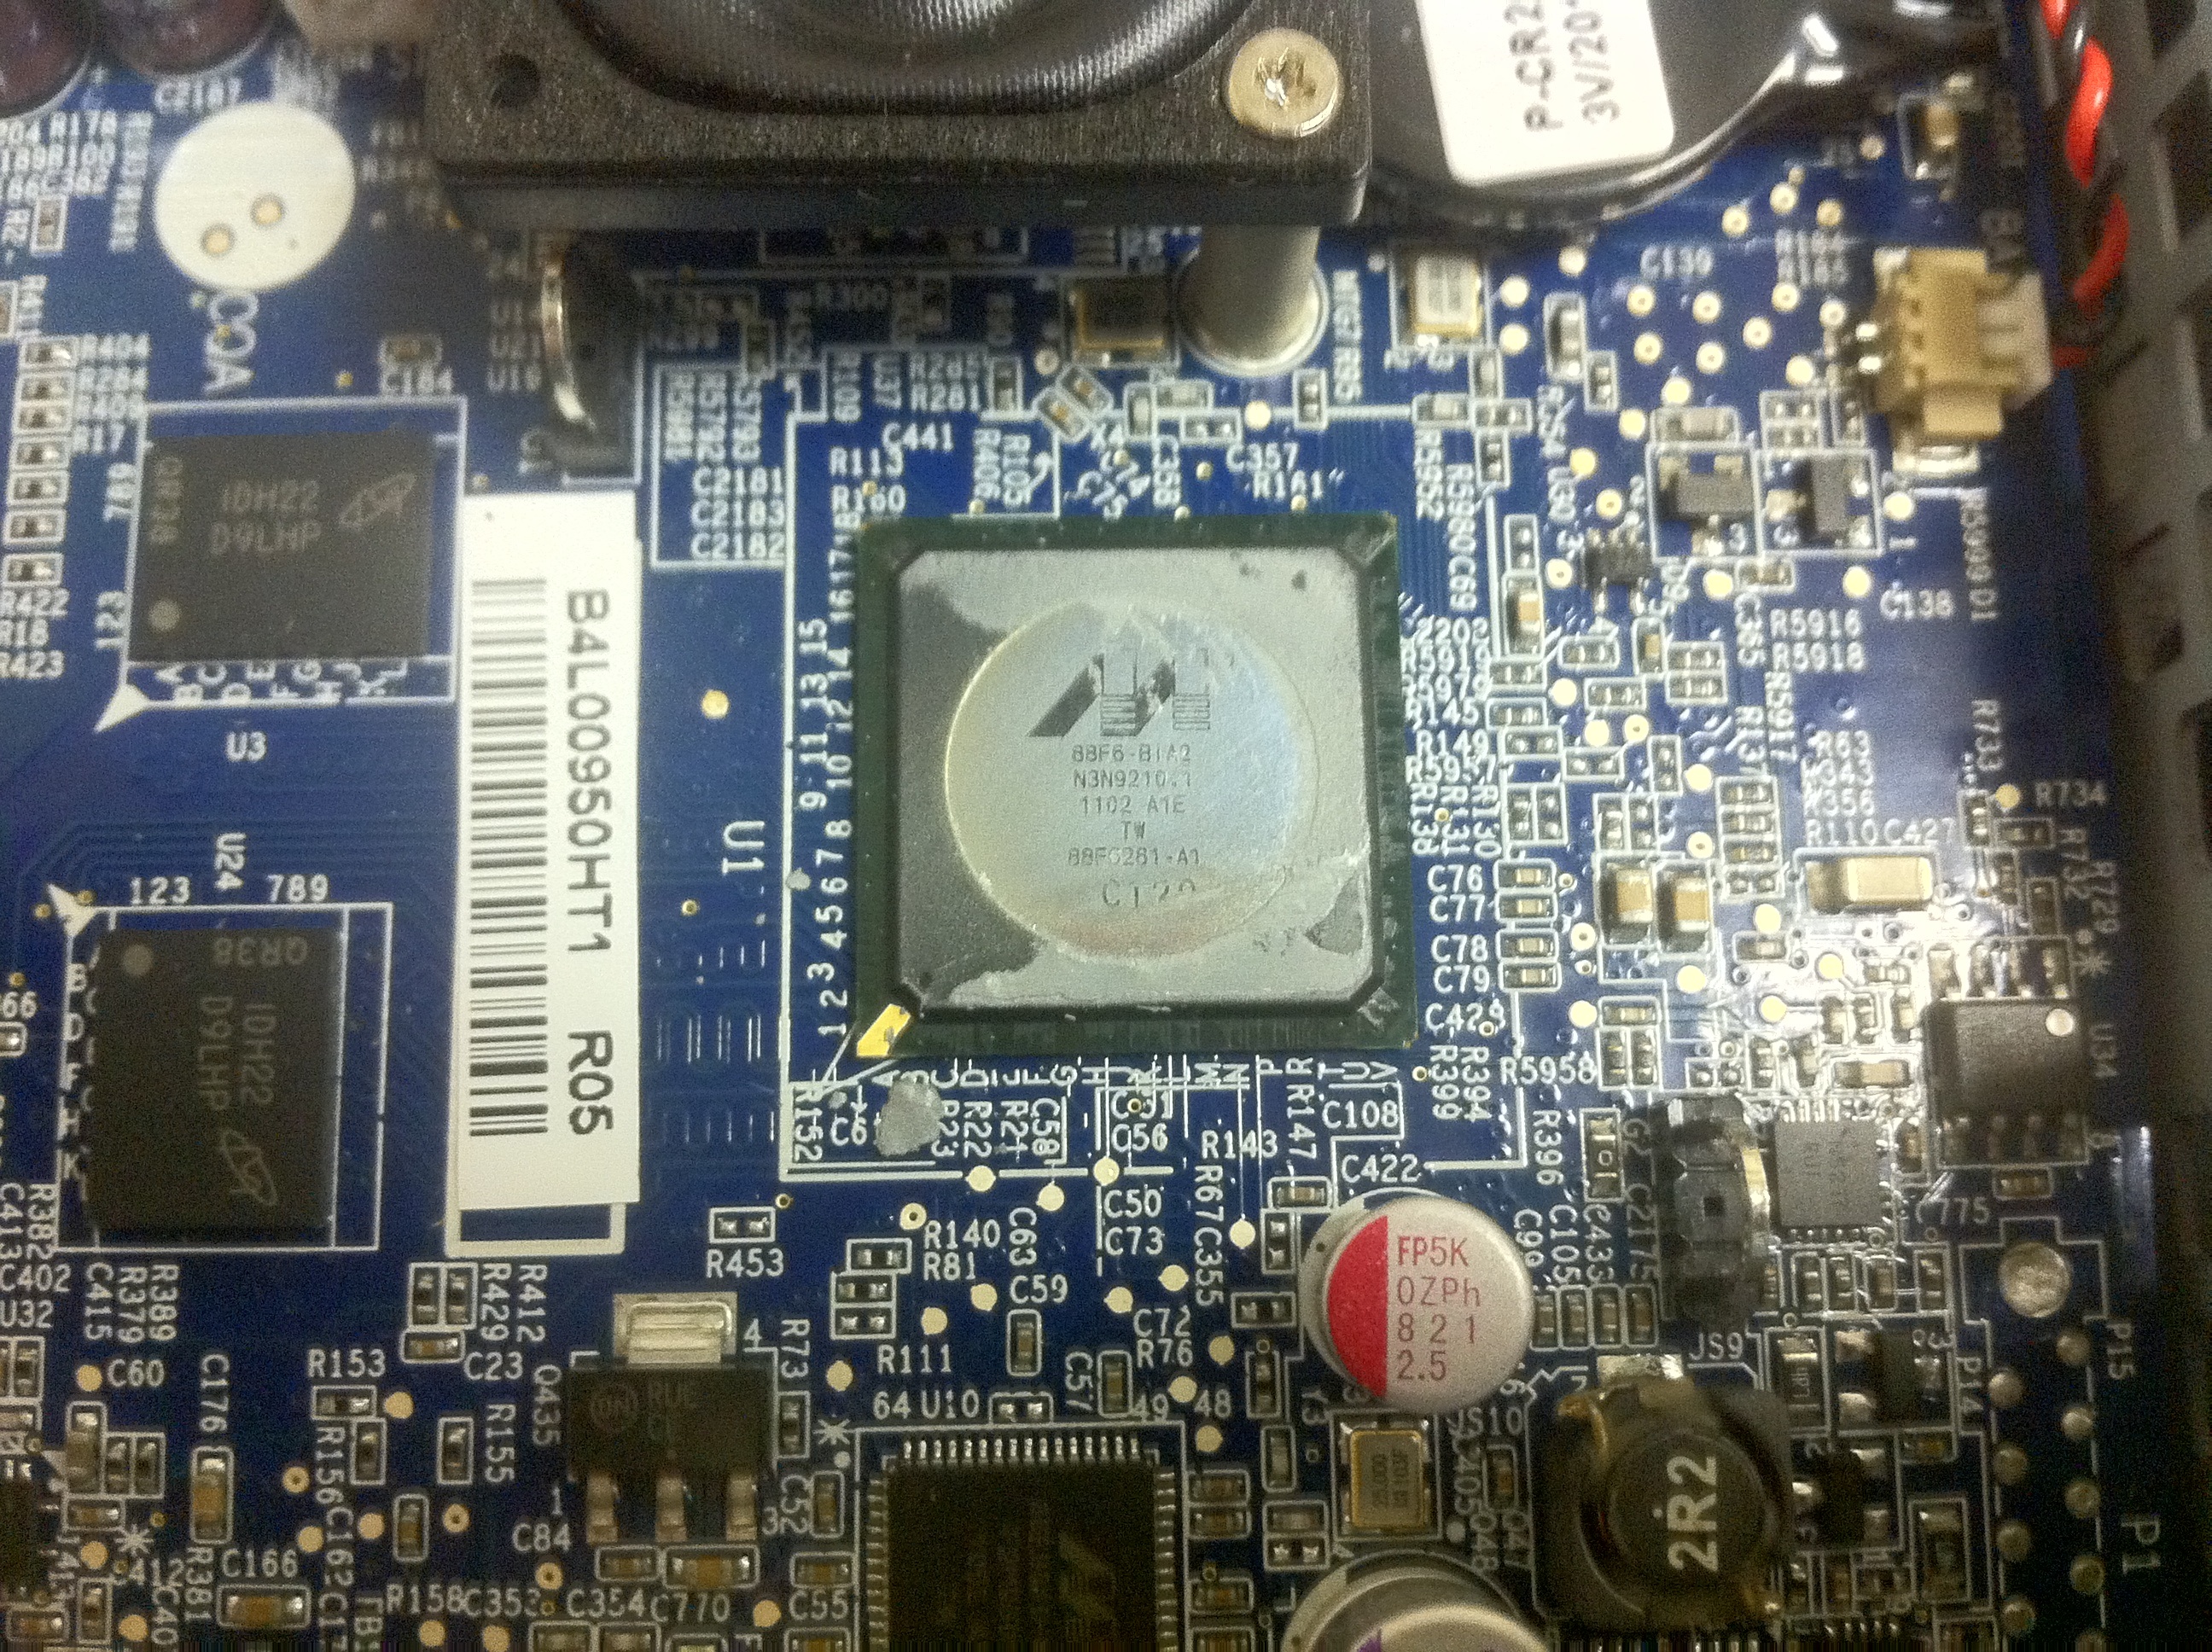
The processor is a Maxell 1.2GHz ARM Processor, it also has a XGI Volari GPU. For a ARM device this is a pretty powerful system, and it only consumes 8 Watts!
Anyway, when it boots it clearly shows a Linux boot process, so I thought it might be fun to see if it could be hacked into a full desktop Linux system. Turns out it’s not hard at all! In fact, it’s basically running a /slightly/ modified version of ARM Debian! (Lenny).
Here’s the process I went through to get things up and running:
1. While booting hit Ctrl-C /a lot/ this crashes the boot process, and stops X11 from loading. You should see a login prompt:
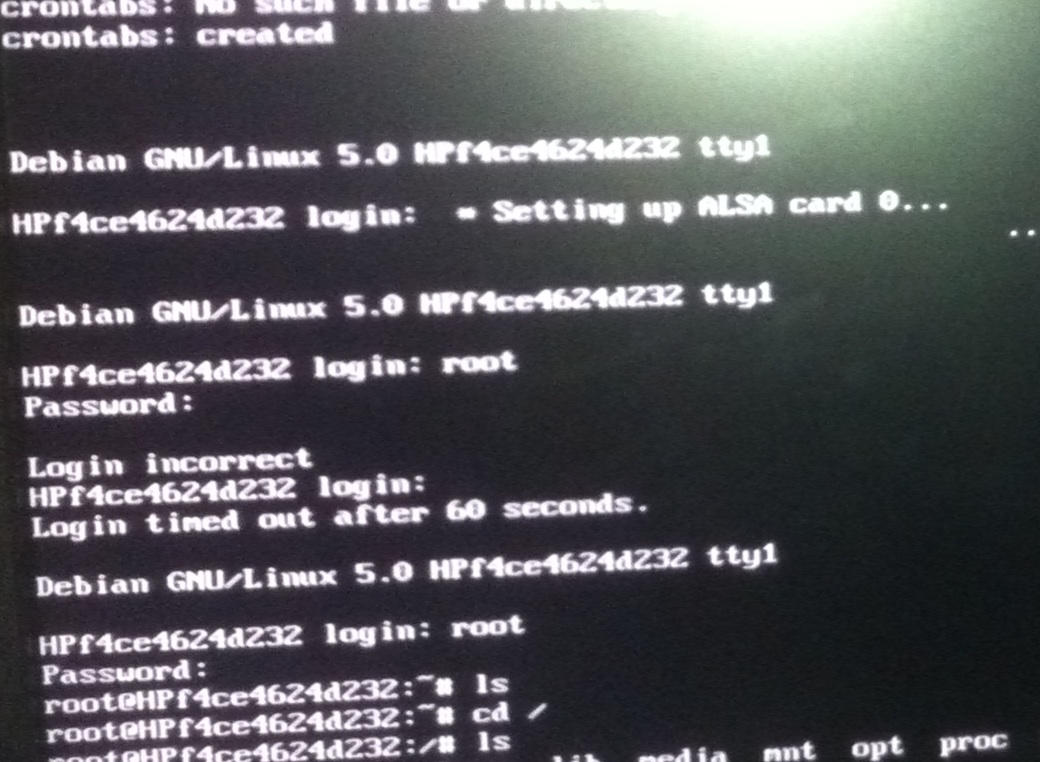
Neat. HP in their abundant wisdom decided that the root password should be “root”. It was at least easy to guess! Login as root.
3. Remove S95hptc-thinslate-dm:
rm /etc/rc7.d/S95hptc-thinslate-dm
5. Remove all the annoying hptc stuff:
cd /
find . -name K*hptc* | xargs rm
6. Start tmpfs…
/etc/init.d/tmpfs-links start
7. Edit /etc/fstab to make the rootfs readwrite (actually this doesn’t work, but it’s as well to set it up here). Change the list reading “aufs / aufs noauto,ro…” to “aufs / aufa noauto,rw…”.
8. Mount the root filesystem as read-write manually:
mount -oremount,rw /
9. Make a bunch of directories to get apt working correctly, and remove the HP utilities:
# Sometimes, tmpfs dies. If it has we need to create the tmpfs dirs too. As long as apt-get doesn't complain you're ok. If it crashes, apt-get will tell you which directories are missing.

mkdir /tmp/tmpfs/var/lib
mkdir /tmp/tmpfs/var/lib/apt
mkdir /tmp/tmpfs/var/lib/apt/lists
mkdir /tmp/tmpfs/var/cache/apt

mkdir /var/cache/apt/archives
mkdir /var/cache/apt/arhcives/partial
mkdir /var/lib/apt/lists
mkdir /var/lib/apt/lists/partial
mkdir /var/log/apt

apt-get remove hptc* # press Y a couple of times to remove all the packages.
This didn’t work the first time… you need to do the following:
touch /sbin/hptc-sudo-edit
chmod 777 /sbin/hptc-sudo-edit
touch /etc/init.d/mdaemon
Edit /var/lib/dpkg/info/hptc-control-center.postrm (using vi, it’s installed by default) find “exit 1” and change it to “exit 0”.
Try again:
apt-get remove hptc*
apt-get -f install
10. Fiddle around with rcS… (it’s broken…)
Touch rcS:
touch /etc/default/rcS
11. At this point you can use startx, to startx but there’s no window manager…
12. Let’s get the debian repositories back up and running!

Edit /etc/apt/sources.list. The lines for the debian repository (remove the #). Add a # to the line which reads “ftp.hp.com”.
13. Add a startup command to remount the filesystem read-write on boot. Because changing it in fstab doesn’t work. Edit /etc/rc.local add the following line:
mount -oremount,rw /
14. Bring up networking. DHCP will currently be broken. So you’ll need to configure the device with a static IP address first. But we’ll put a dhcp based configuration in place.
Create /etc/network/interfaces with the following contents:
auto eth0
iface eth0 inet dhcp
Create some missing files:
mv /etc/network/run /etc/network/run.old
mkdir /etc/network/run
touch /etc/network/run/ifstate
Now bring up the interface statically:
ifconfig eth0 192.168.1.35 # You'll need to use an IP address on your own local network
route add default gw 192.168.1.1 # Again, your local network default gw
Edit /etc/resolv.conf to read as follows:
nameserver 8.8.8.8
ping google to test it:
ping www.google.com
Check that you see ping replies, then hit Ctrl-C.
We should now be able to access the Debian repositories, this means we can reinstall a new dhcp client…
apt-get remove dhcp3-client
apt-get install dhcp-client
rm /etc/init.d/network-manager
touch /etc/init.d/network-manager
15. Get X windows working:
apt-get remove xserver-xorg
apt-get remove xfwm4
mv /etc/X11 /etc/X11.old
apt-get install xserver-xorg
apt-get install icewm
Edit /etc/lsb-base-logging.sh and remove line 270 which reads:
( [ -x $SPC_UPD || return 1; ]
Install gdm
apt-get install gdm
/etc/gdm restart
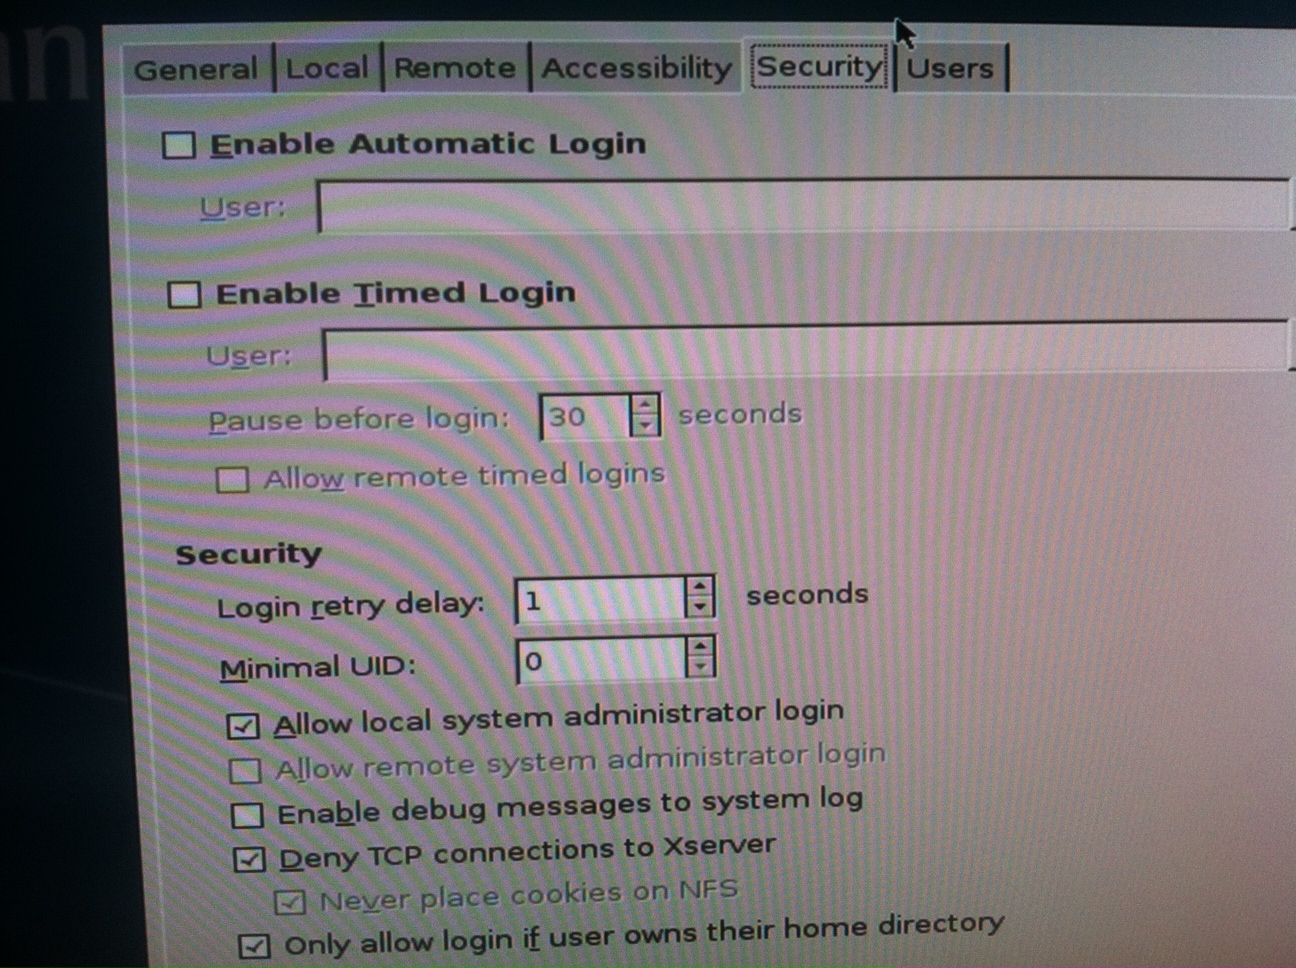
gdm should now start and you should see a login screen! You need to configure gdm to allow root logins (you could of course add another user if you wanted to too):
GDM will fail to start the window manager and give you a failsafe terminal. But you can start icewm from here. Just type “icewm”.
Iceweasel should already be installed and you can fire it up from the Applications menu!
So there you go! A fully running Debian system! There are lots of tweaks you can now do. For example you’ll probably want to set gdm to start at boot, and get the window manager loading correctly. But the system is now up and running!



 RSS
RSS