Genome Analyzer TIRF Alignment
In this post I’ll document the TIRF alignment procedure I use on the Genome Analyzer 2. There doesn’t seem to be any documentation on this, so I may or may not be doing this correctly. But it’s the alignment procedure I’ve used so far…
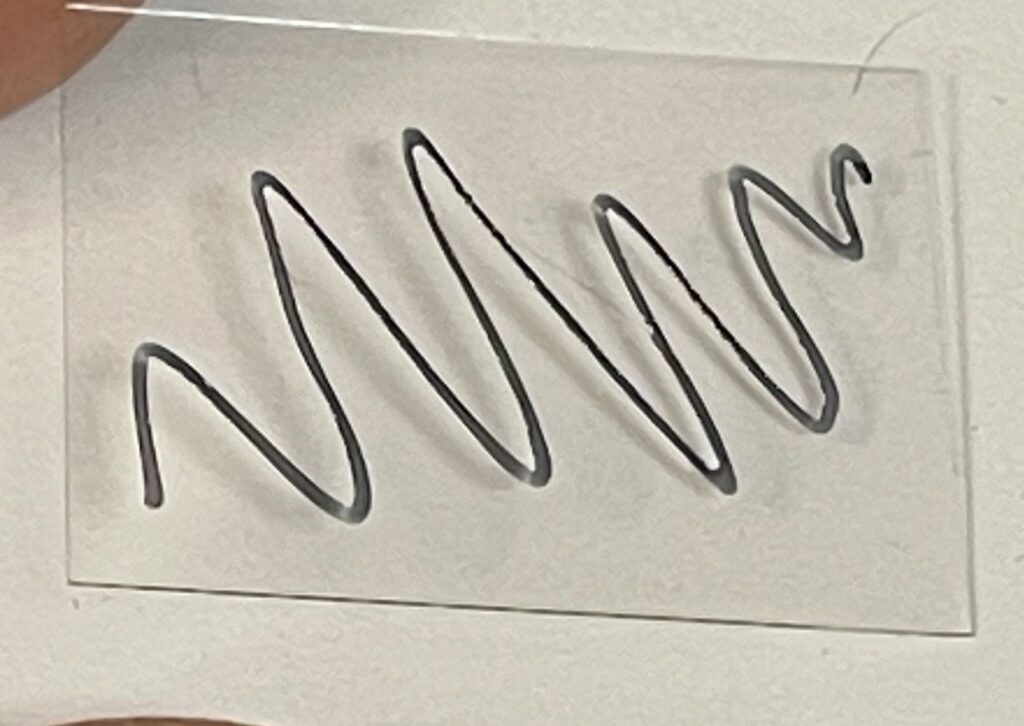
First I prep some cover glass, marking the surface, (18x24mm cover glass (Matsunami Glass Ind. Ltd.)):
I then put a drop of Cargille #19569 on the back side and place it on the prism. The prism has previously been cleaned down with Ethanol/Kimwipes:
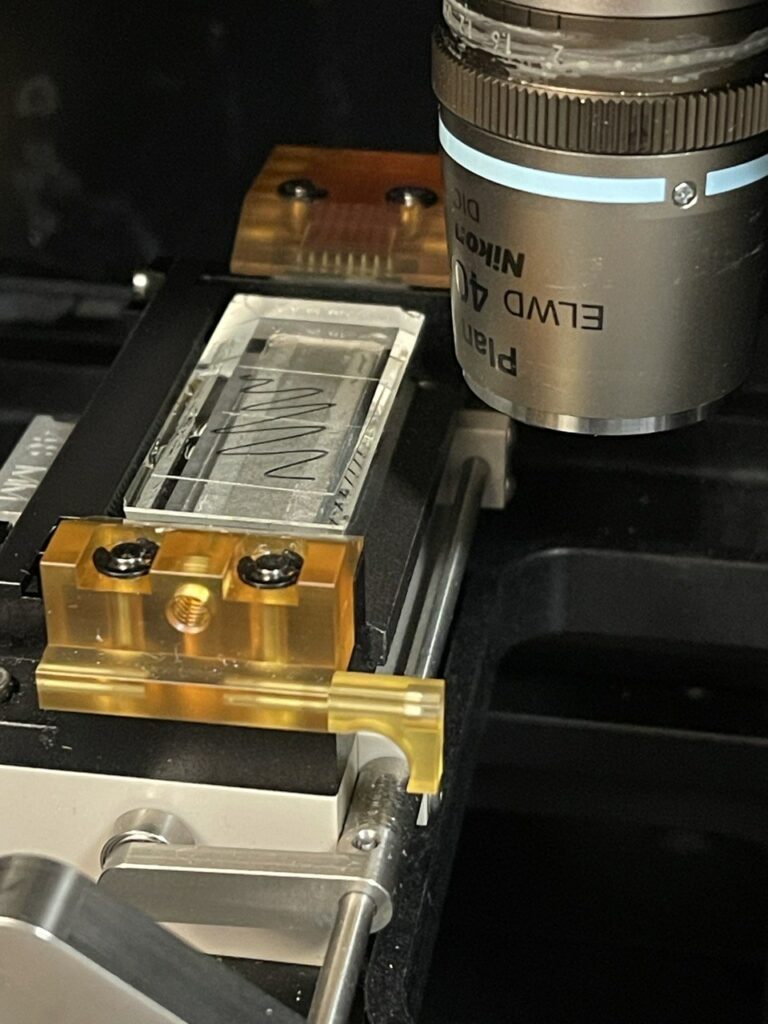
Next I move the slide under the objective and attempt to focus on the surface/marker lines, while illuminating the surface with a torch (all focusing is through micro manager/the camera, manually moving the Z-stage):
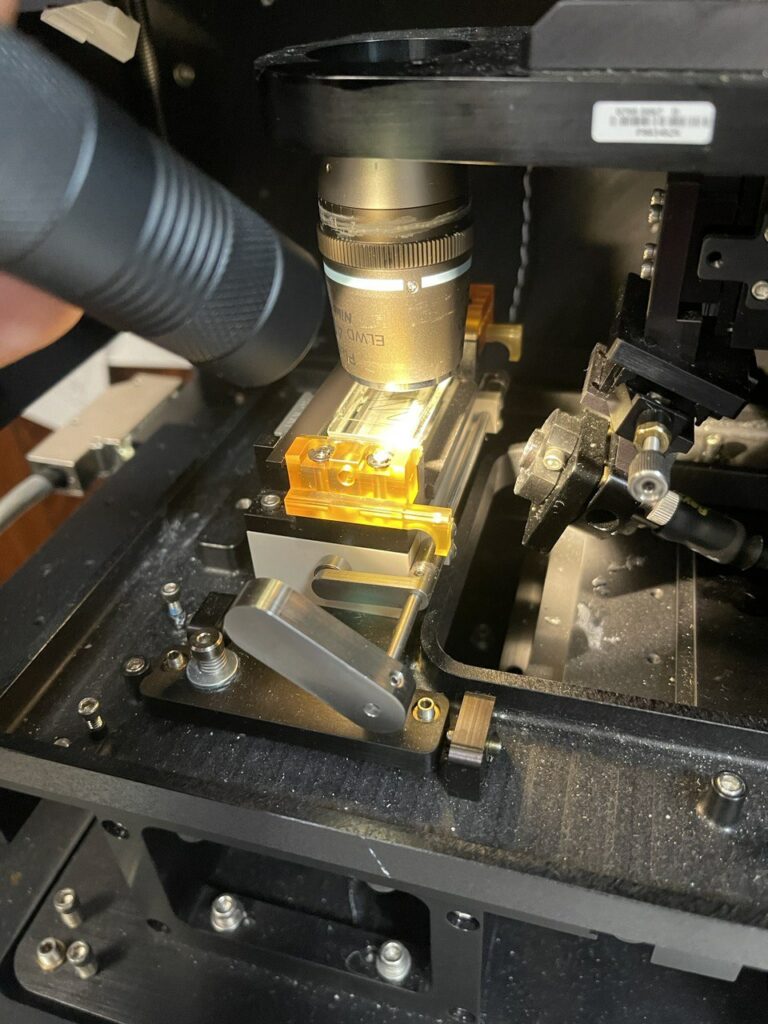
It’s important to get the objective focused on the correct plane before alignment the TIRF laser, because the TIRF laser is connected to the Z mount. As such, changes in focus will also move the laser out of alignment.
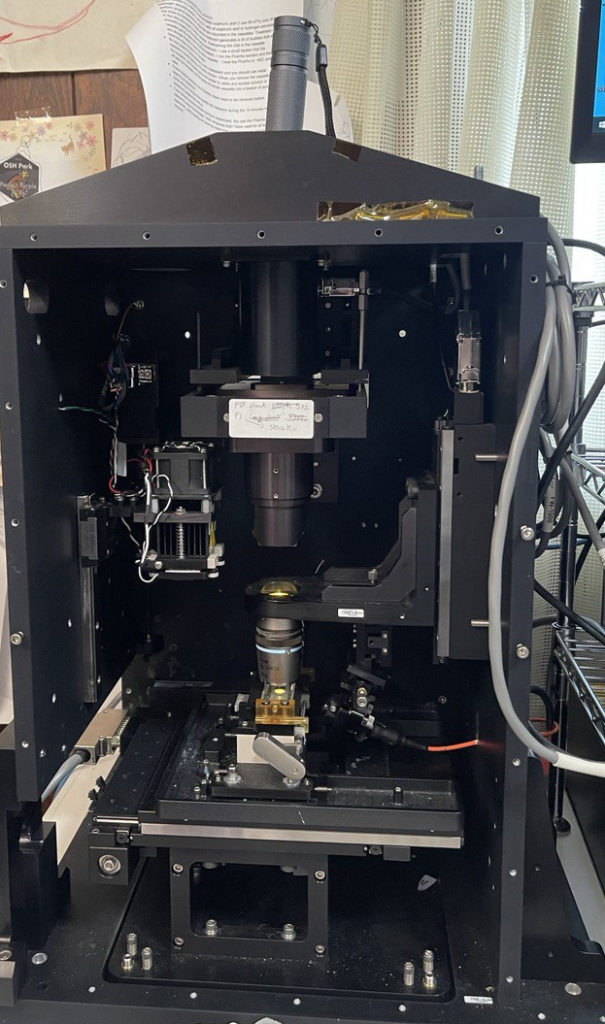
I then remove the camera and stick a torch in the C-mount hole. This shines down through the objective and you should be able to see a spot on the bottom of the prism:
Then I draw an X on a piece of paper and place it under the objective. I align it so that the objective focal point is centered on the “X”:
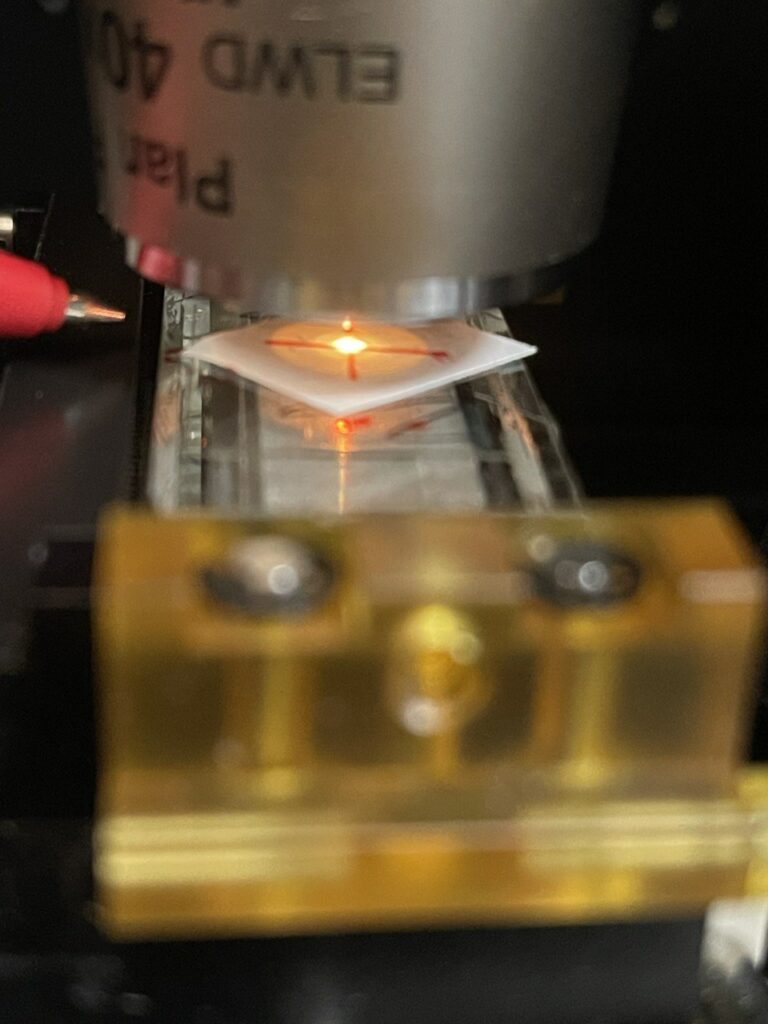
You can optionally at this point, move the objective up, remove the objective and move it back down again (ensuring you move the same distance). This will let you align to the “X” with the objective out of the way…but isn’t really necessary with a long working distance objective.
Now I turn on the TIRF laser, you can use a low power for this (say 50mW), and it makes sense to be wearing suitable eye protection. In the image below you can see the TIRF spot to the right and the objective spot in the center of the “X”:
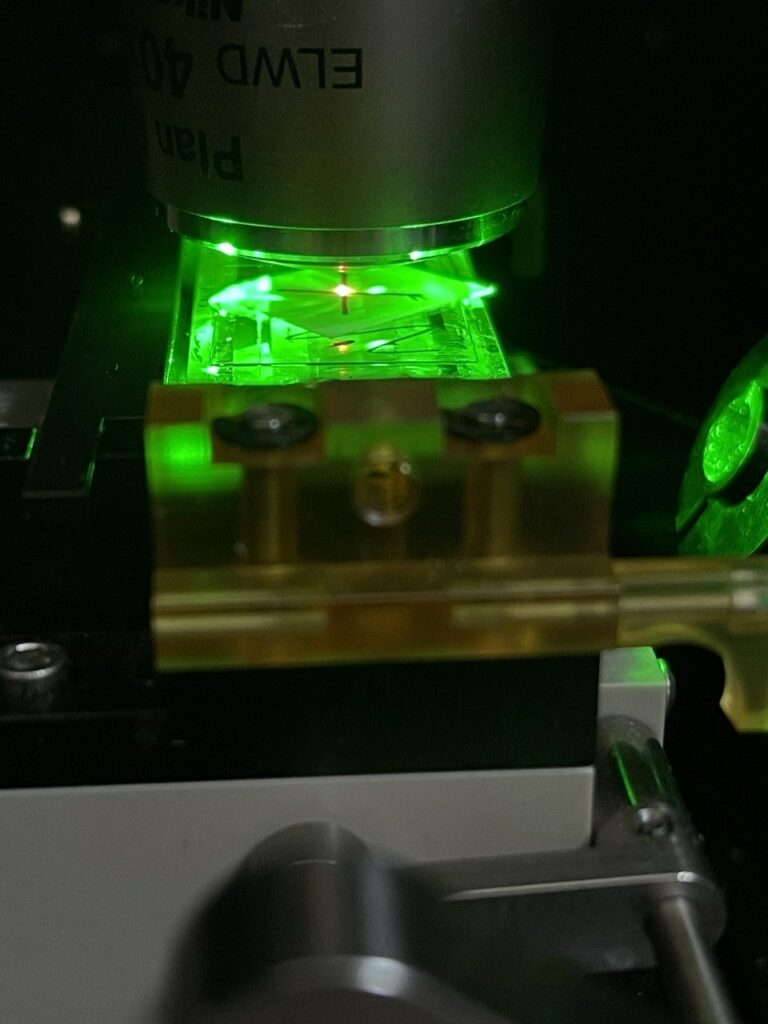
Then, adjust the TIRF Kinematic mount until the TIRF spot is aligned with the objective spot:
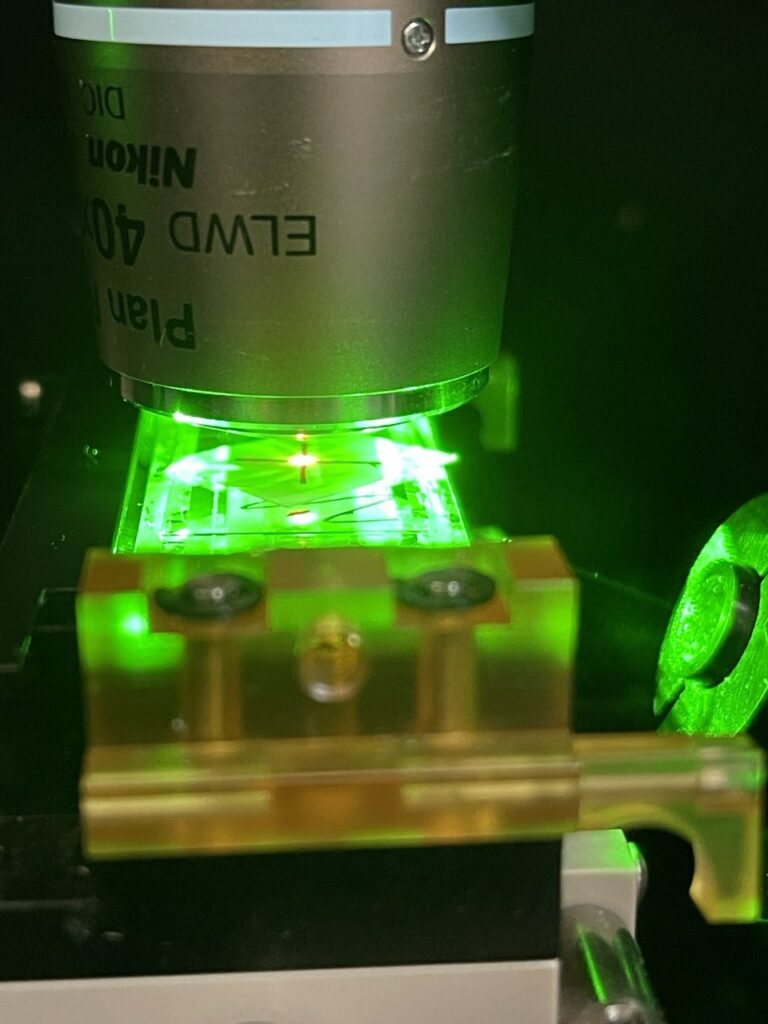
You have some flexibility in terms of tuning the TIRF angle, but I’ve not experimented with this much. As a final check, it makes sense to turn of the torch (removing the objective spot) and checking that the laser is aligned with the “X”:
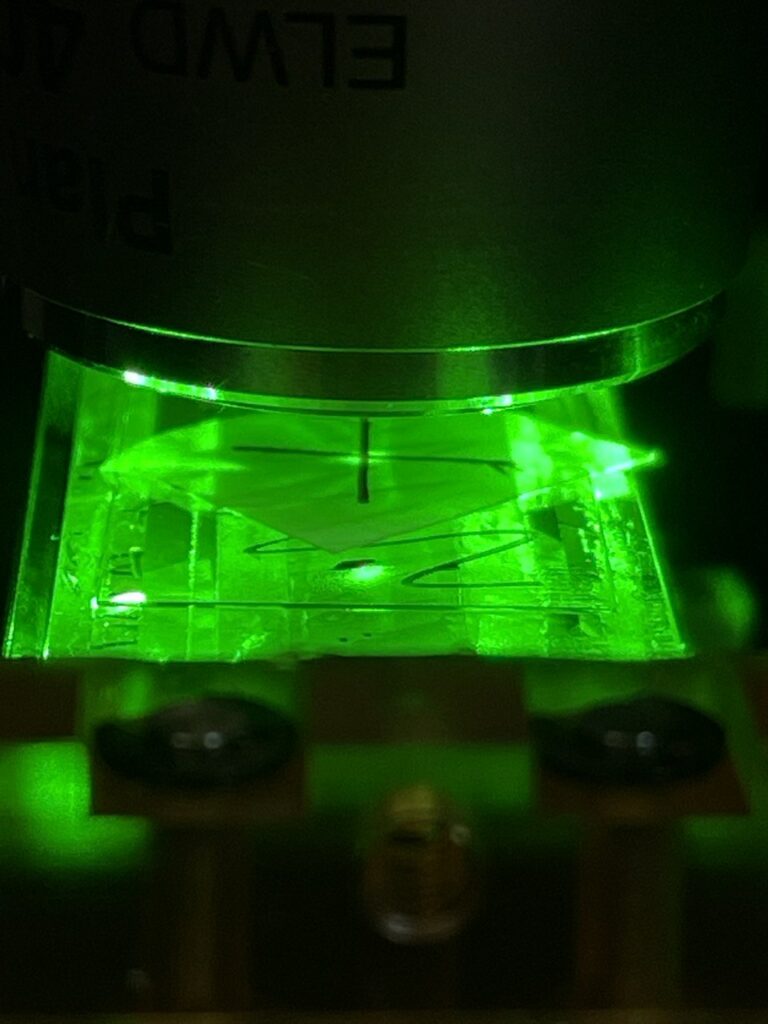
You can now remove the cover glass, clean the prism and everything should be aligned. The Z-axis should also be at roughly the correct focal distance, the prism will be ~170 microns down from this.
You may find that some finer adjustment is useful when performing an experiment (in my experience, it doesn’t seem to help much).