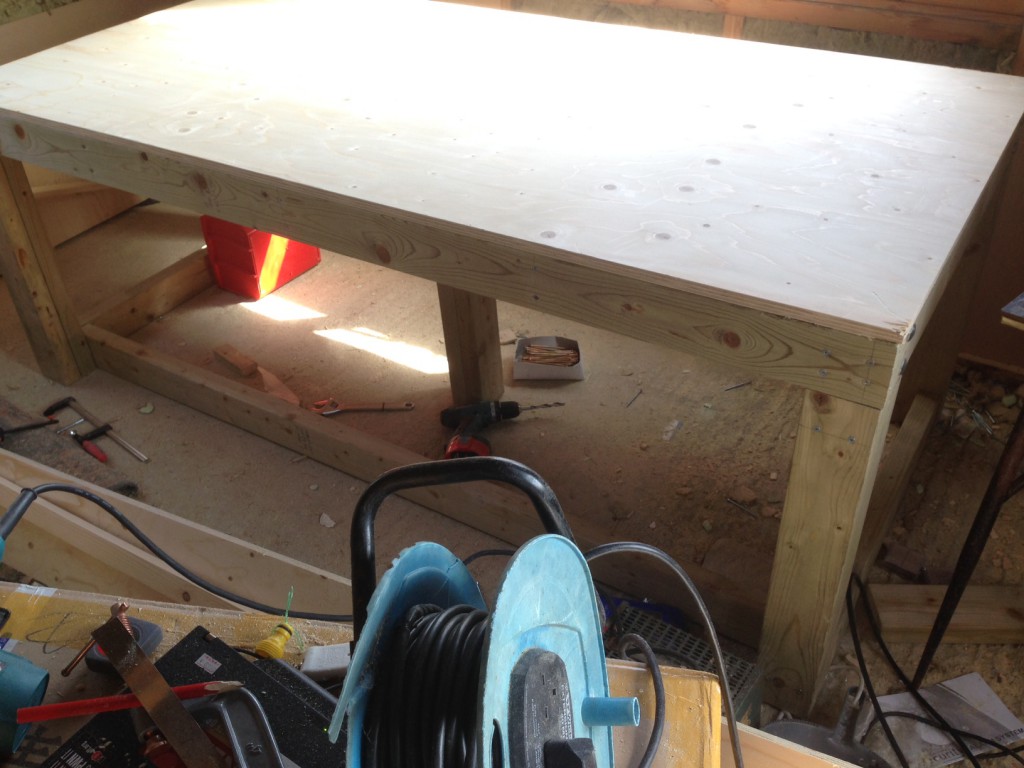
Lab workbench build notes
I’ve been setting up a new work area for my lab in Somerset. As part of this I needed to prepare some workbenches. I guess I could have bought them, but I don’t think I’d find anything that would suit my requirements at a reasonable price. So I decided to build them.
I wanted a solid bench, that would basically take anything I’d put on it. I also wanted it to be a metre deep. I tend to find that as I pile up test equipment I lose all the usable work area. By making it a metre deep I should have ample space for test equipment, and still have room to work. So the dimensions were 2 metres long by 1 metre deep.
I used this video from Mr Knackers to guide my build. I’m no woodworker, and there were some screwups along the way but I’m happy with the results. Hopefully the next bench will take less time.
My build notes follow, which will hopefully remind me what to do next time.
The bench frame is made from 2×4 whitewood timber. I bought 15 3 metre pieces on ebay though it was actually delivered by Jewsons. It cost me 100GBP delivered (~150USD). The build used 7.5 pieces, so I should have enough for 2 benches. The top is 16mm plywood which I bought from Wickes.
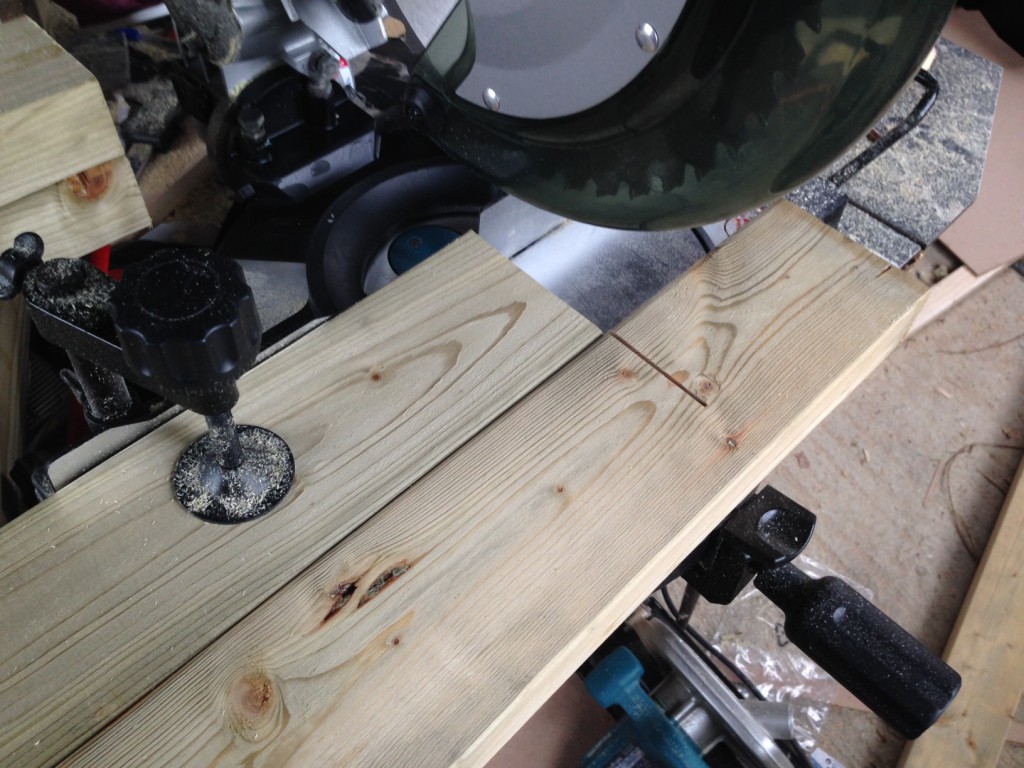
First I constructed the legs, I cut 4 lengths to 750mm-16 (734mm). And another 4 to 734mm-2inches (632.4mm). The 2 lengths are screwed together creating a notch for the frame to sit in. I cut the pieces out on a mitre saw. To make sure I got everything cut to the same length I clamped to pieces in, using my first as a reference like this:
Once all the legs are cut out, the two pieces are screwed together (two screws at the top, two at the bottom). I used 60mm screws for this.
You now need to cut an additional notch out of the larger piece so the frame will sit on the corner. You need to pay attention to the orientation of the legs when doing this. The remaining part of the longer piece will be on the inside of the bench. The shorter pieces should therefore all be facing out. 2 facing left, and 2 facing right. Otherwise things will look weird.
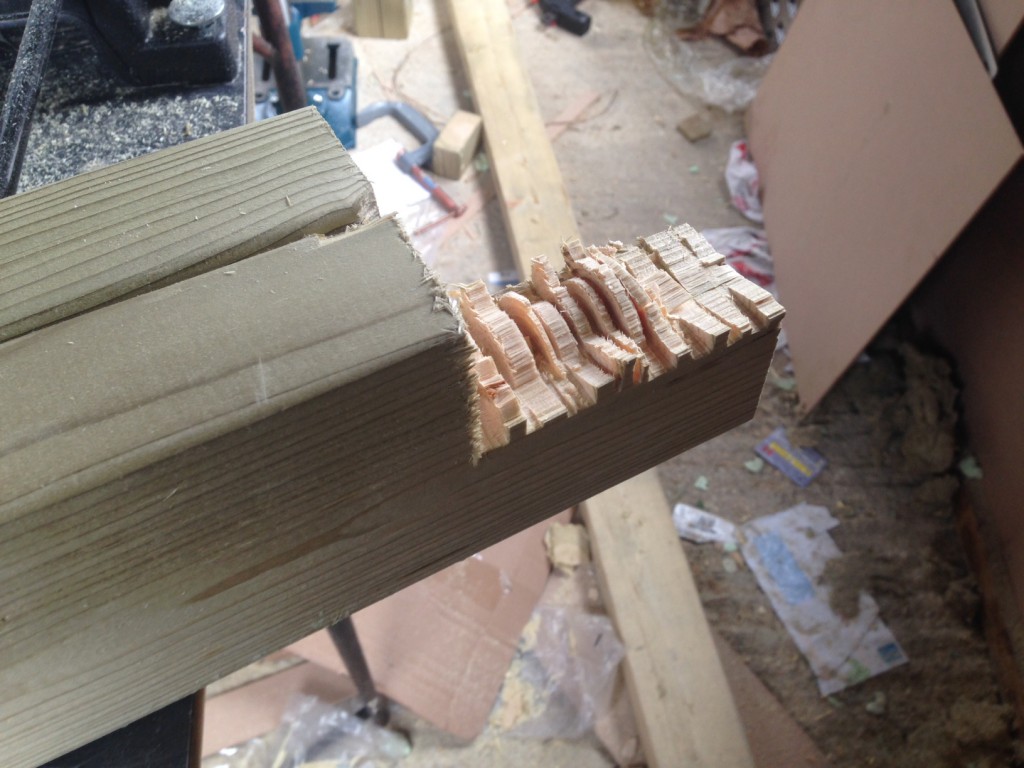
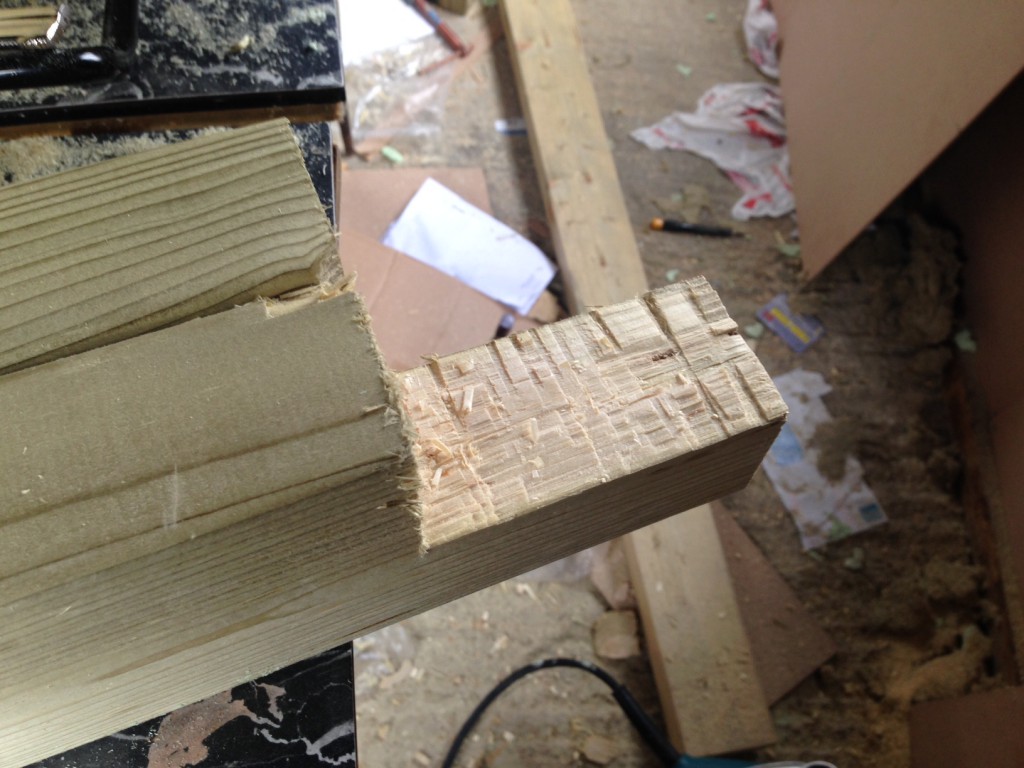
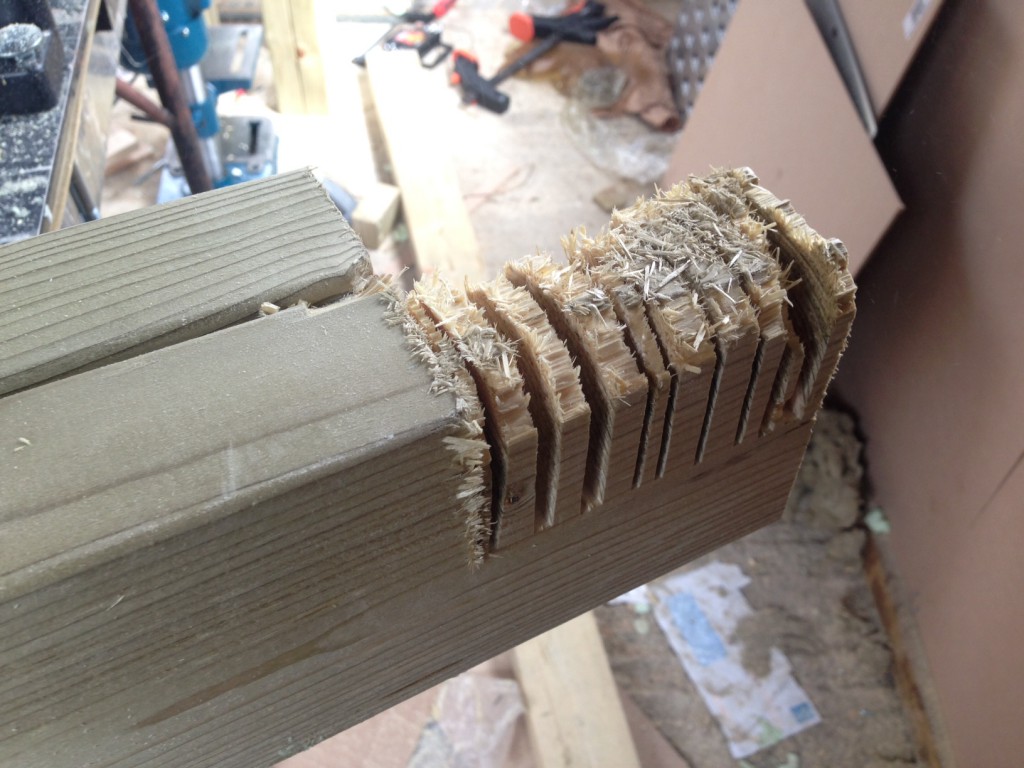
Mr Knackers suggests cutting a bunch of slots with a circular saw and then bashing them out with a chisel to cut the the longer piece down. I did this, but it was hard to get a clean finish. I’ll be looking for a new method if I do this again.
Here are the cuts made by the circular saw:
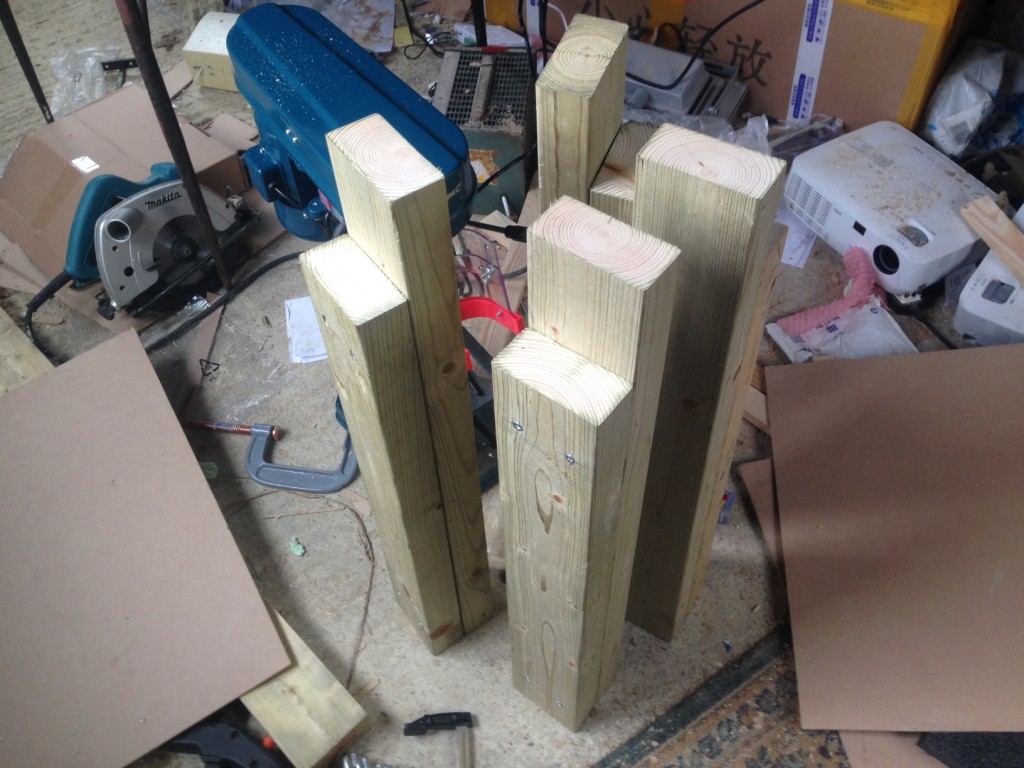
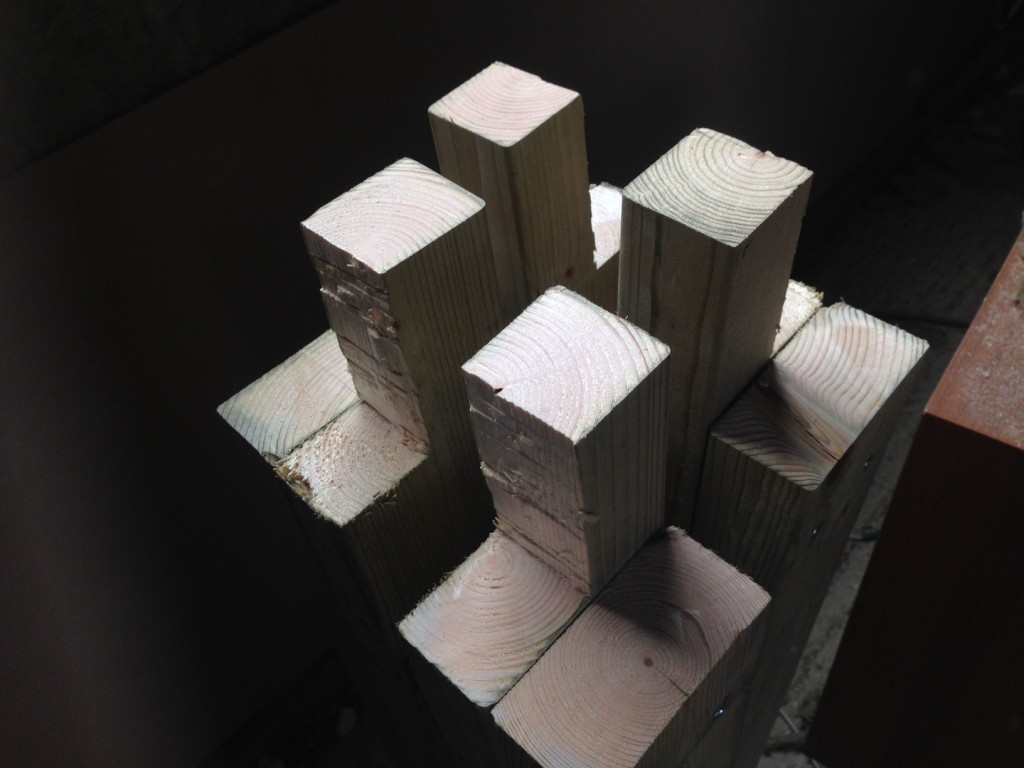
And here are all the legs with the notices cut out:
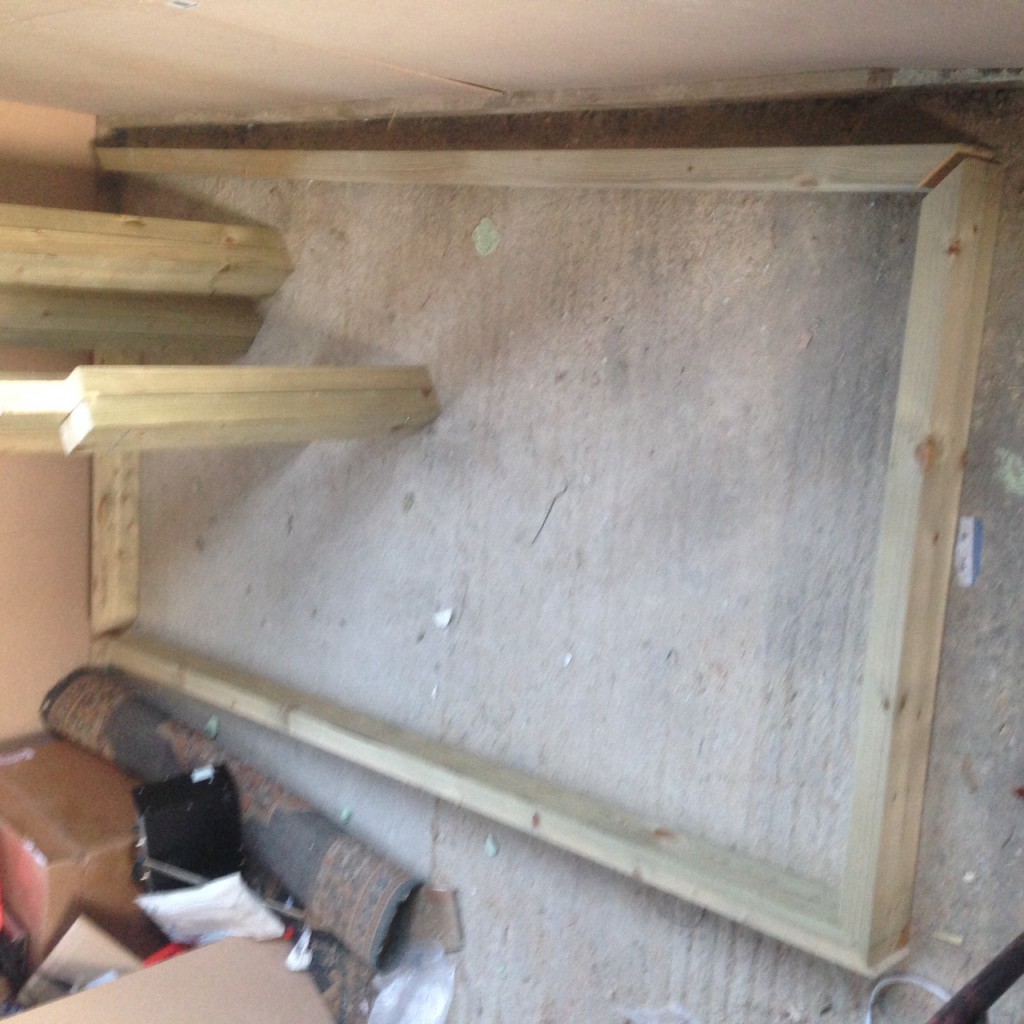
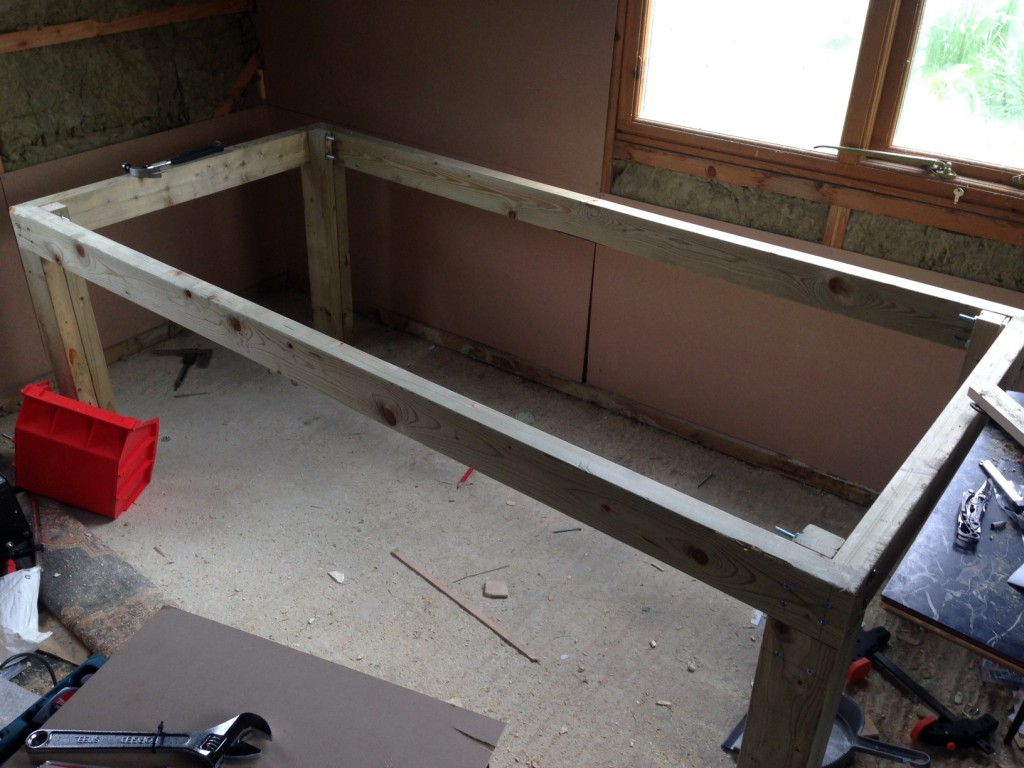
Once the legs are finished it’s time to build the frame. The outer dimensions of my frame where 2metres by 195cm as I wanted to 5cm overhang on the front for clamping things to.
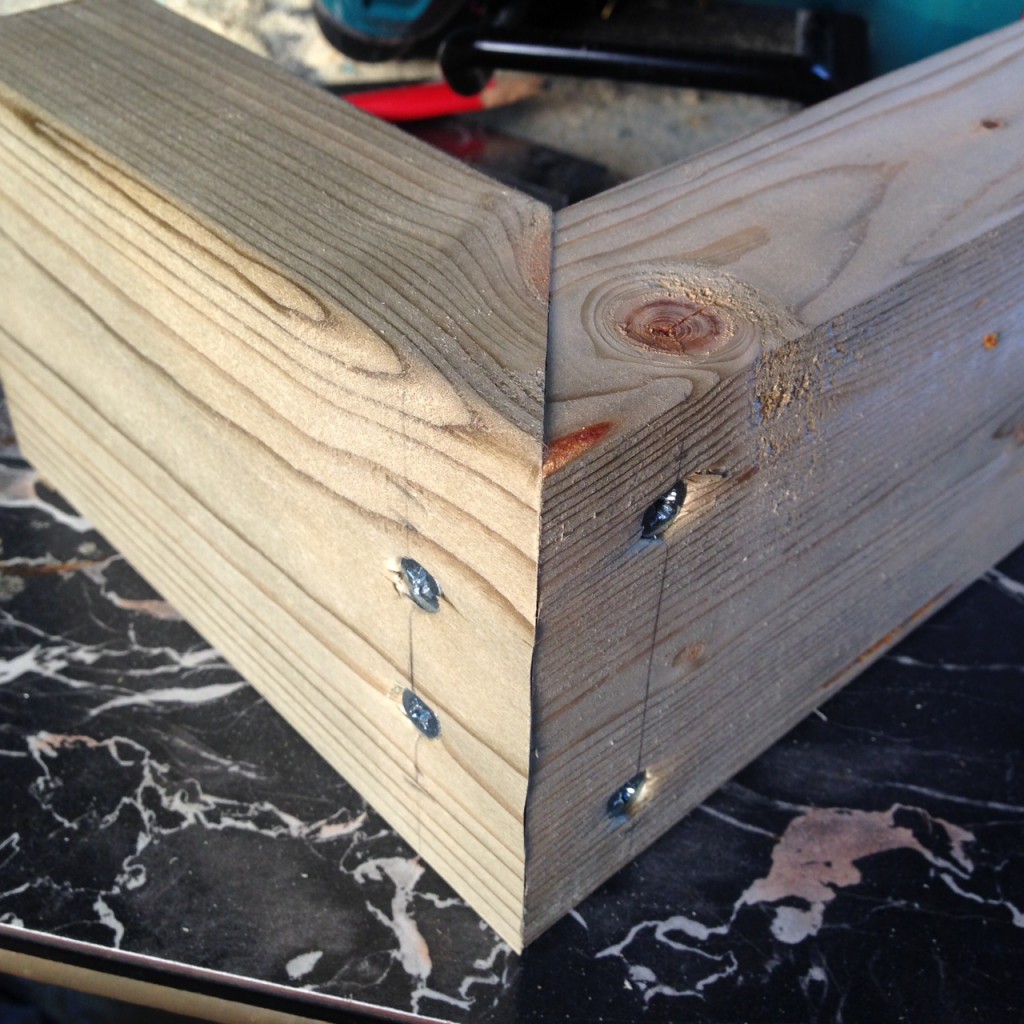
The corners of the frame where cut at a 45 degree angle on the mitre saw. This gives a stronger and cleaner joint than just having the two pieces sitting at right angles.
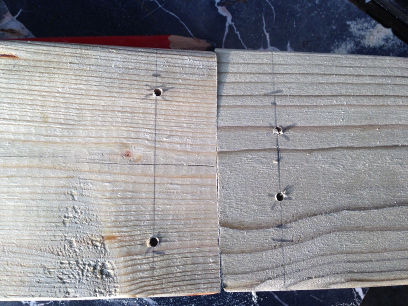
The frame is screwed together at the corners with 4 screws. These obviously need to be offset slightly:
I found it necessary to use pilot holes everywhere.
The legs can then be installed. They are screwed in to the frame on one. Alignment is important here, and I found that the cut out section was imperfect in some places. But things fit together well enough.
Coach bolts are used on the other side to fix the legs to the other edge of the frame. I used M10 bolts, and found getting them screwed in at right angles using a cordless drill problematic. Using a right angled cut in a piece of would to align the bit as it goes in seems to help. But I wonder if there’s a better way.
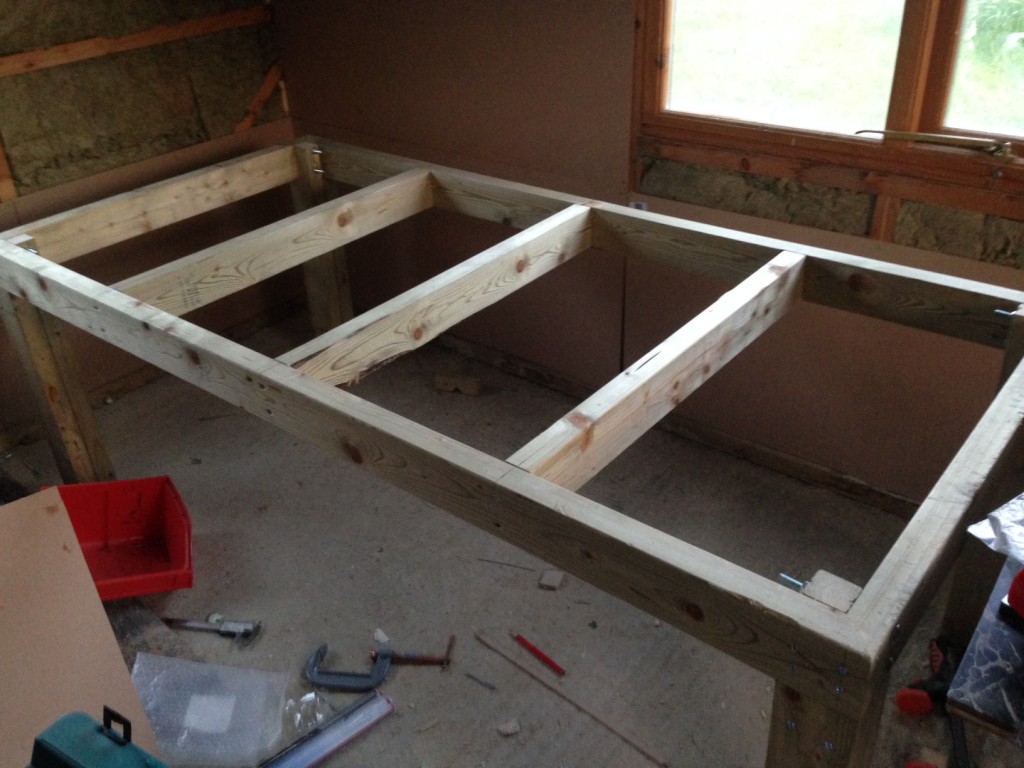
Next I installed additional pieces to strengthen the bench. These were held in by 2 screws on each side:
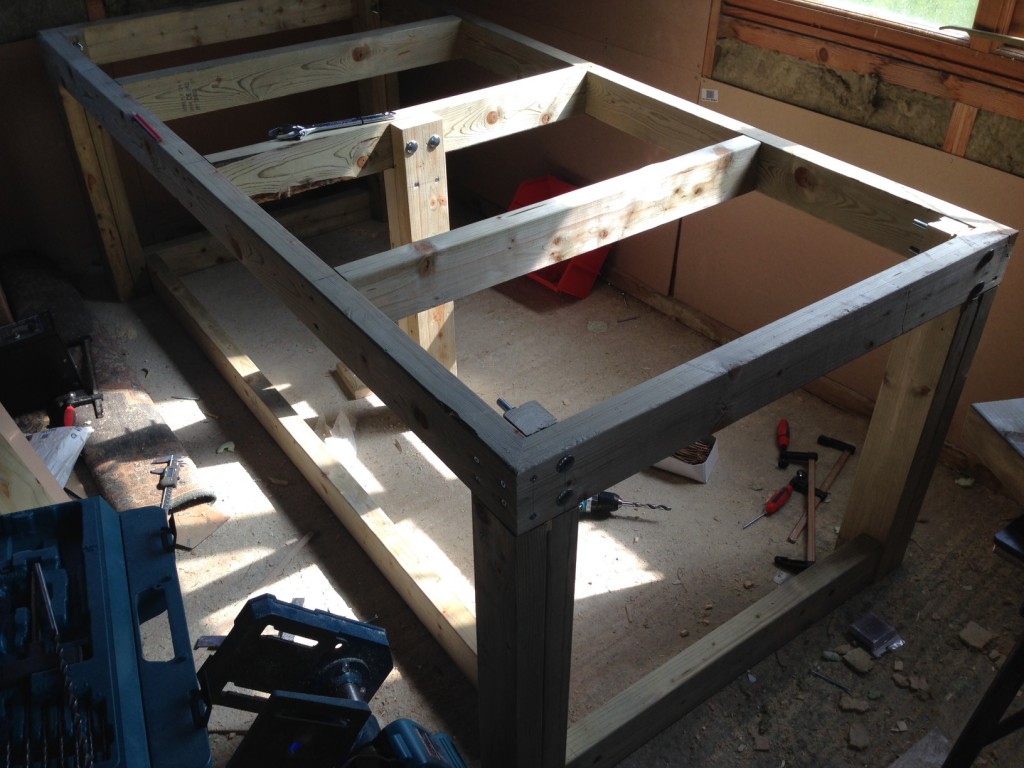
Finally I braced the legs at the back sides. The braces are only held in place by one screw each. I removed one of the screwed used to hold the legs together and replaced it with a long screw going through the leg and into the brace. I wasn’t particularly happy with this and may add another screw here. I also added a central leg to take any weight in the middle of the bench. I felt this might be required as it’s so deep.
Finally I cut down the plywood with a circular saw, clamping a piece of wood to the plywood to align the saw. This was then glued and screwed down.
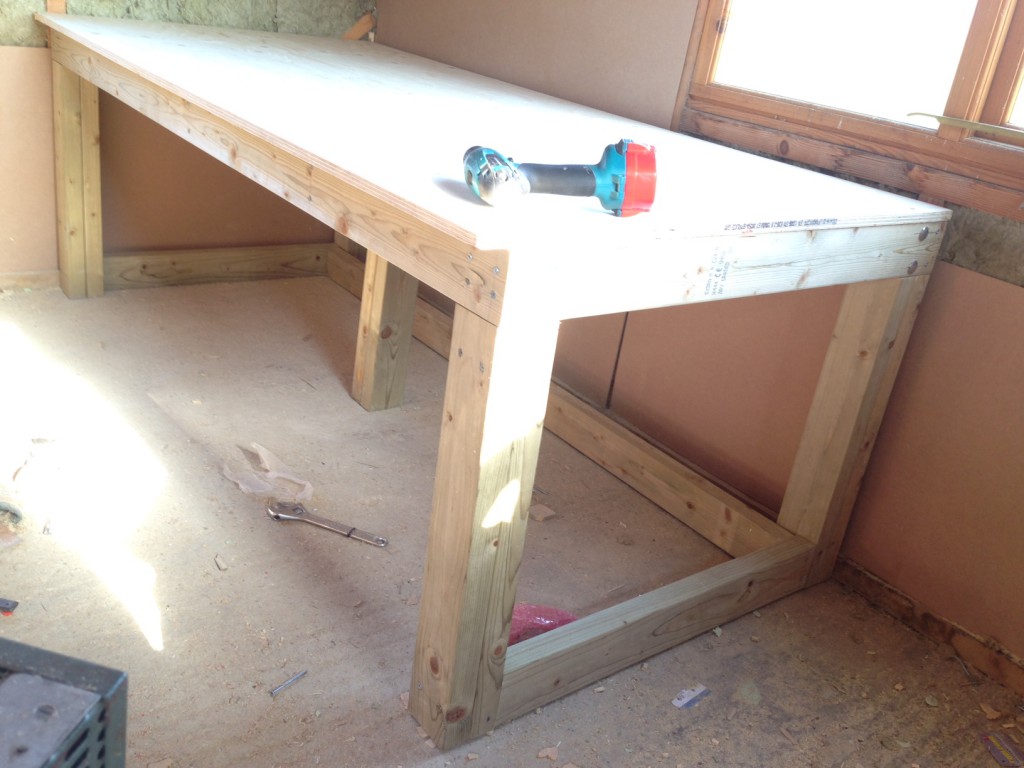
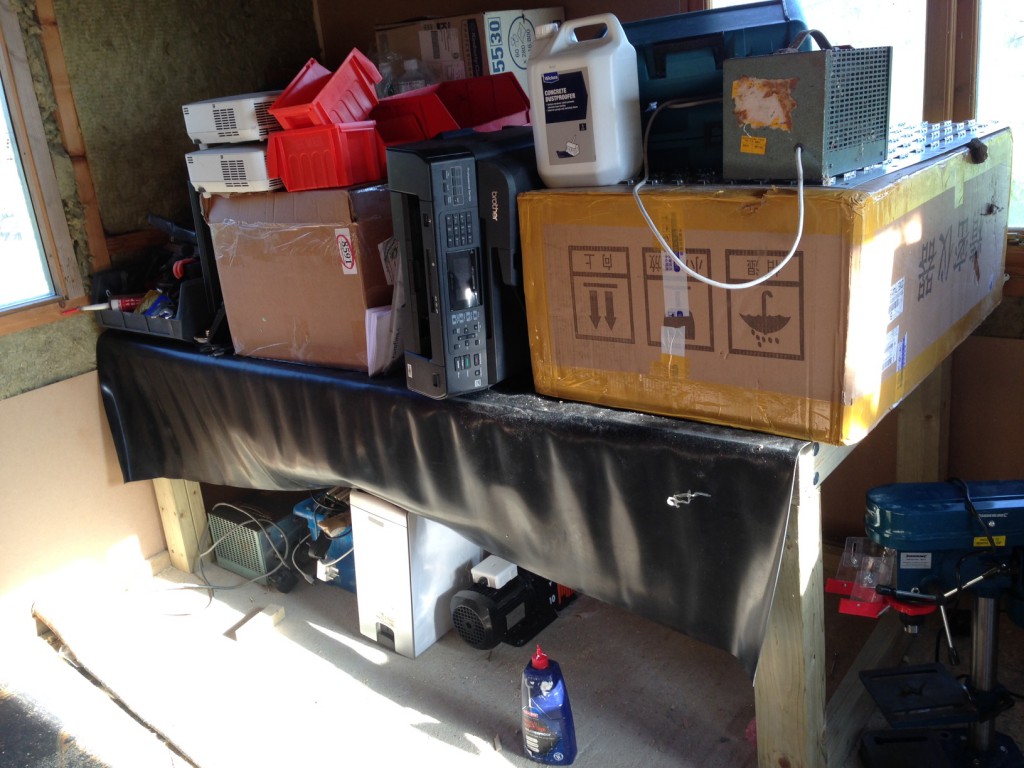
Overall I’m happy with the results and it appears to take a bunch of weight:
I plan to build another one, and when I finally get to use it may add a rubber mat covering and trim to protect the plywood.
